Overview
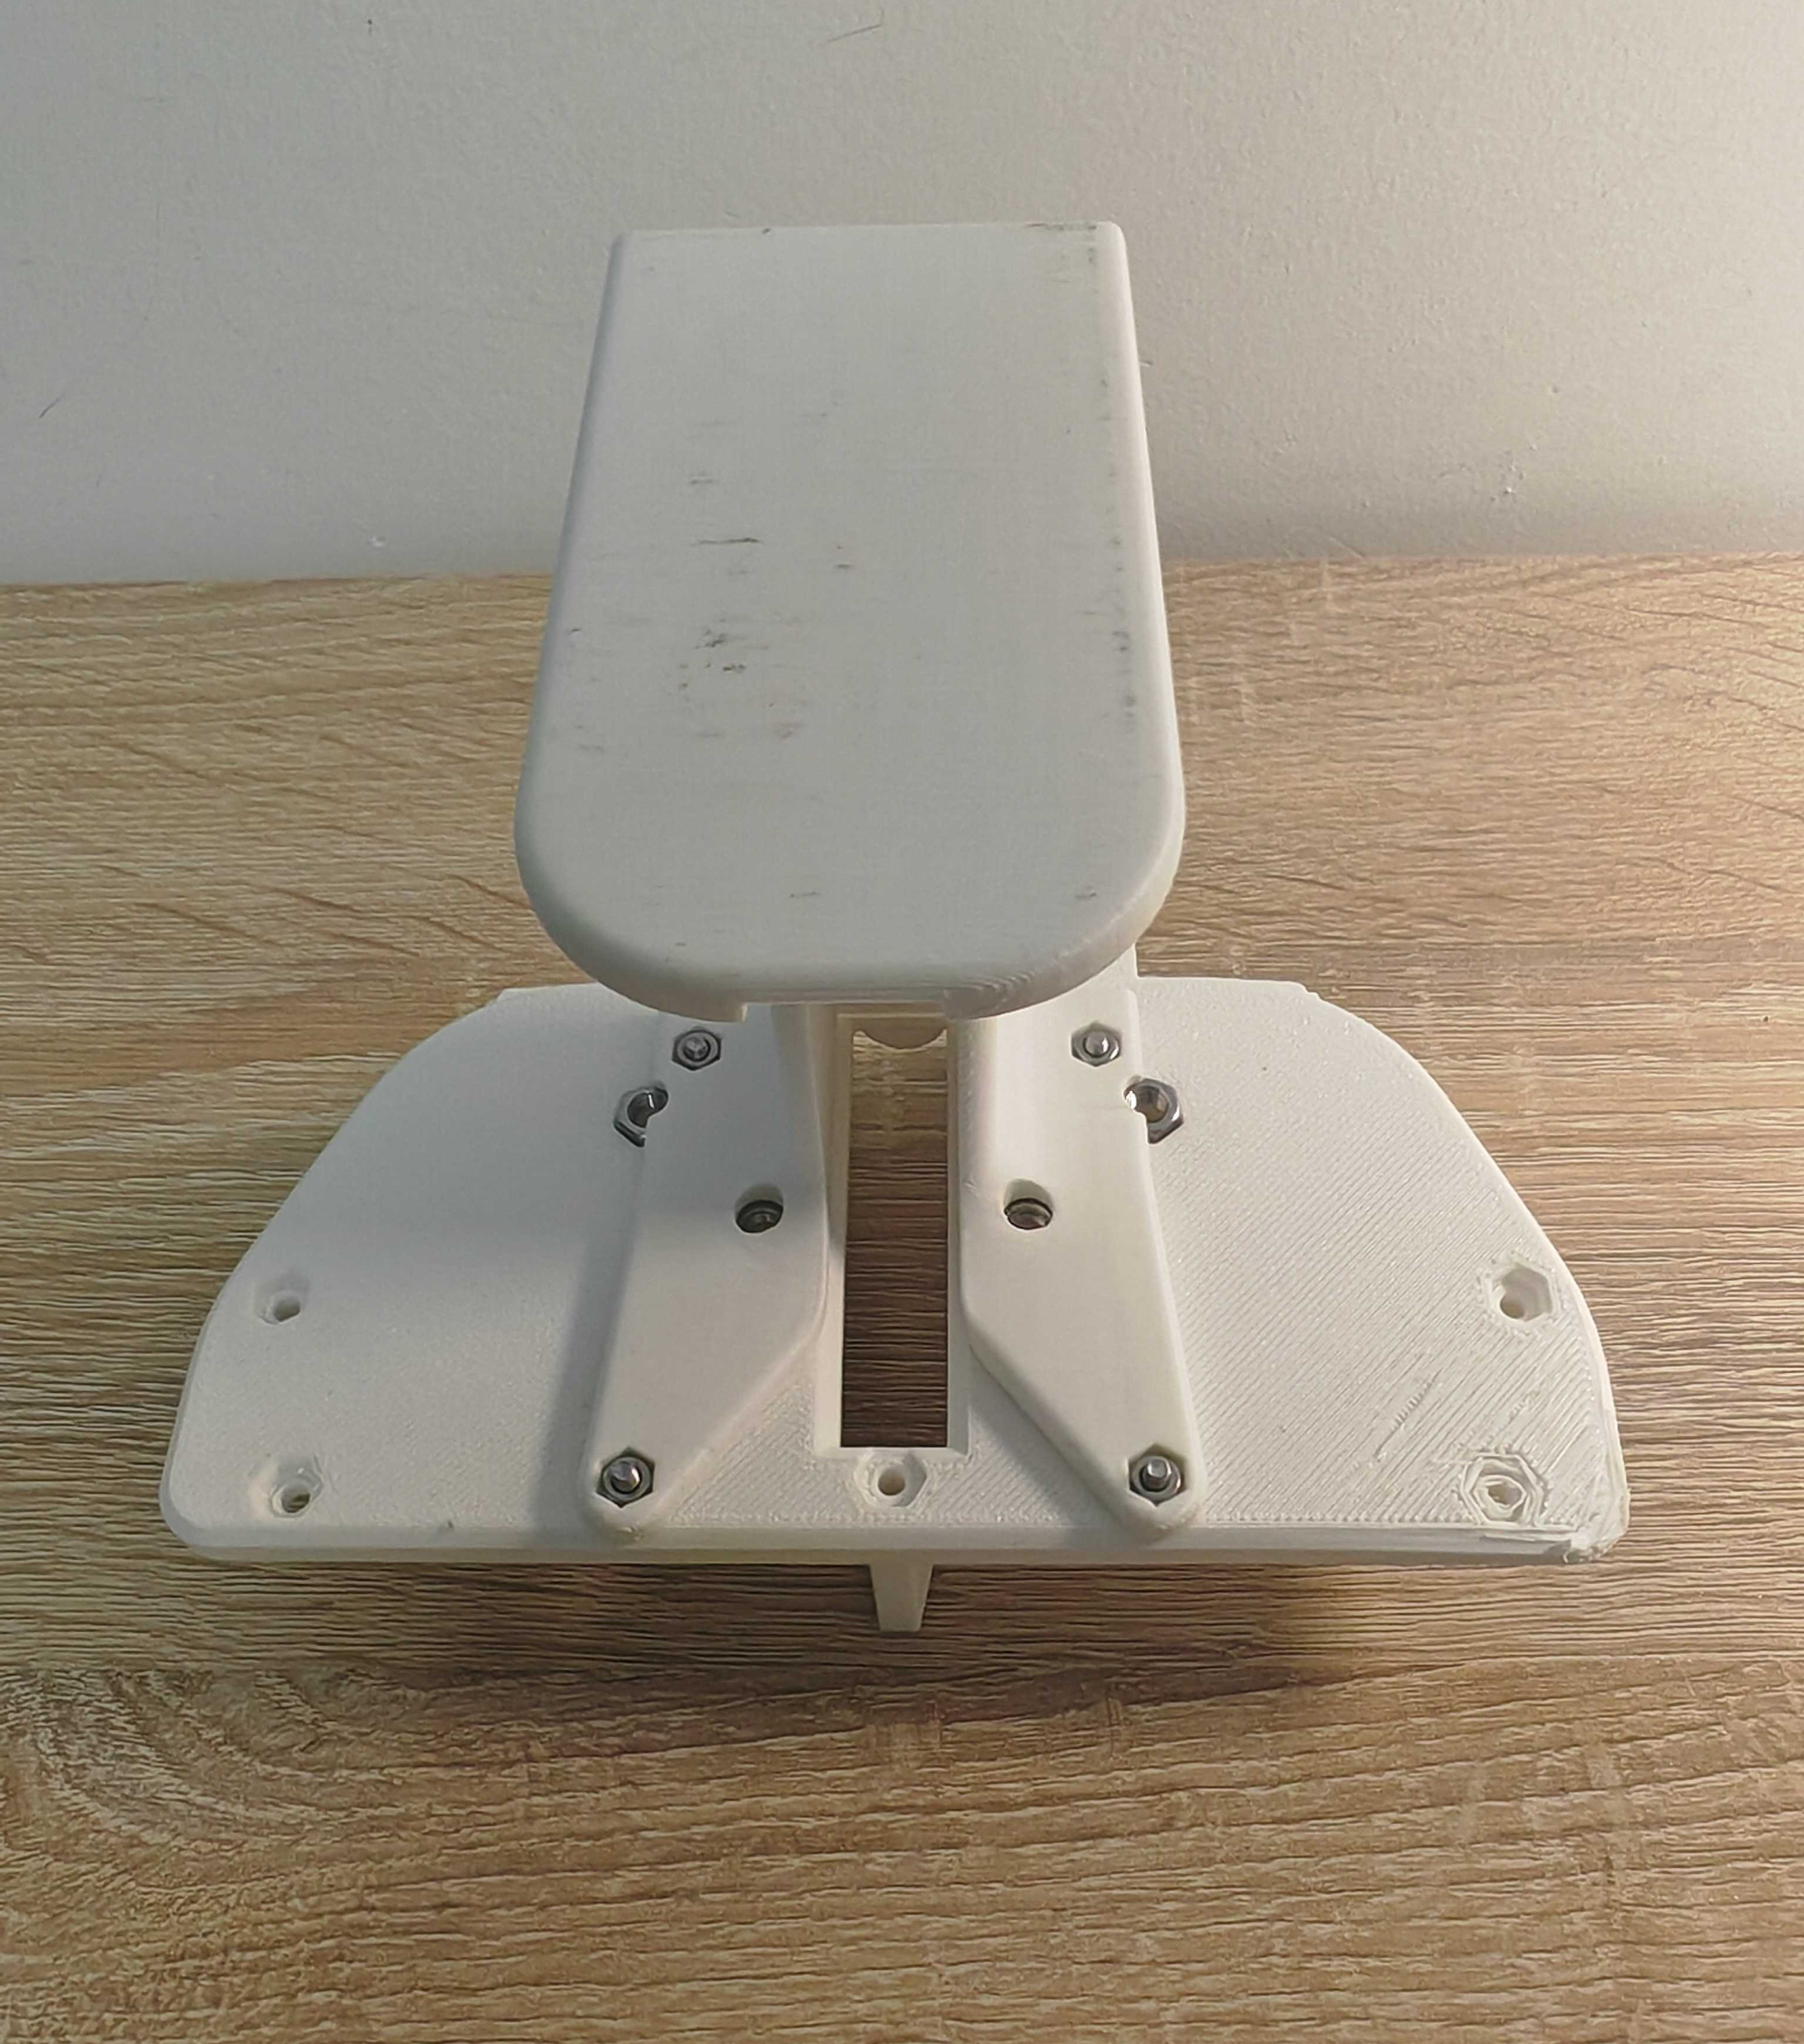
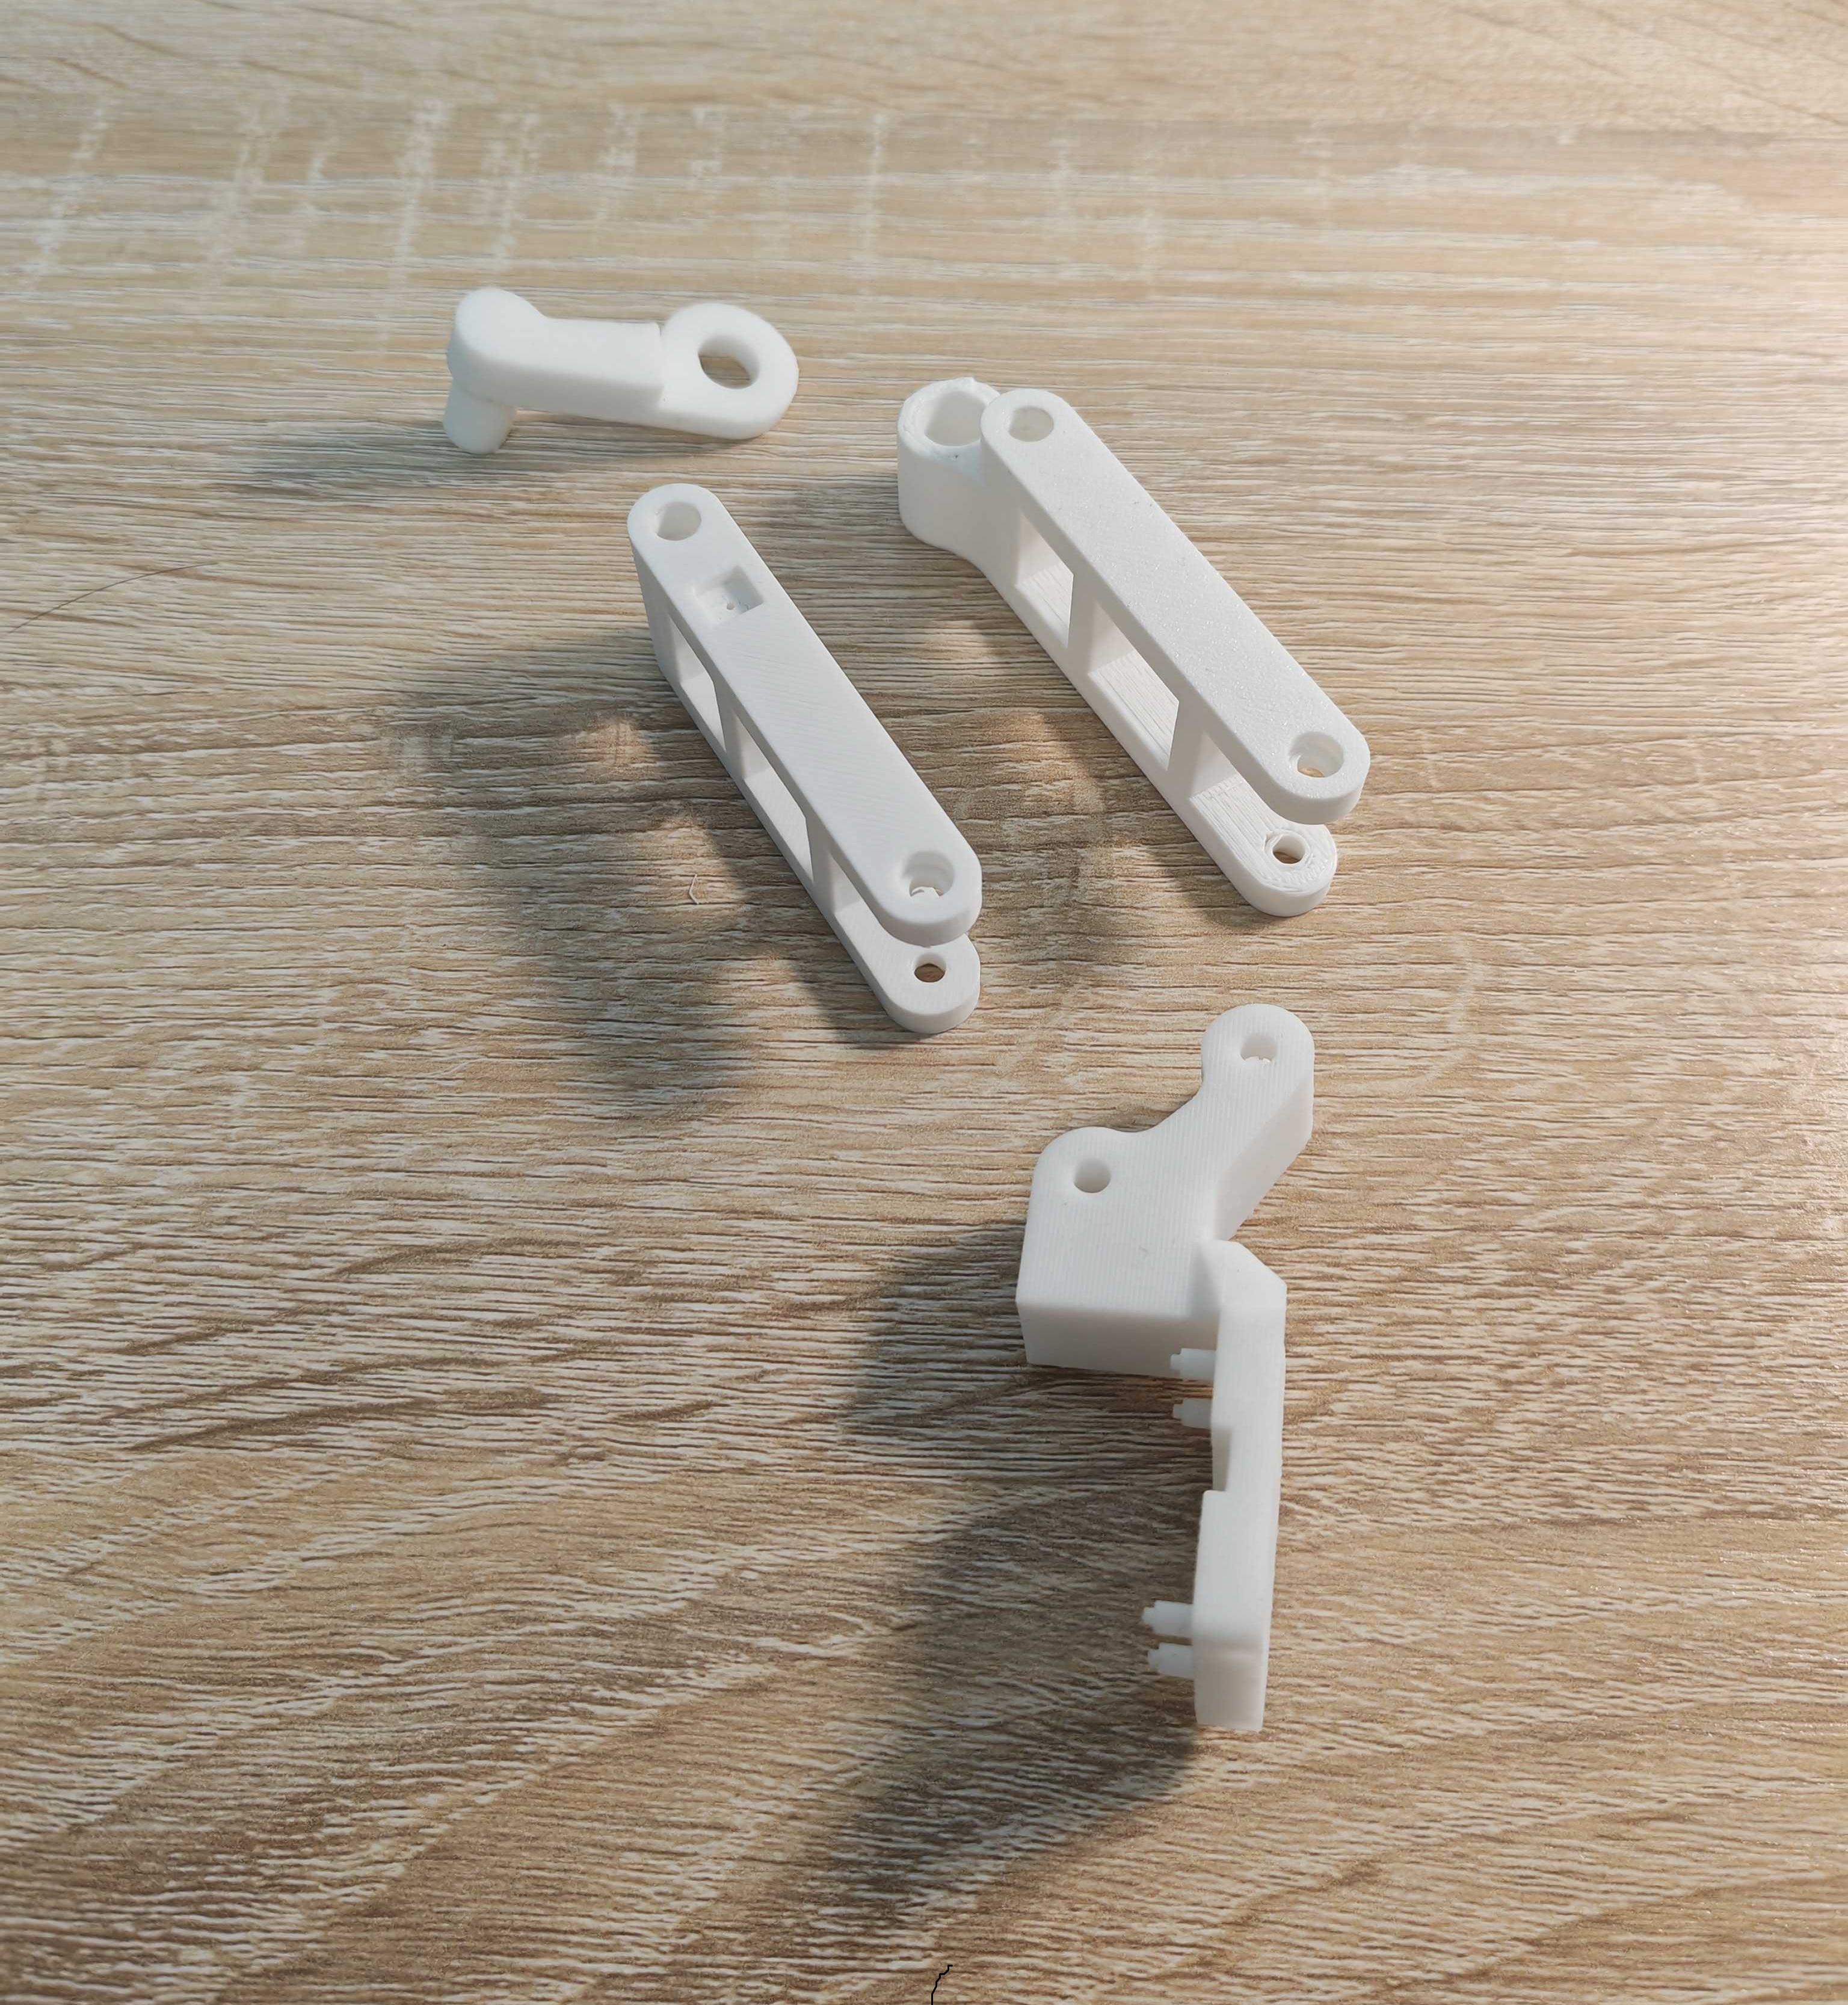
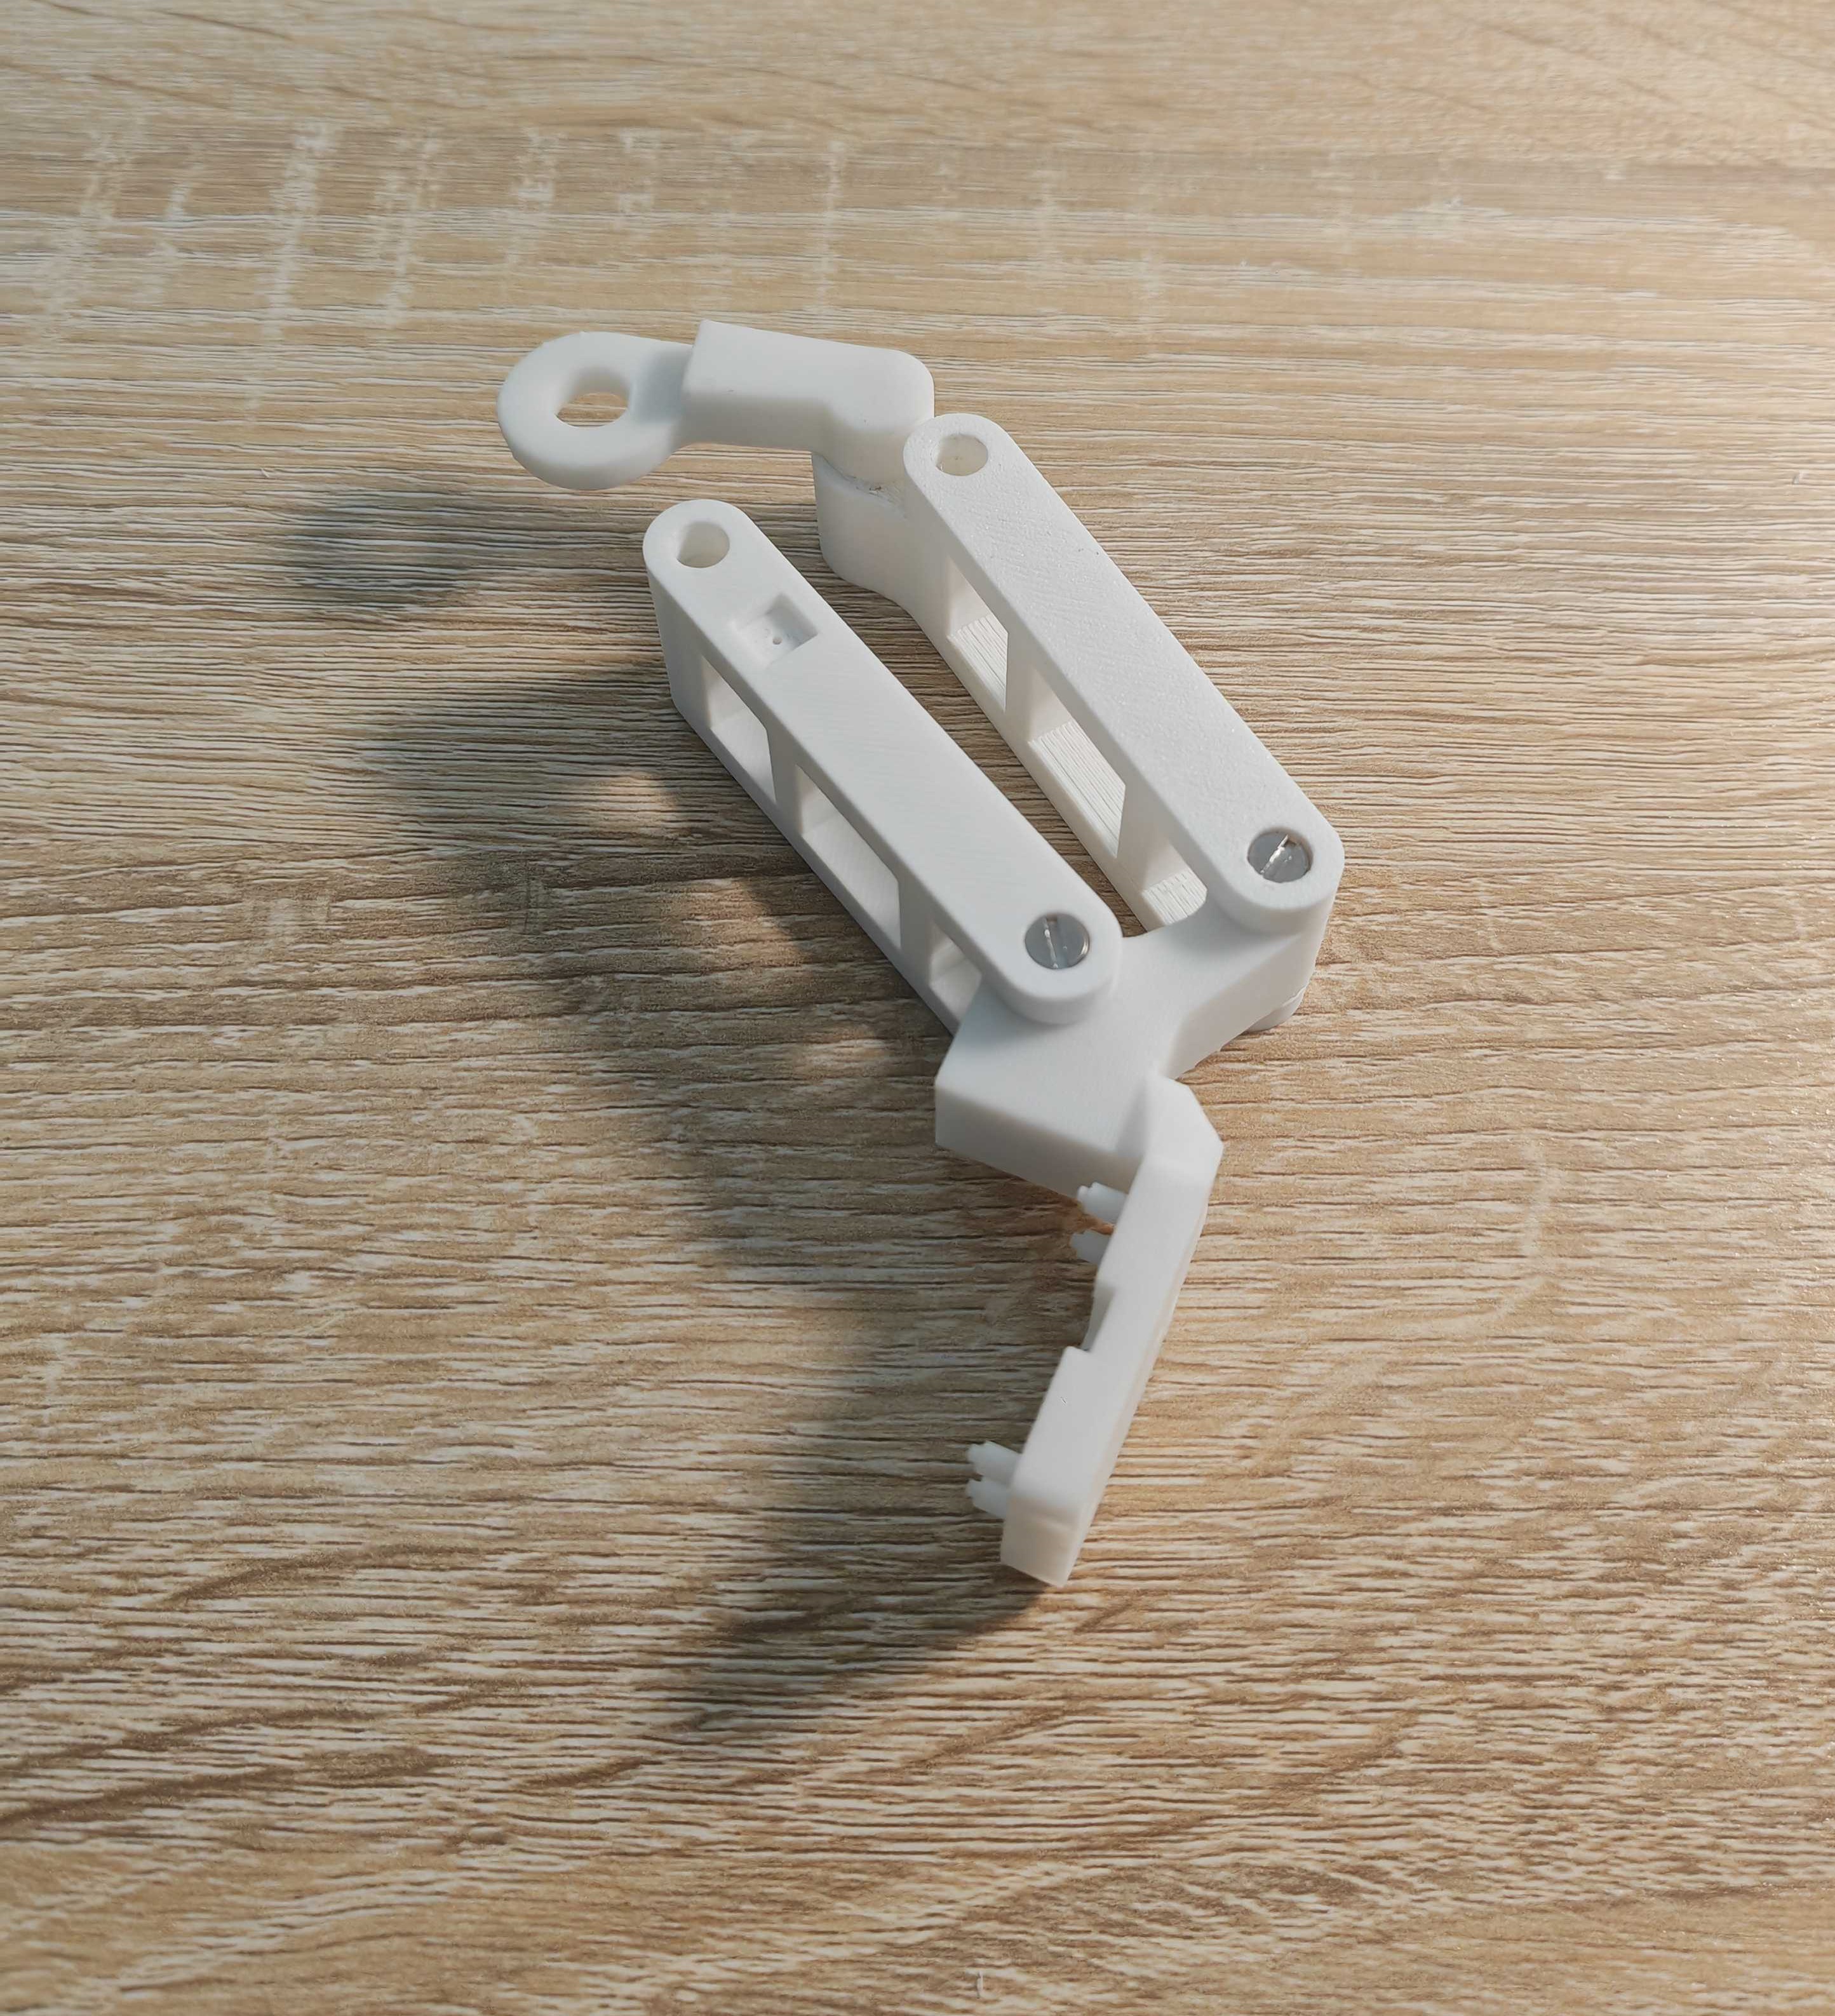
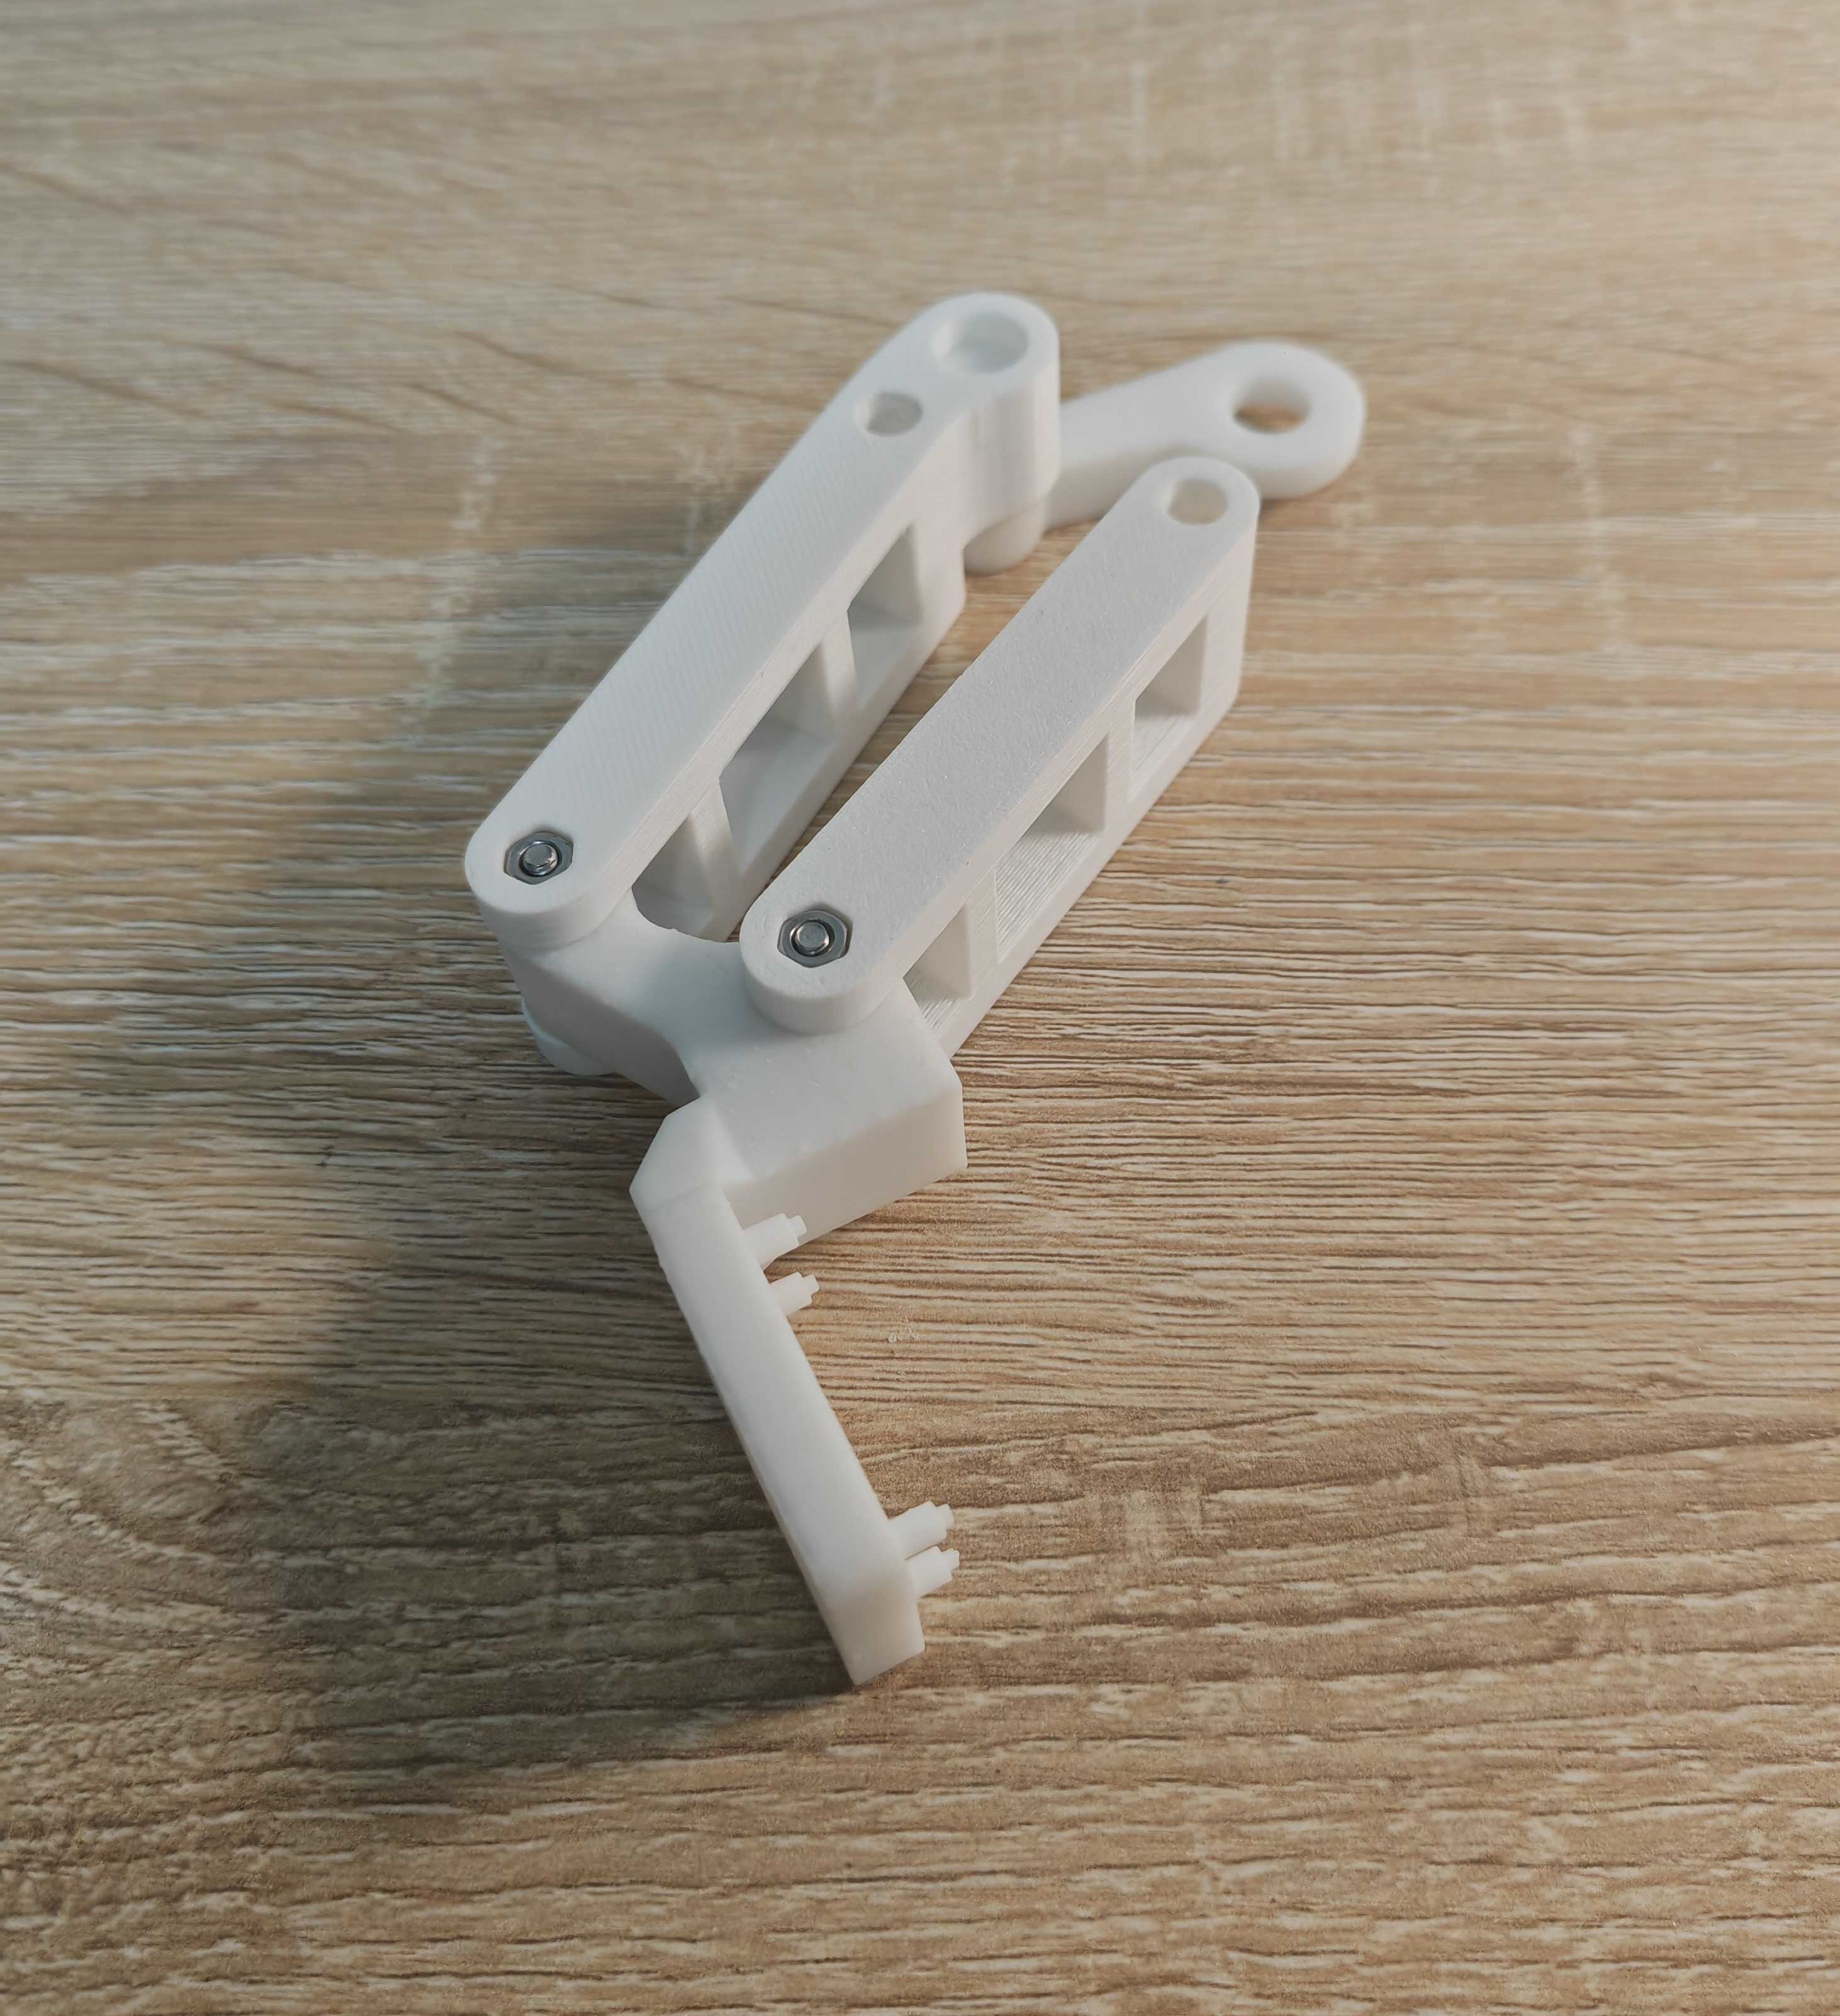
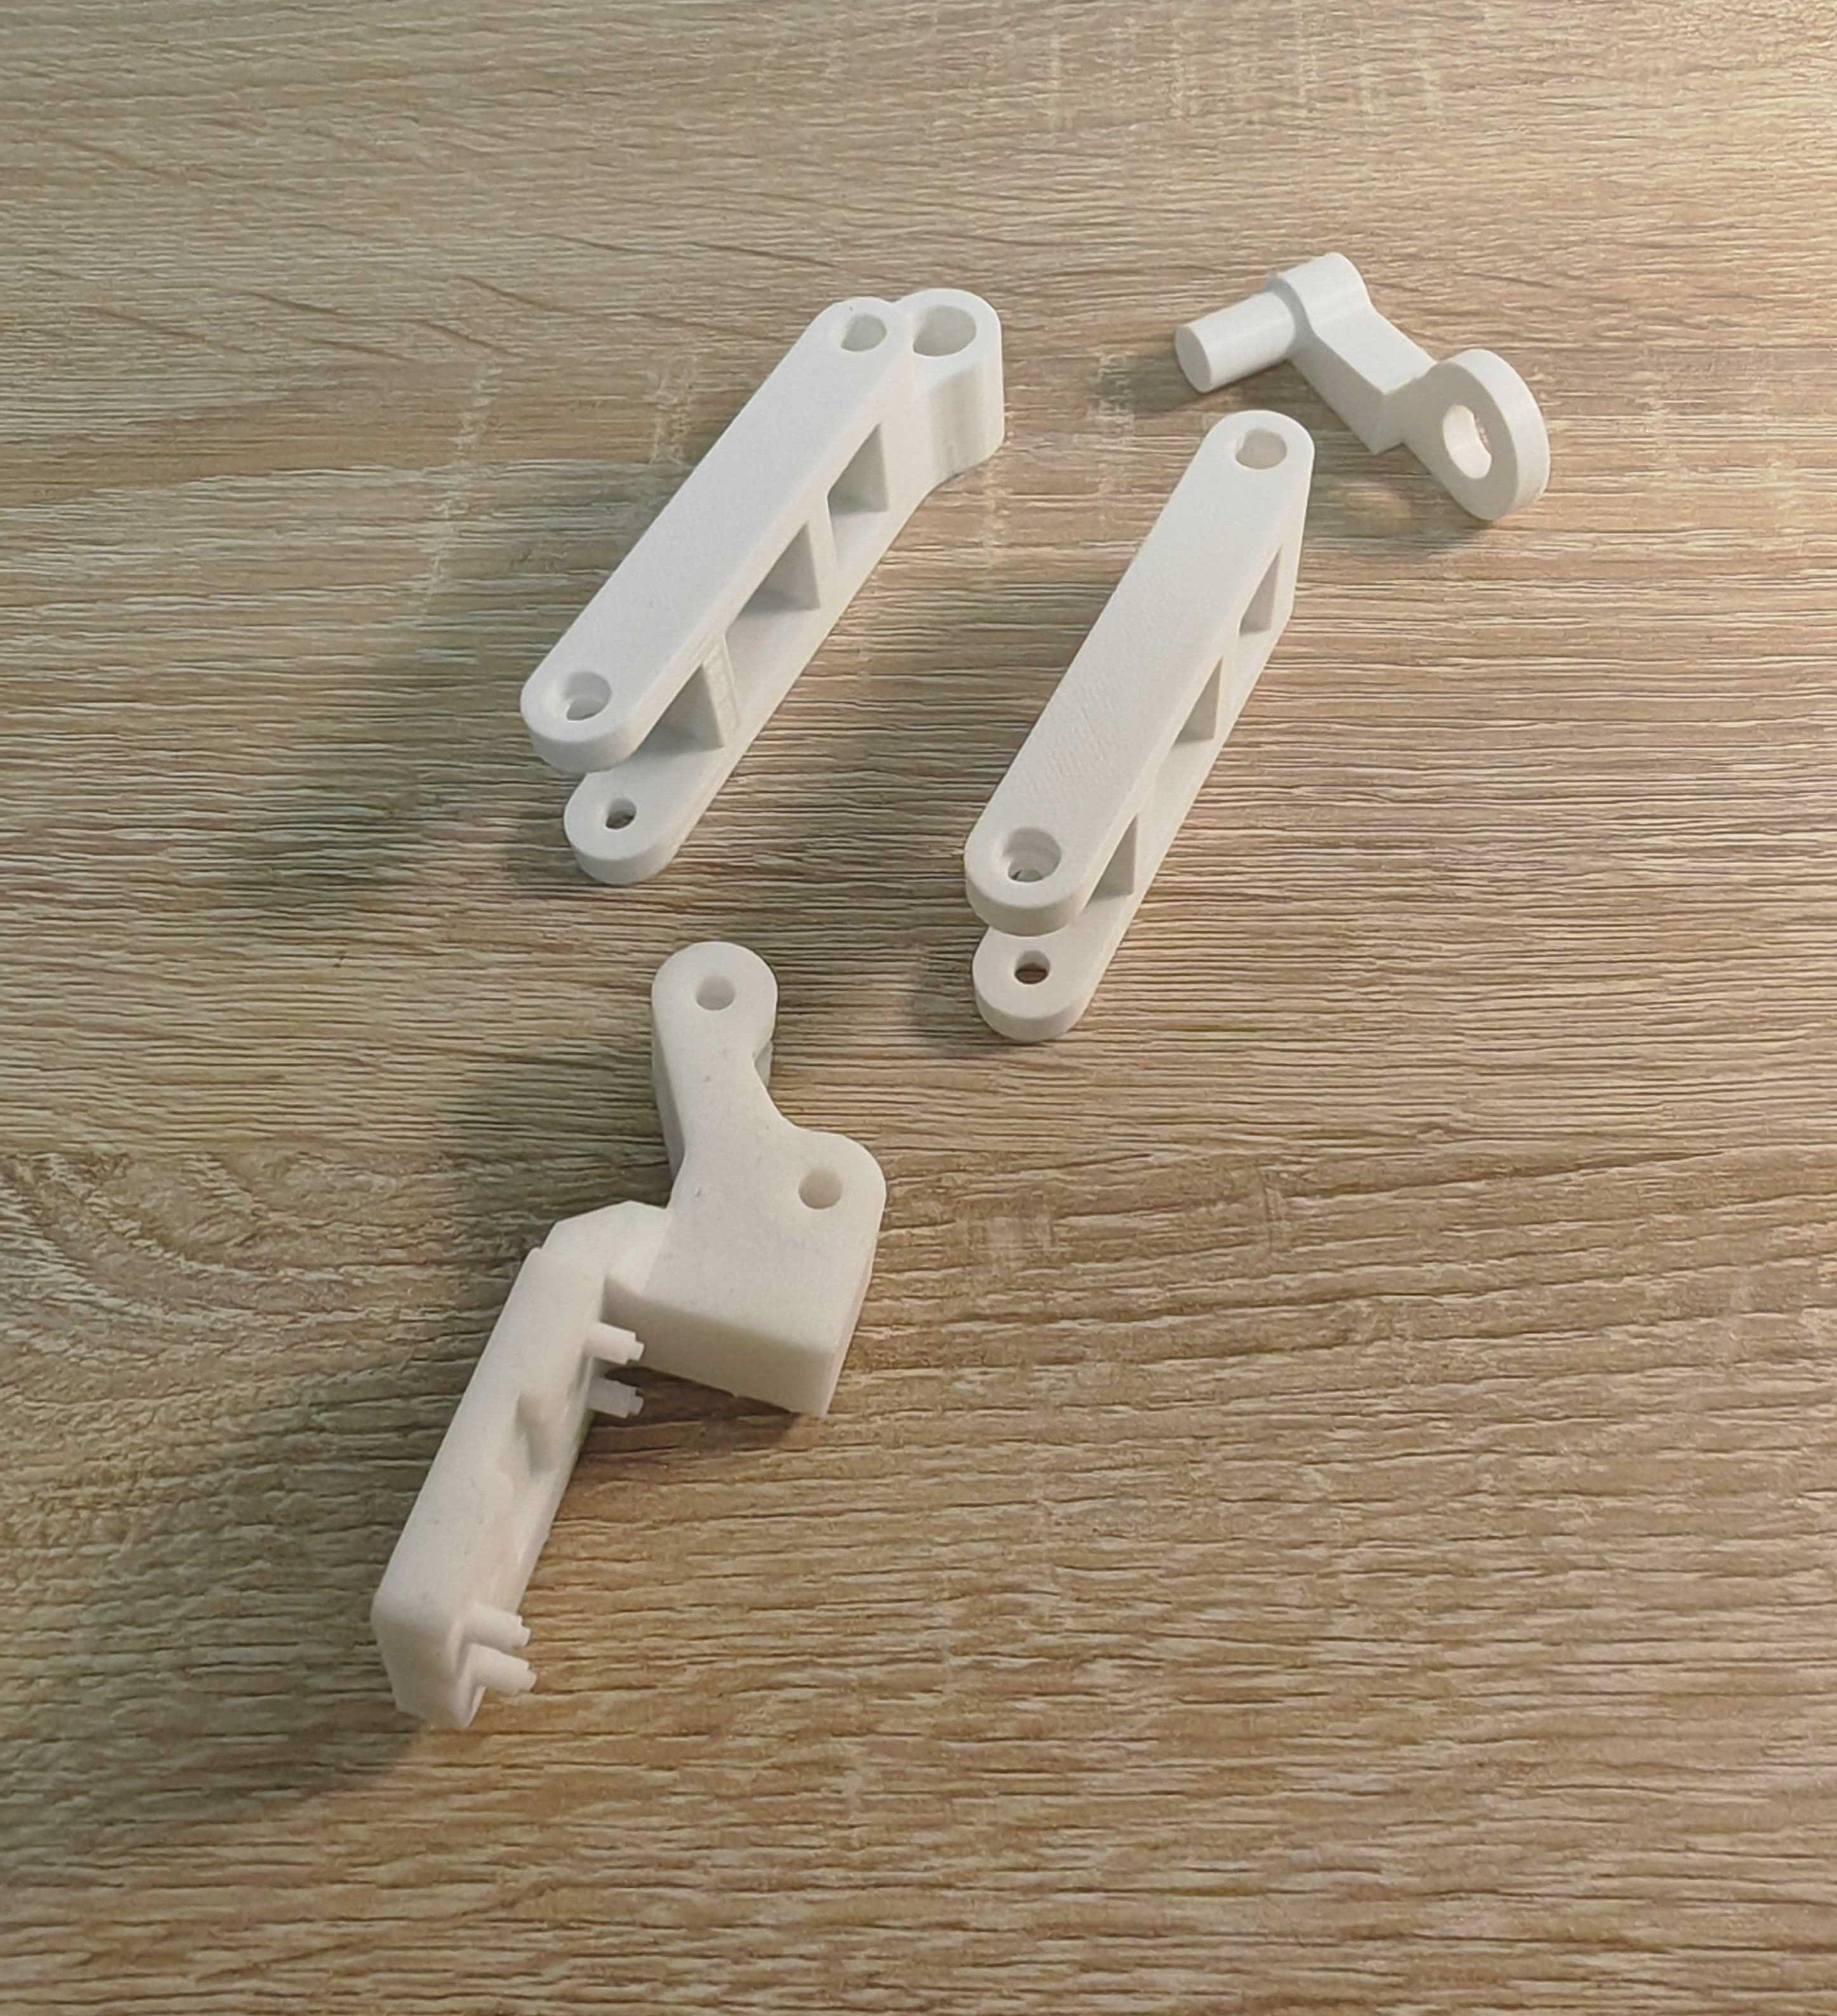
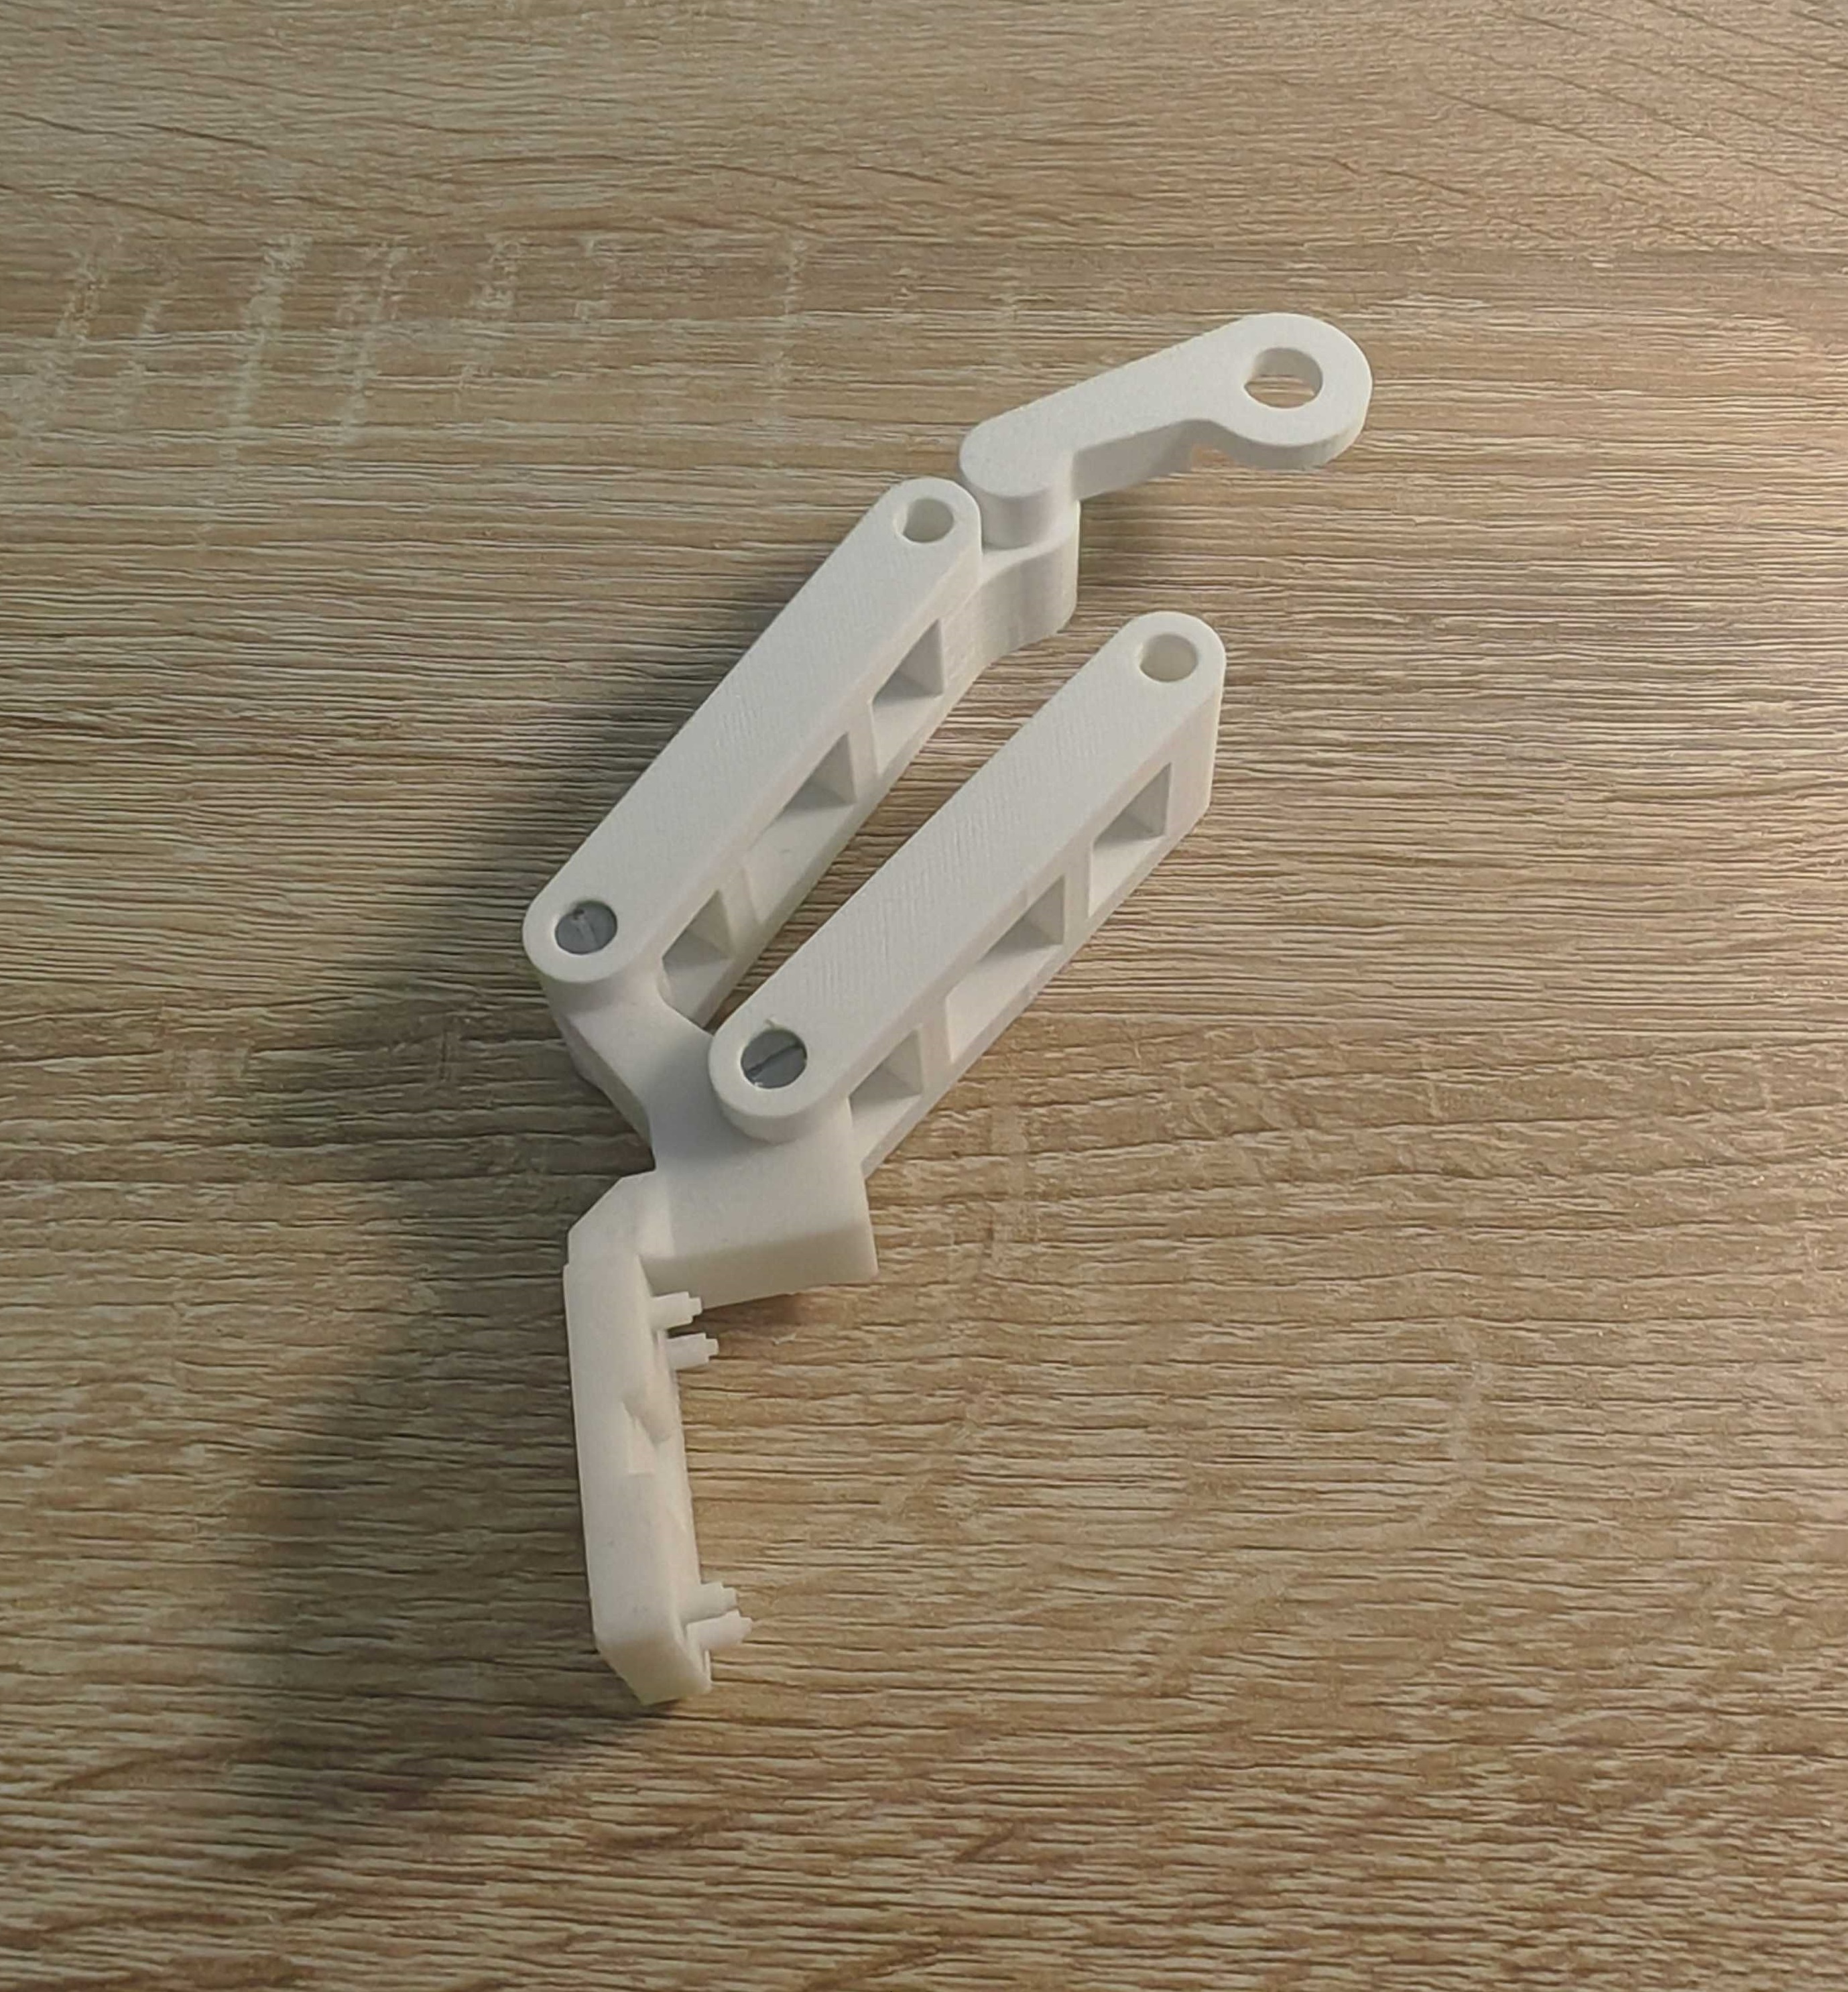
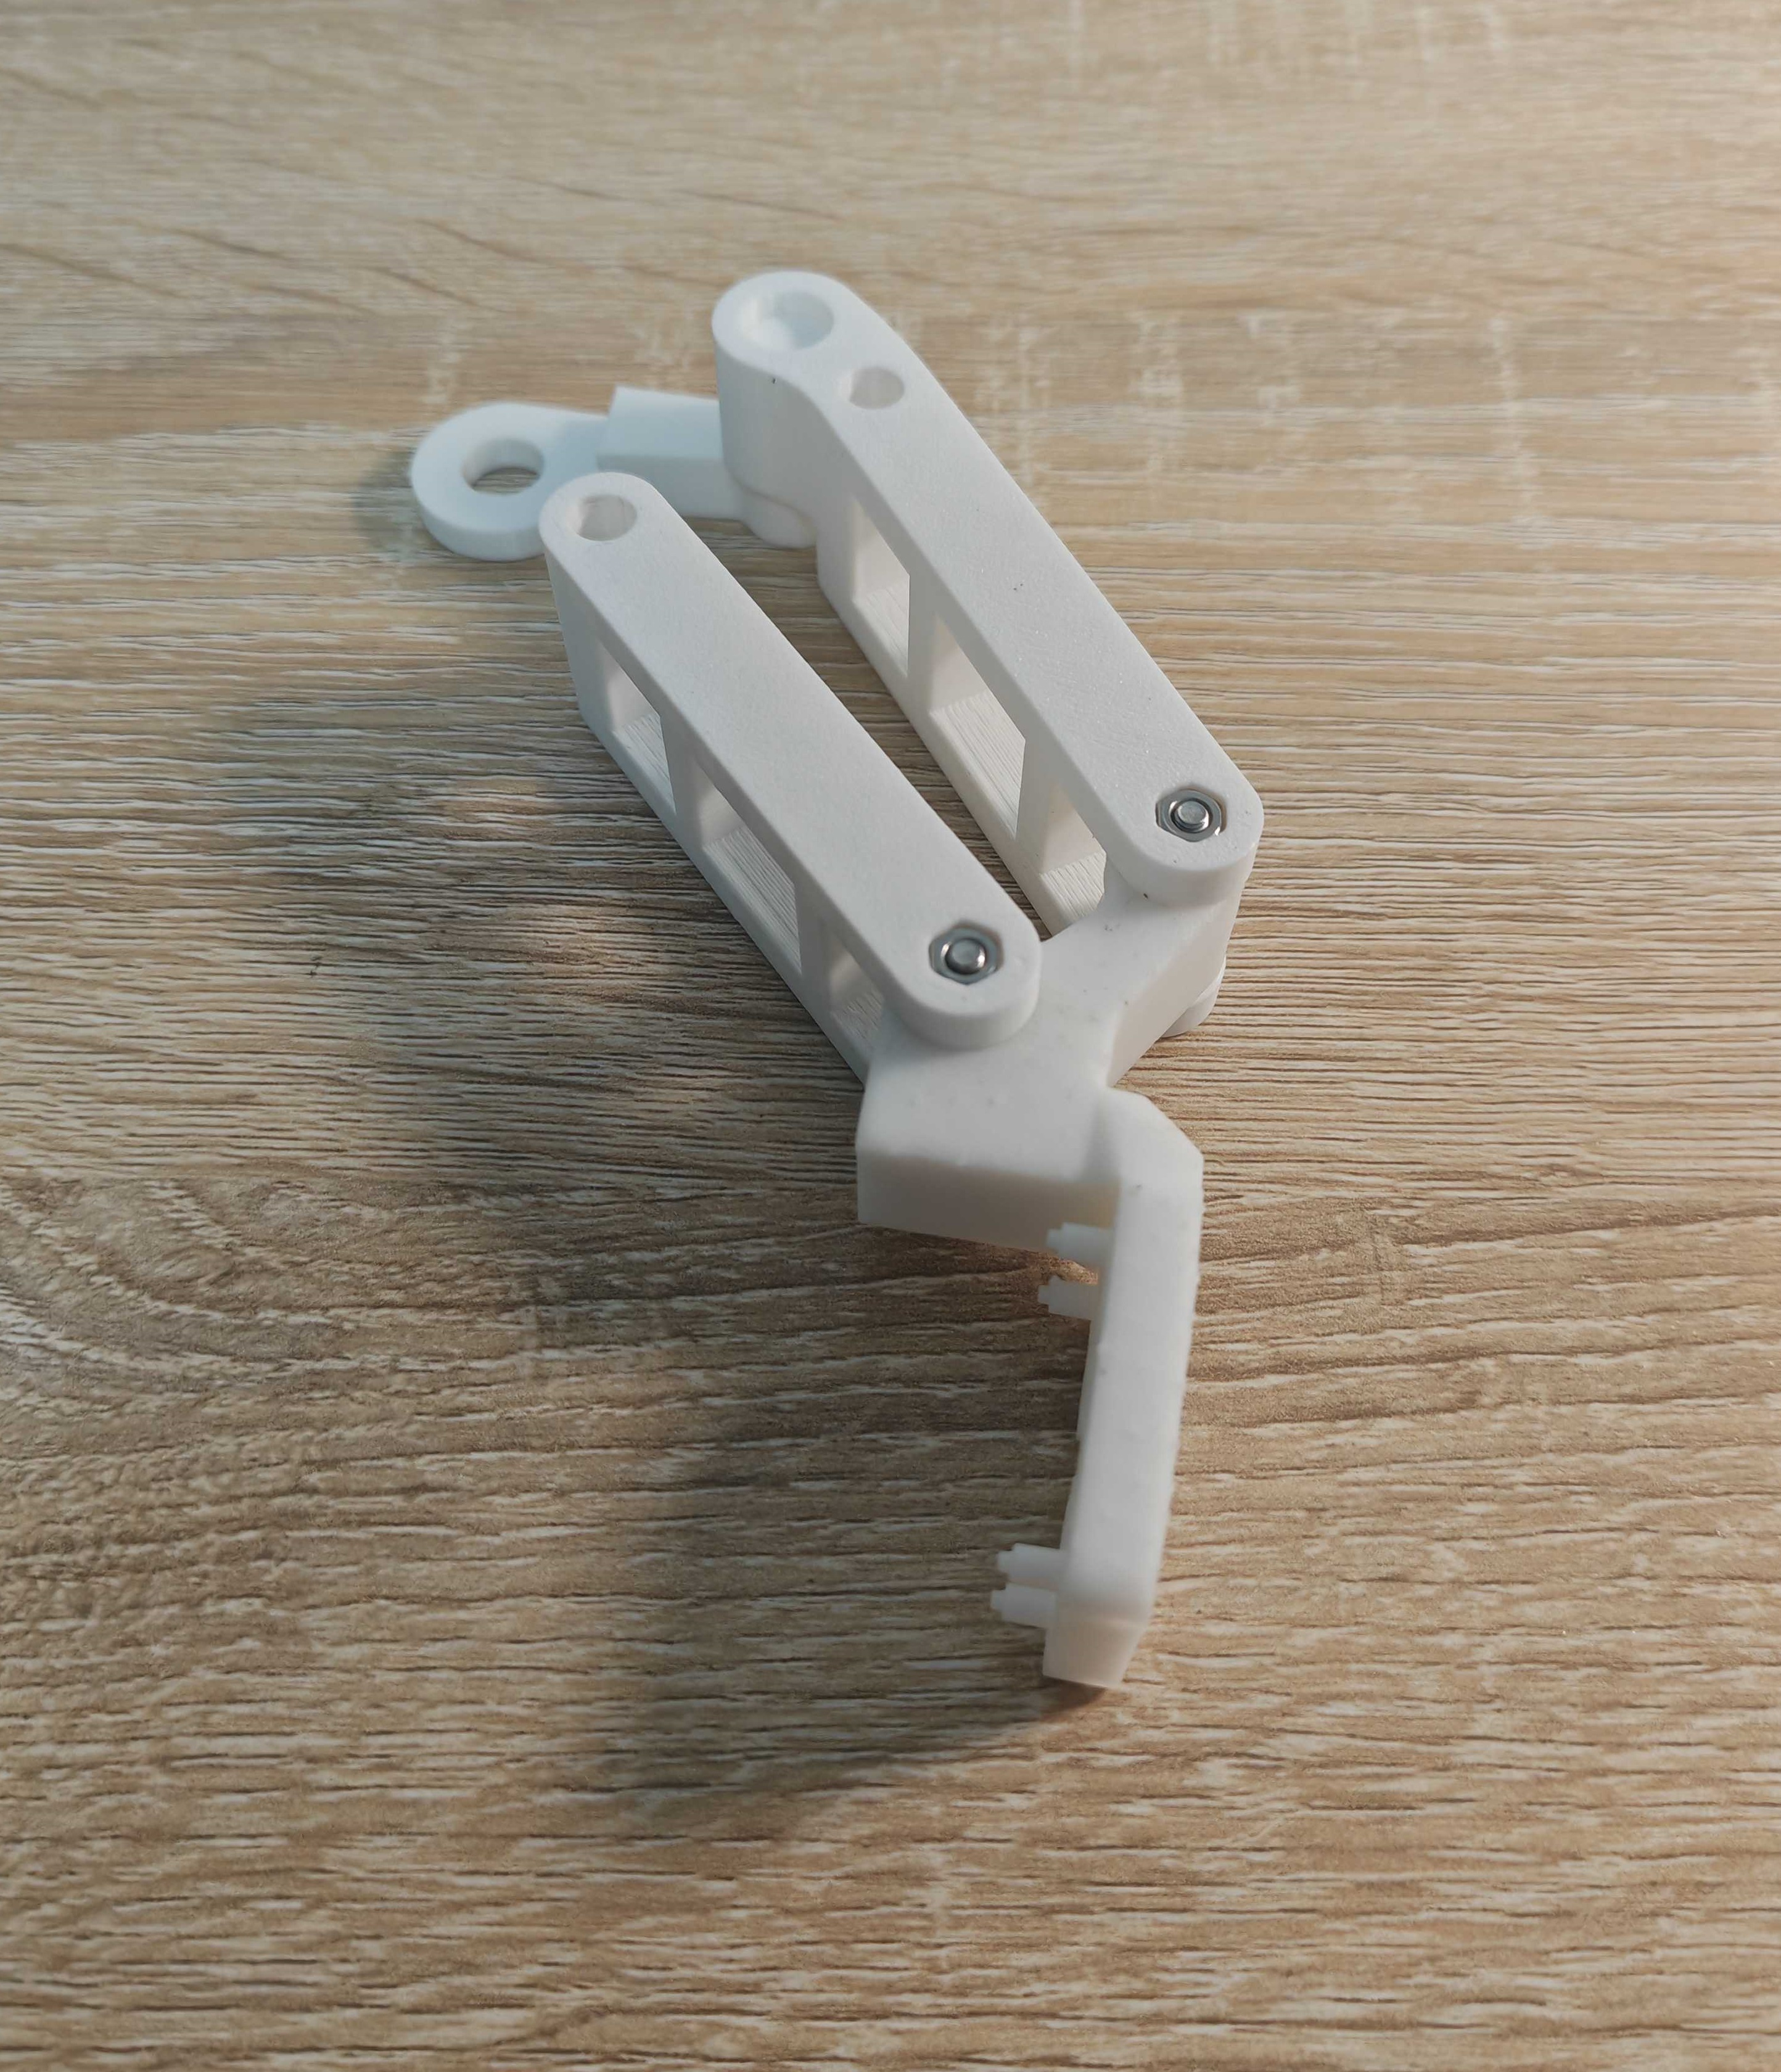
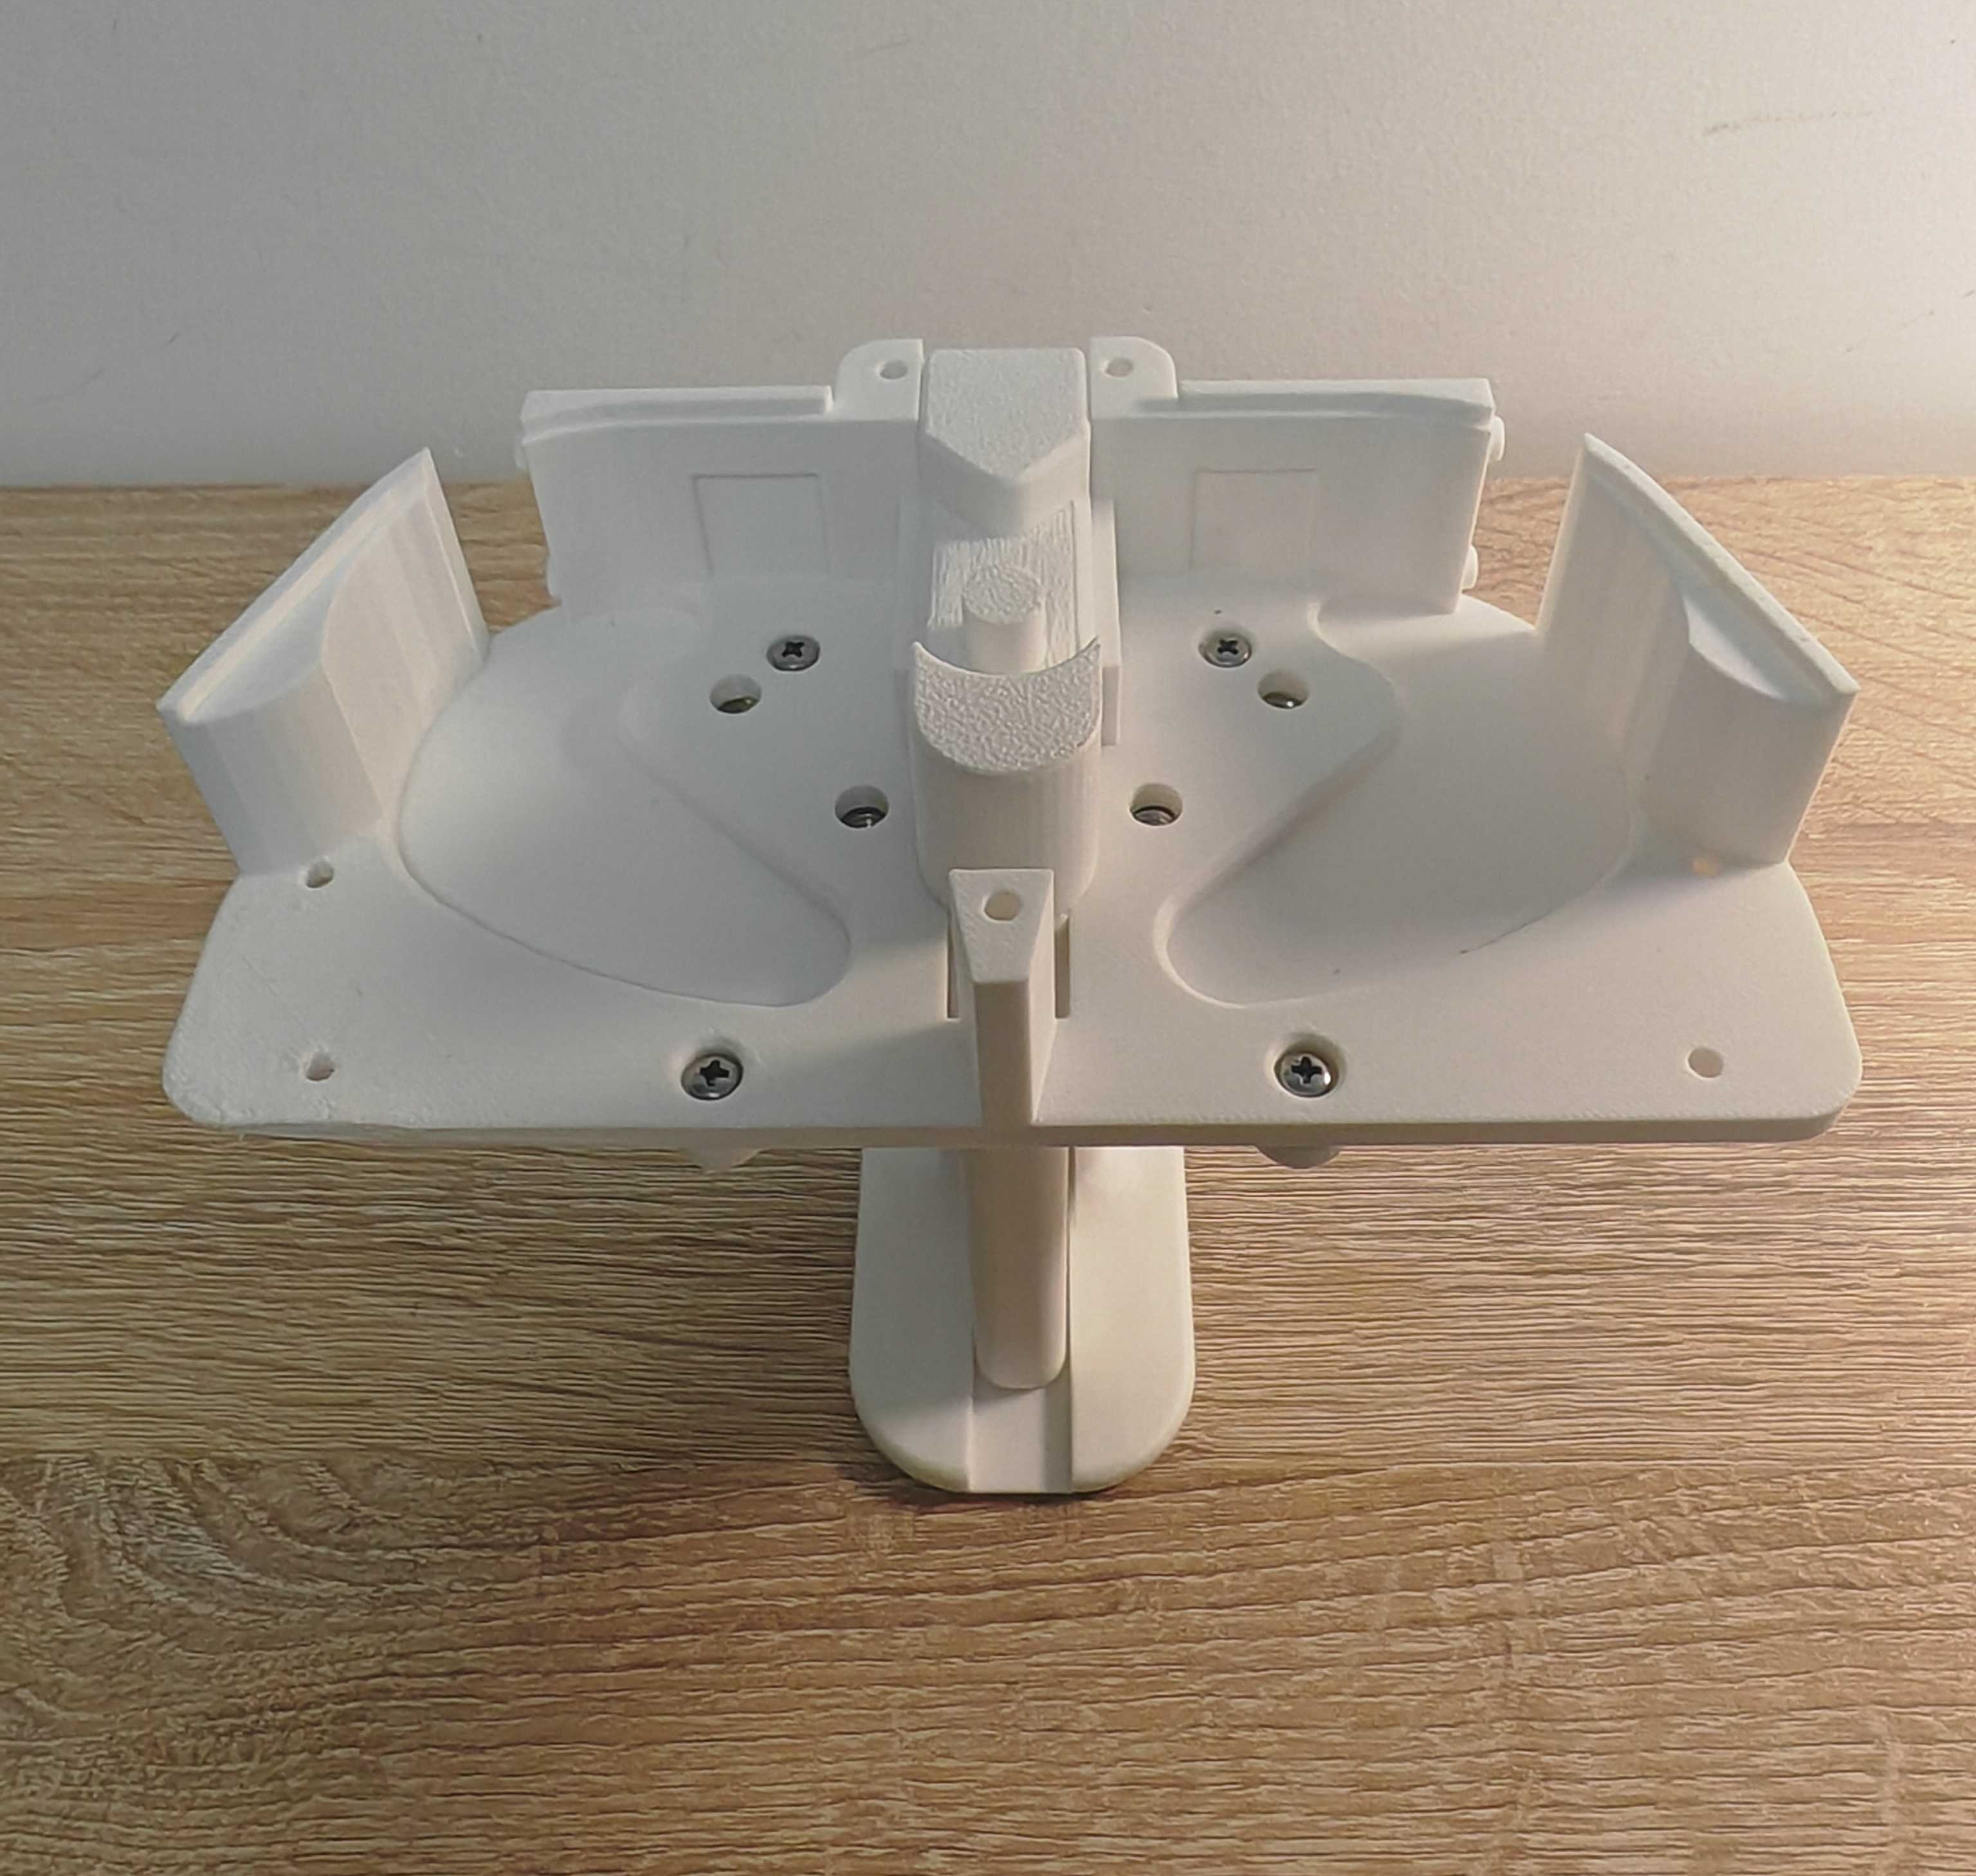
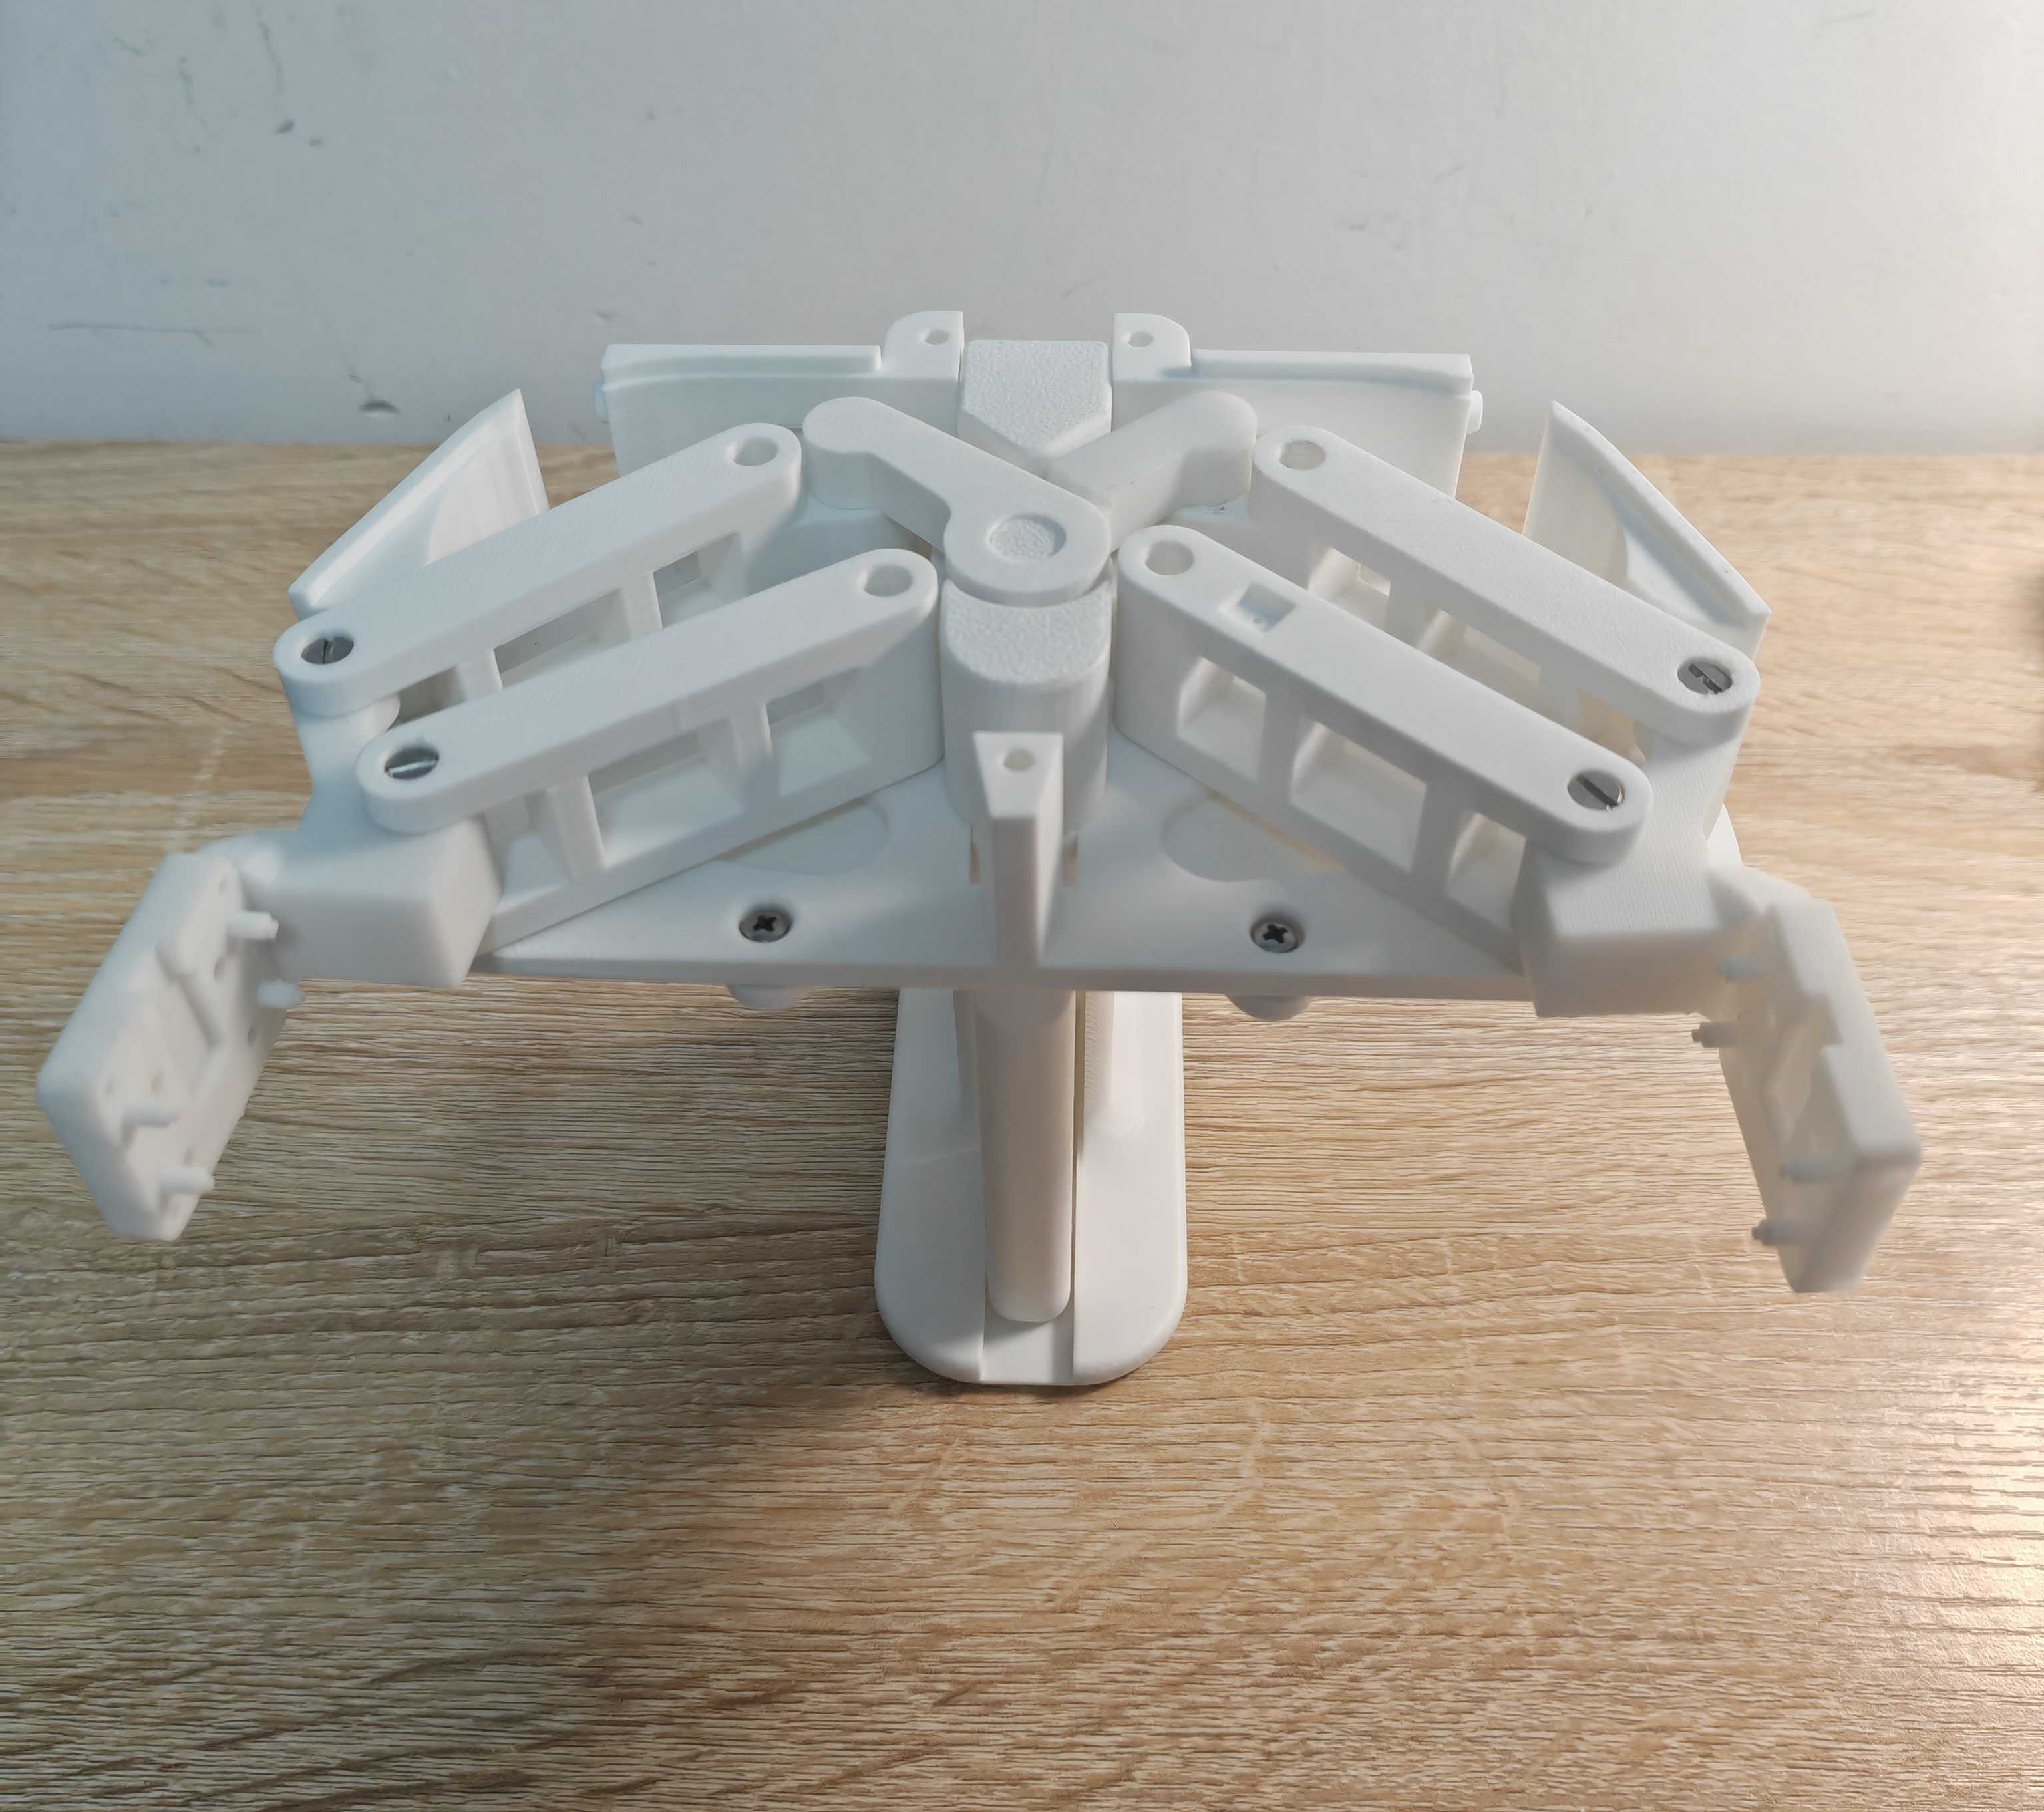
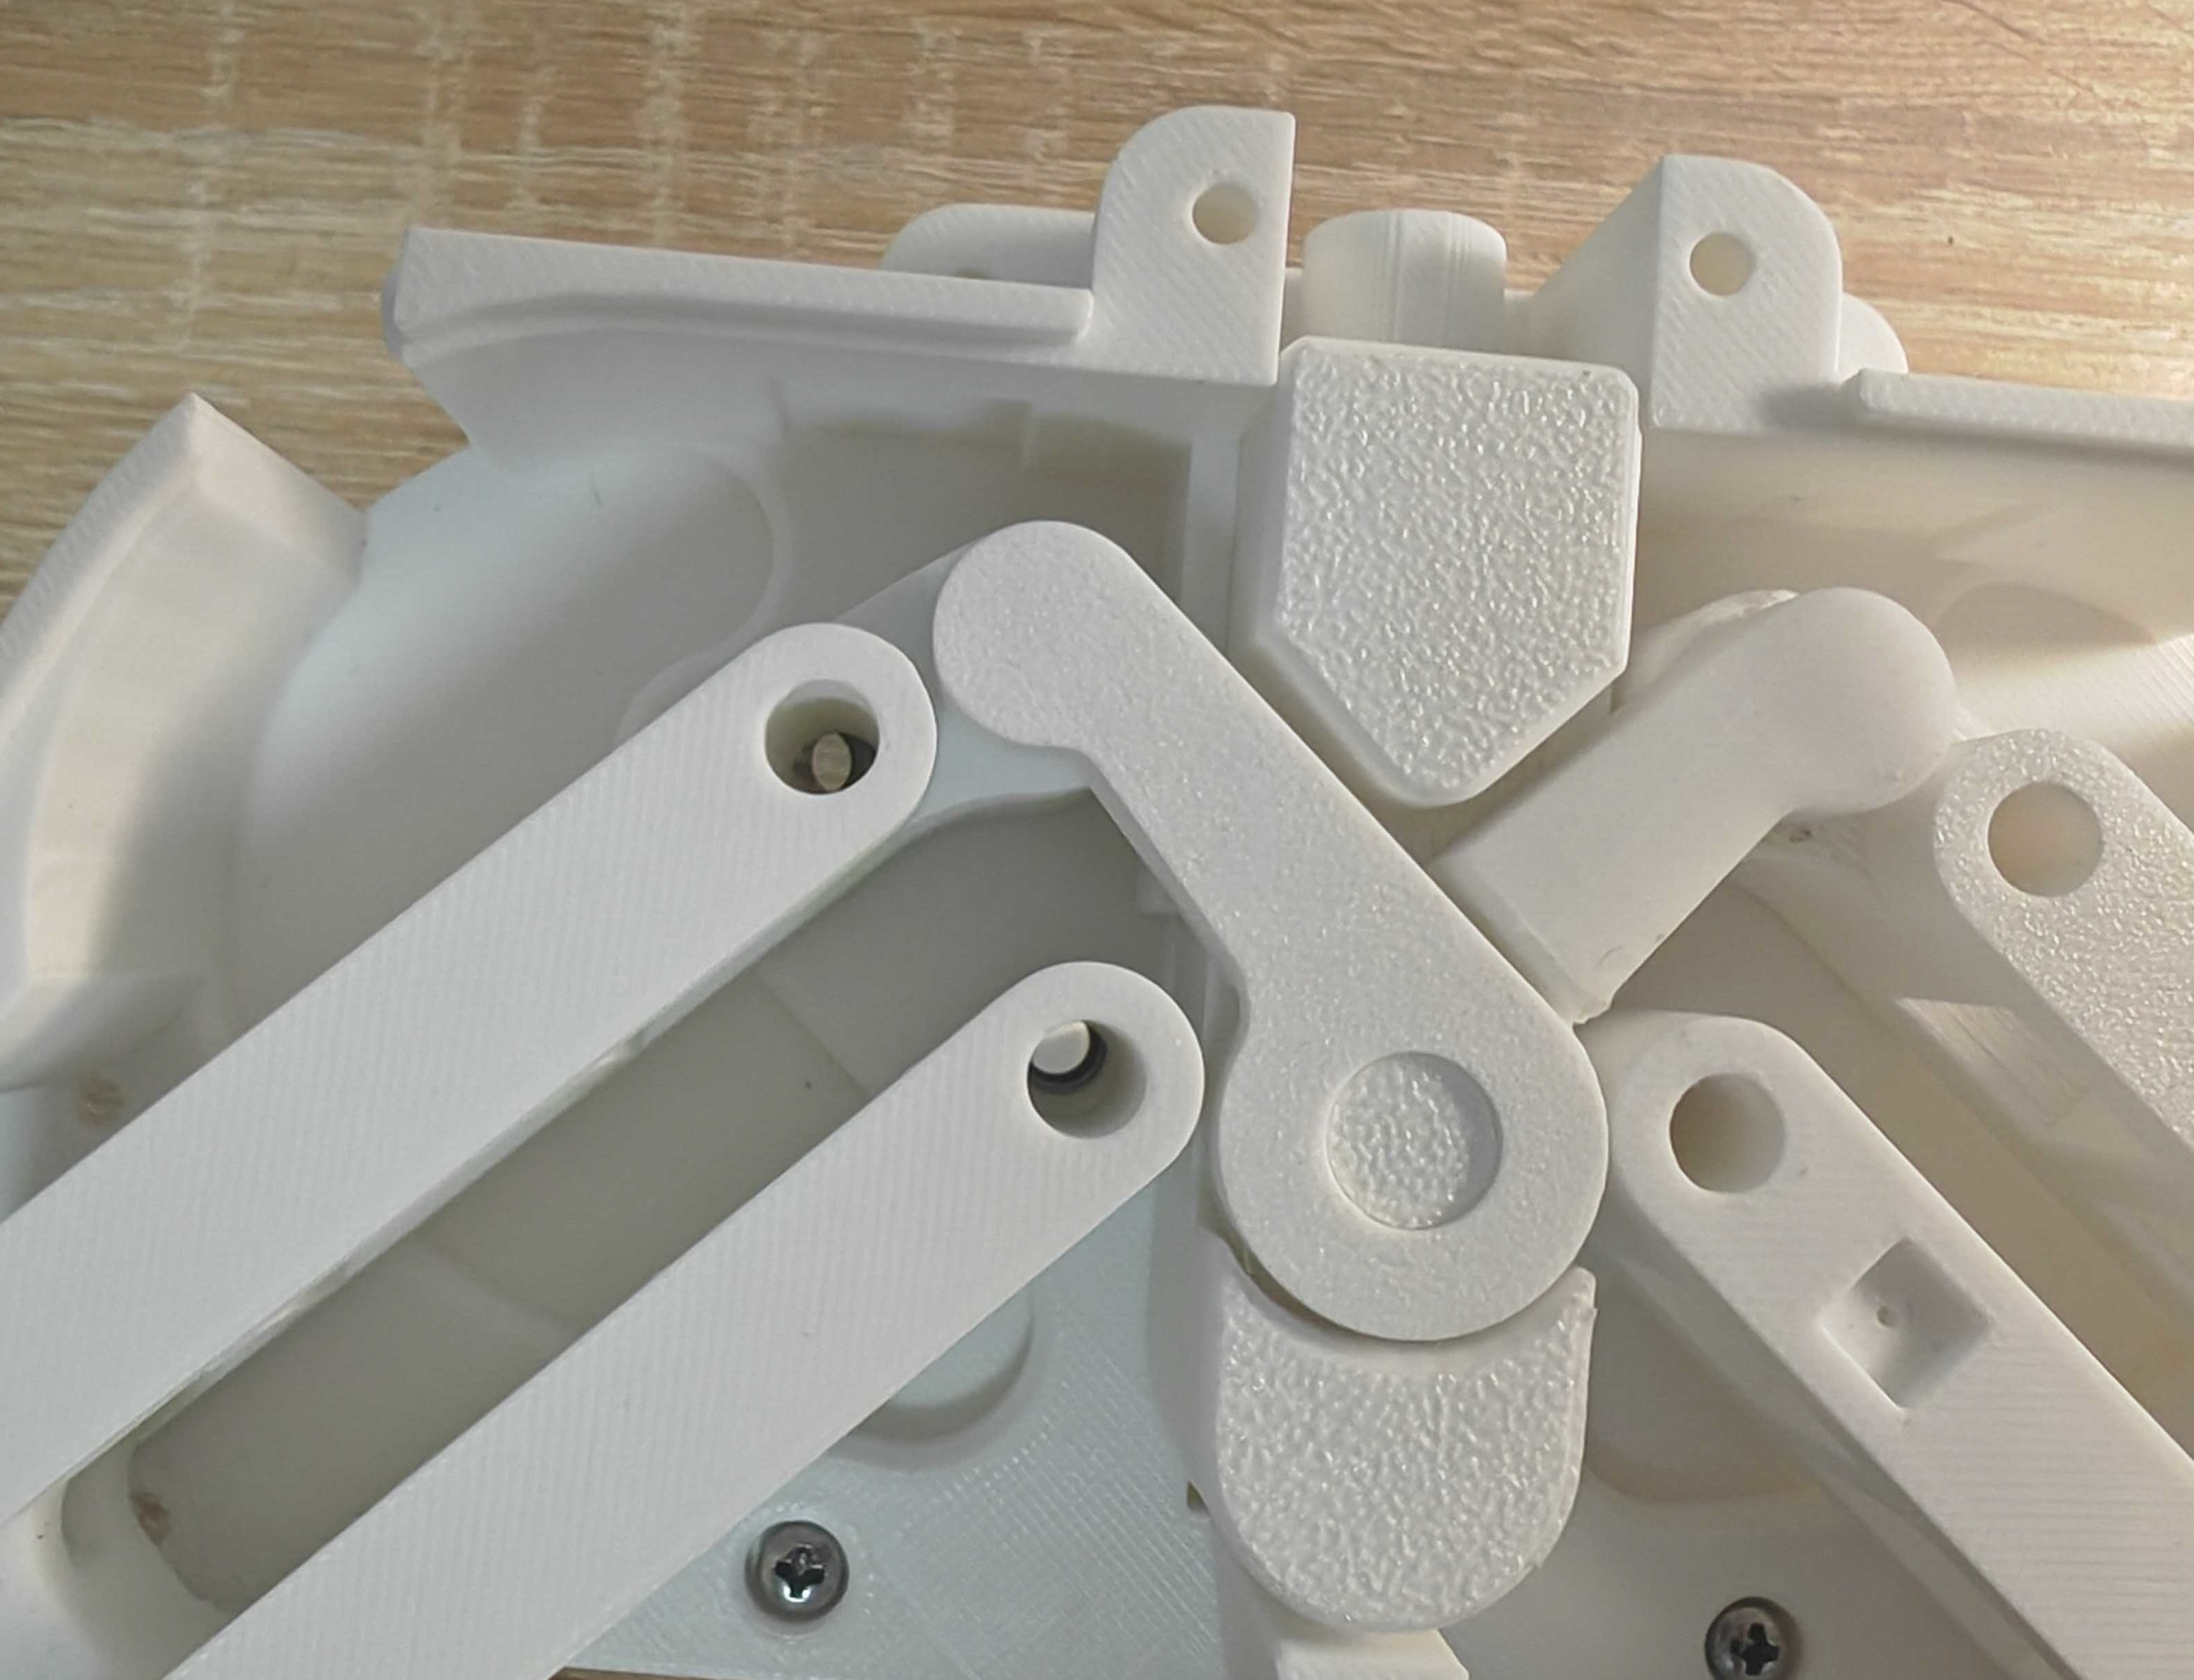
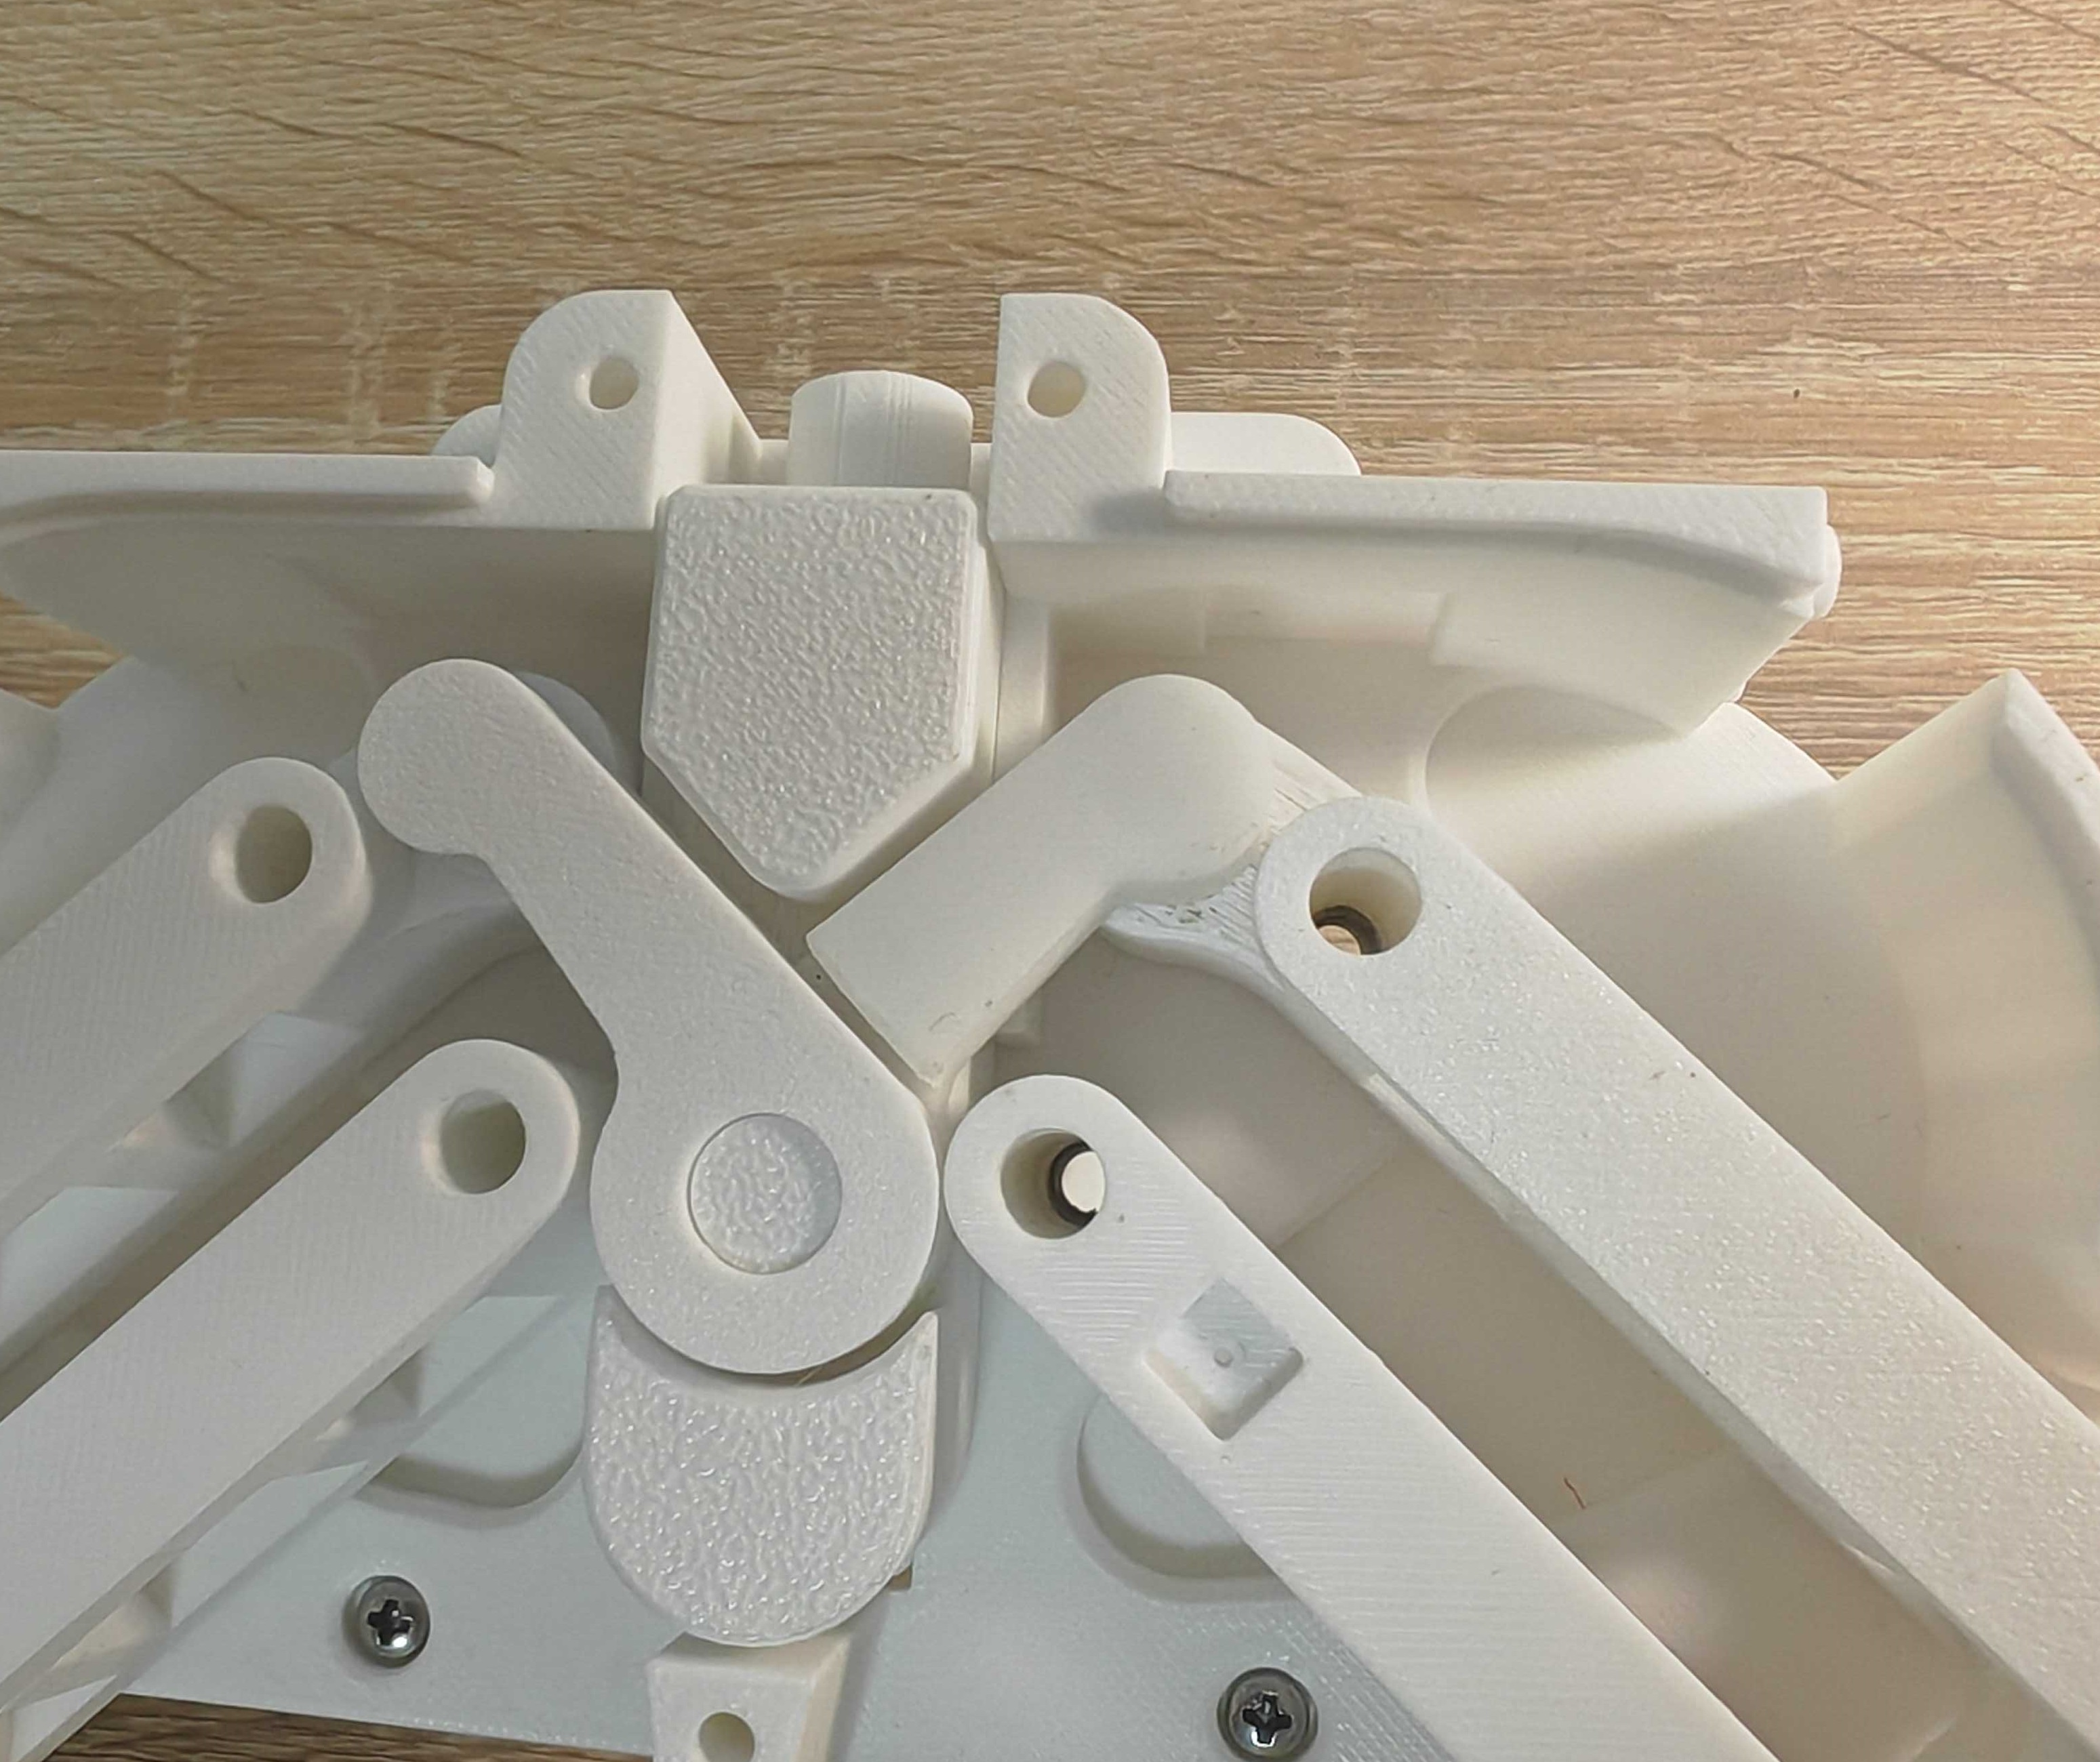
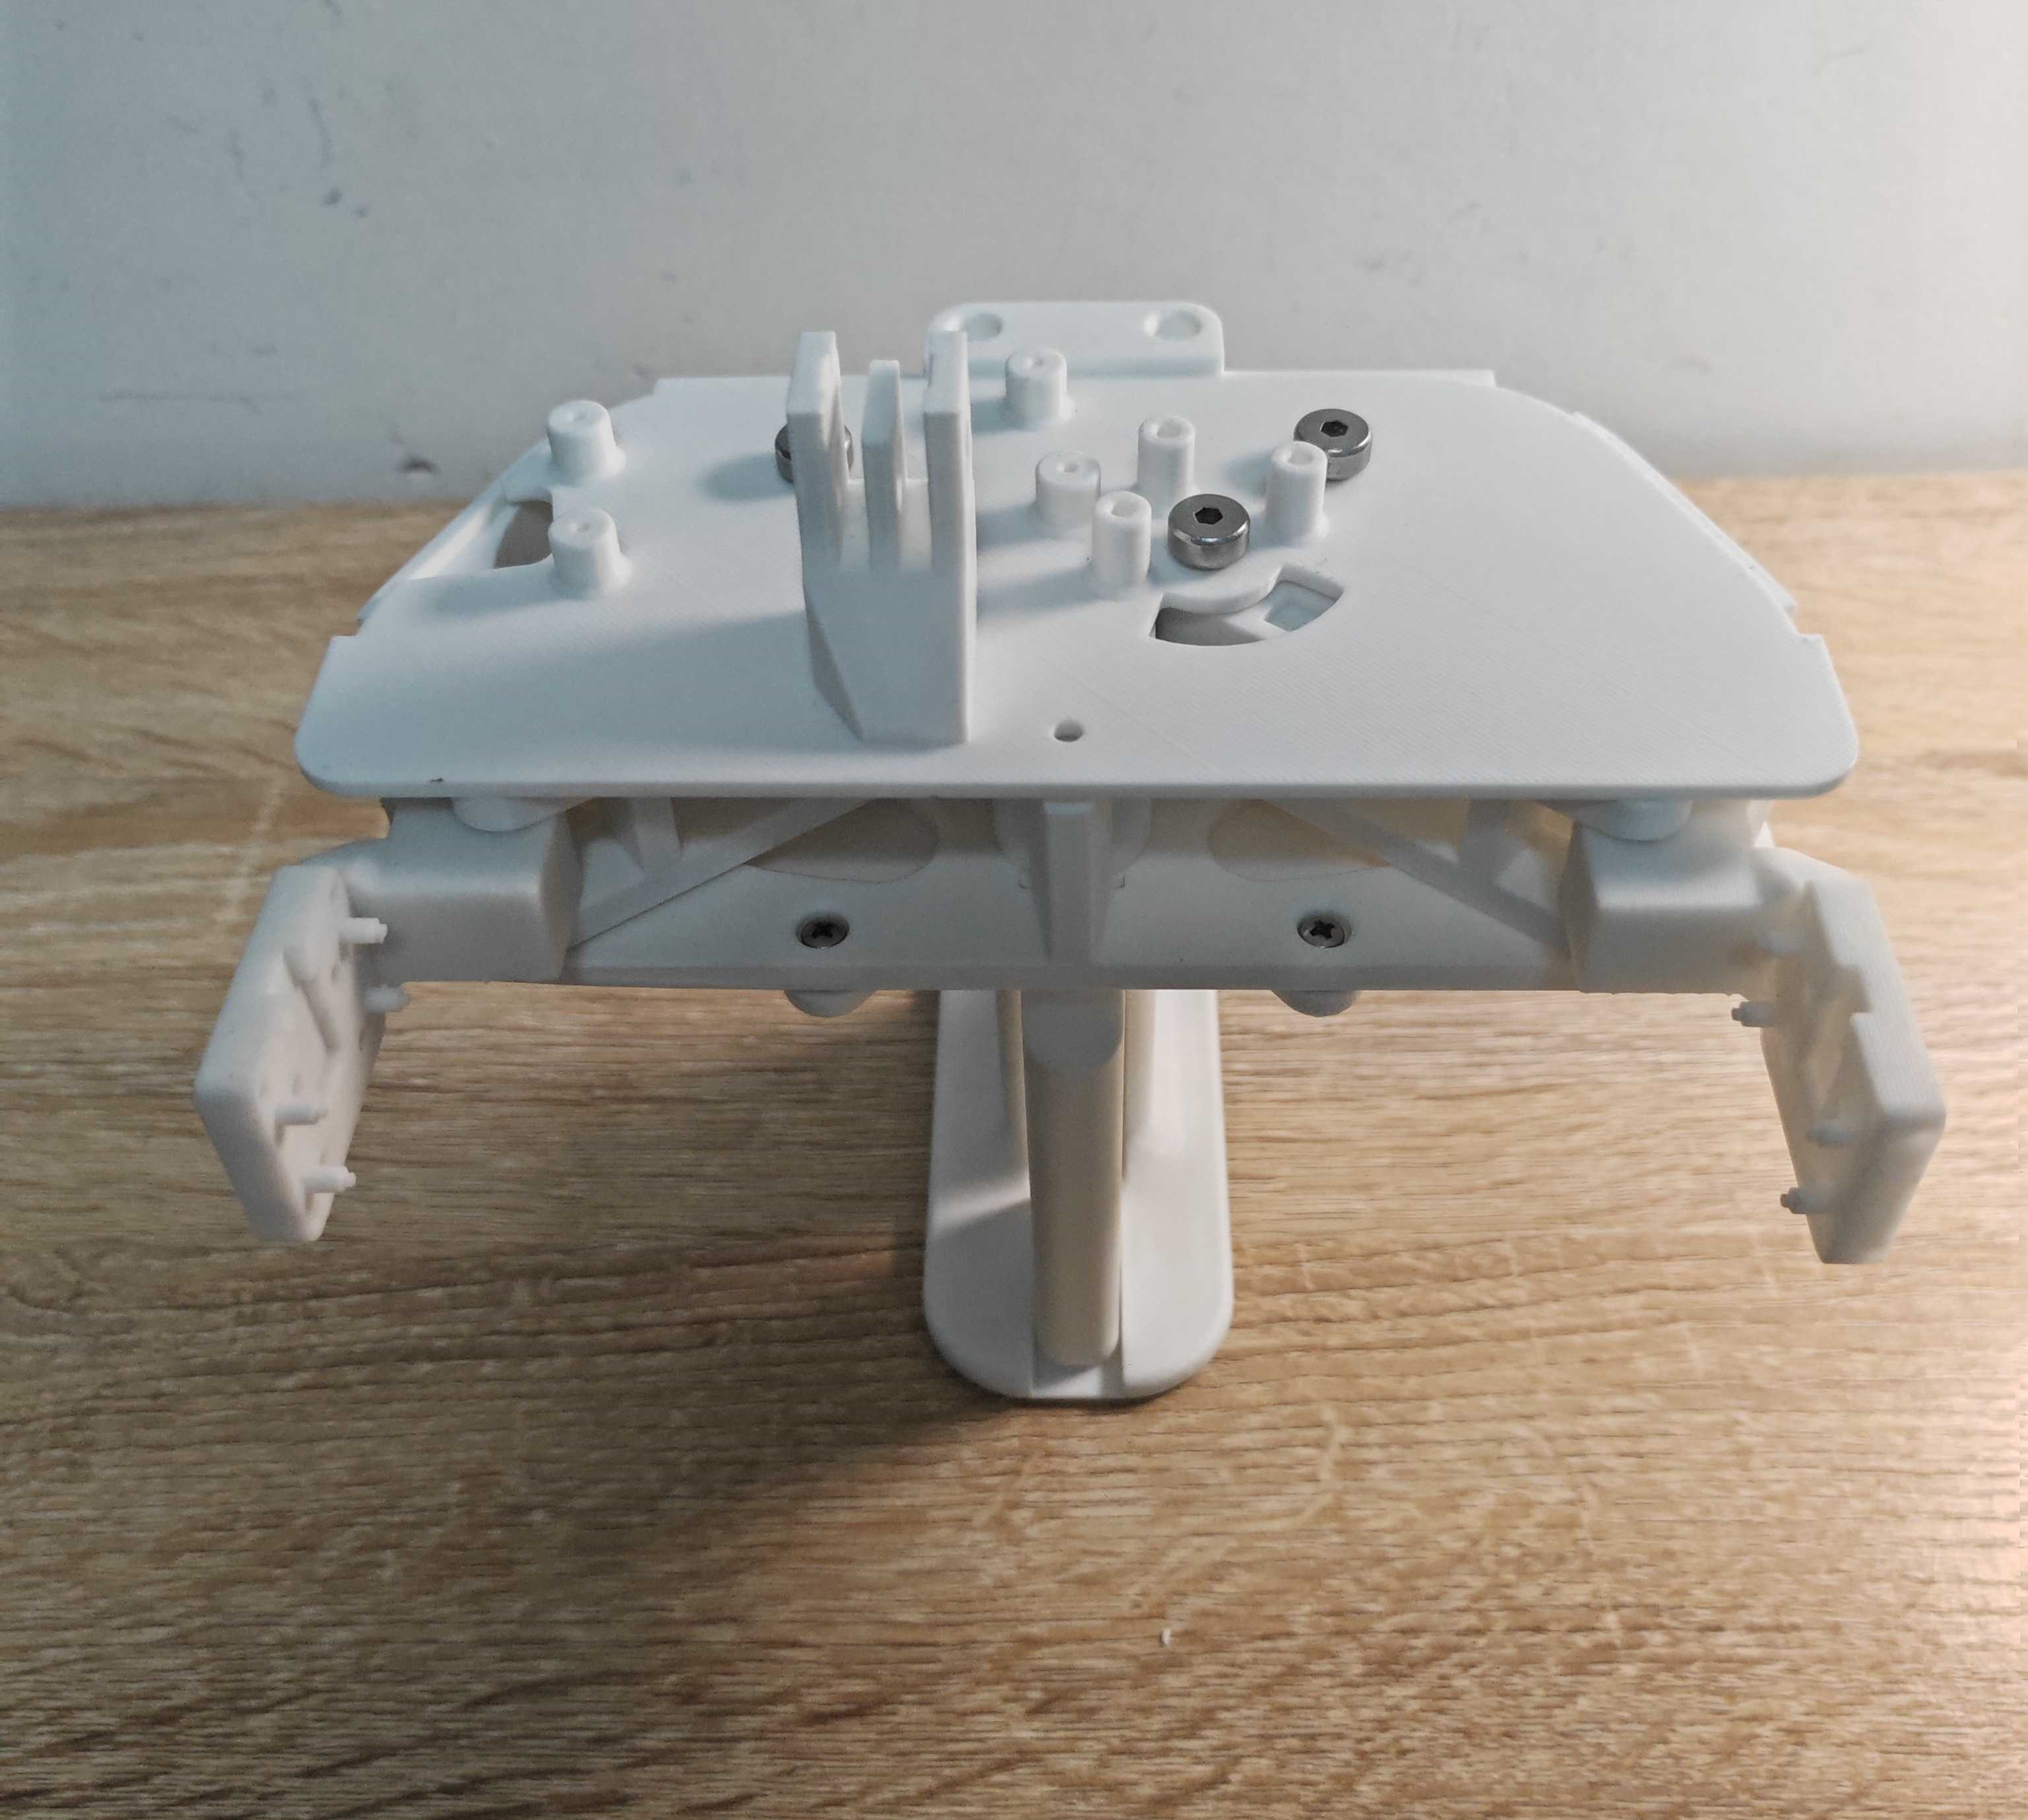
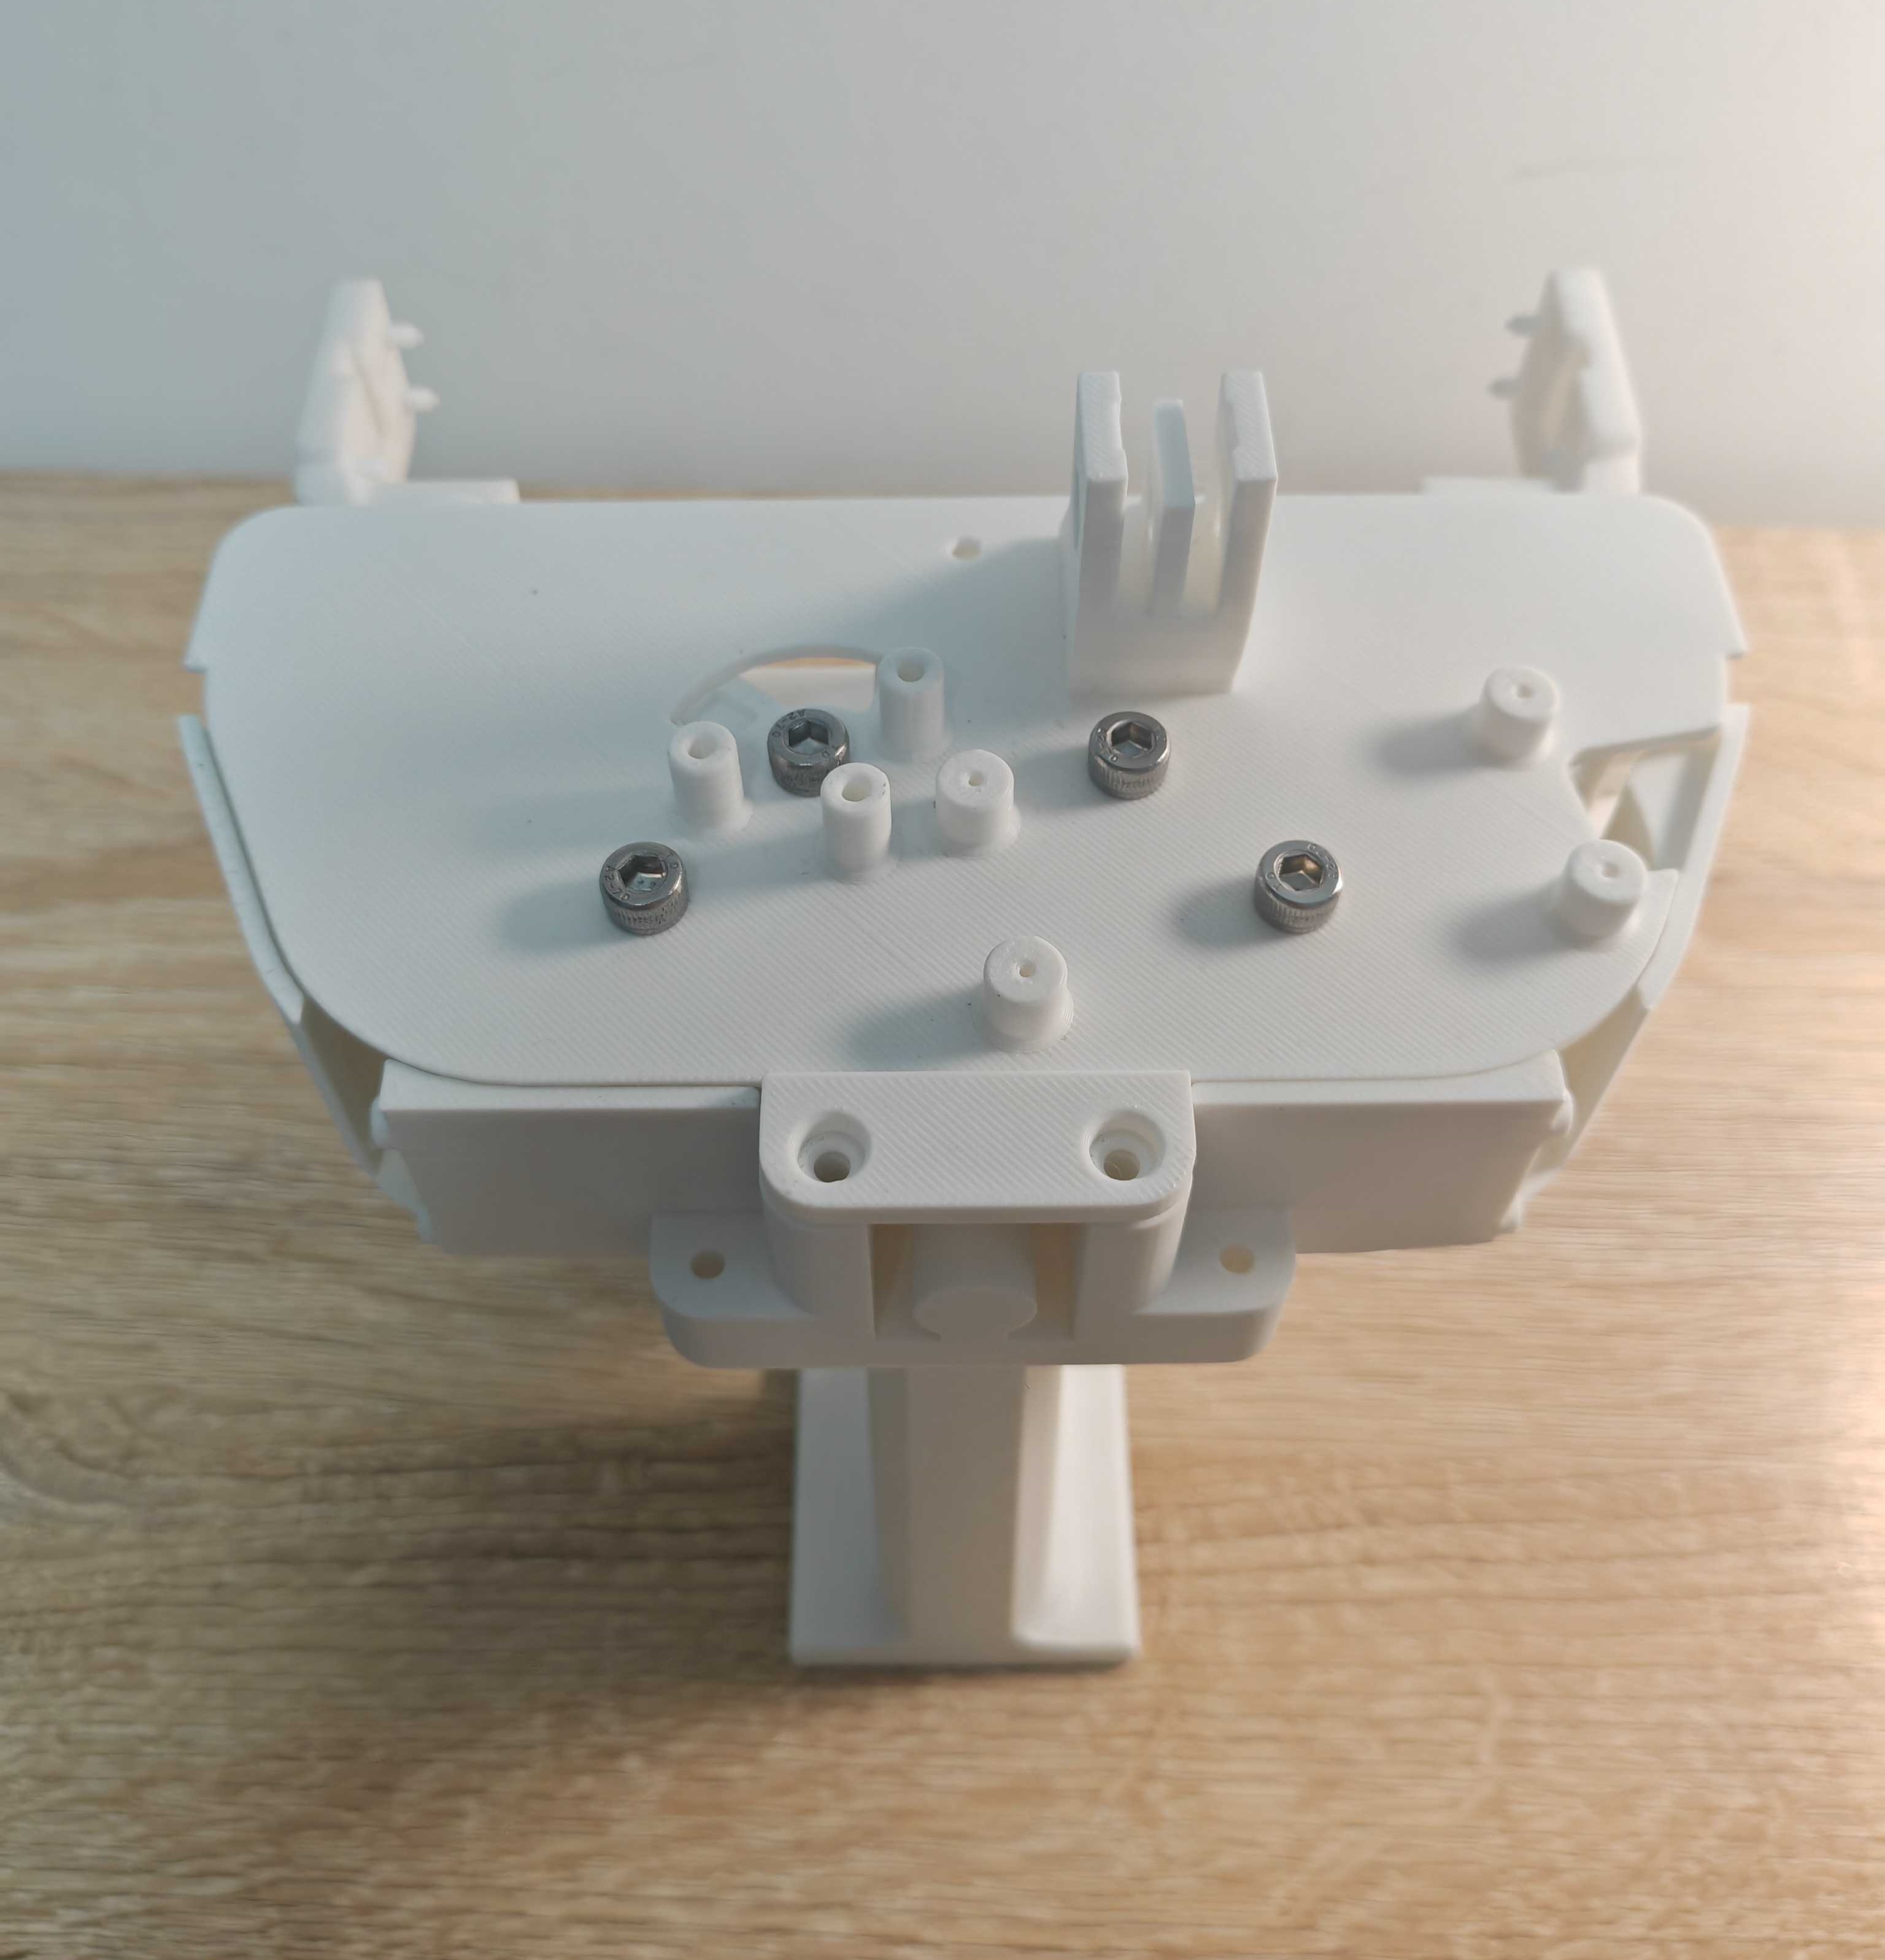
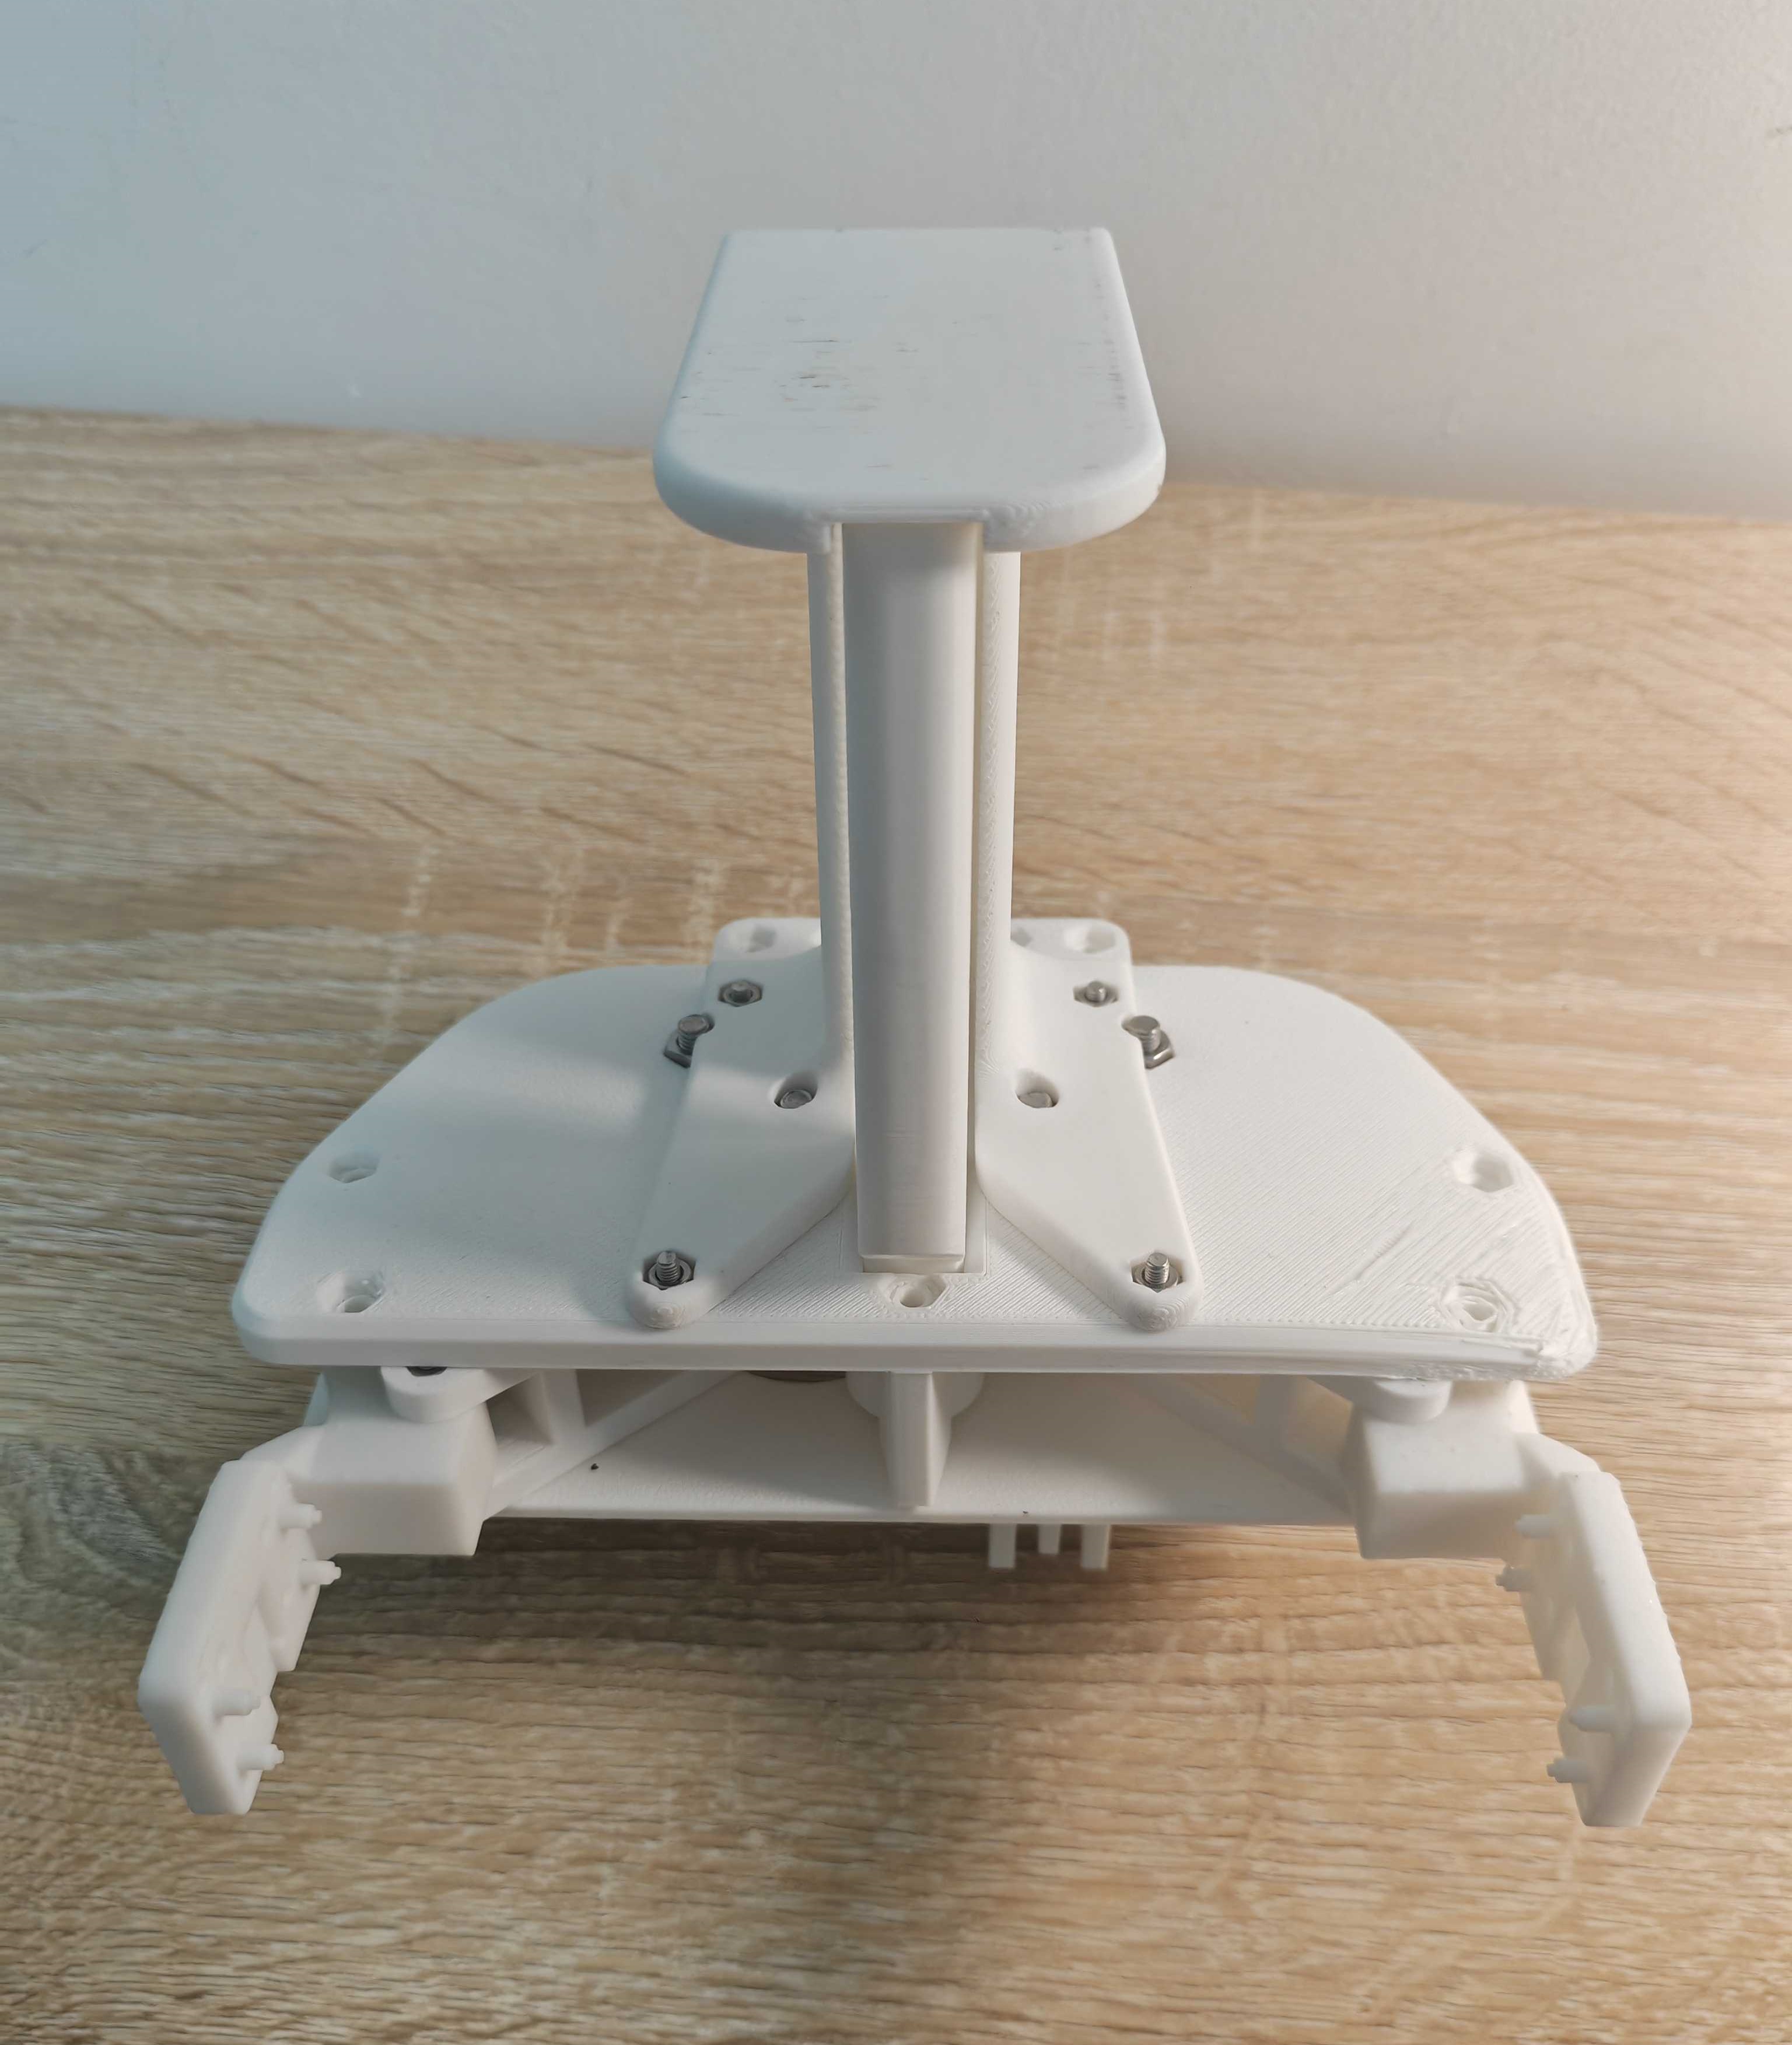
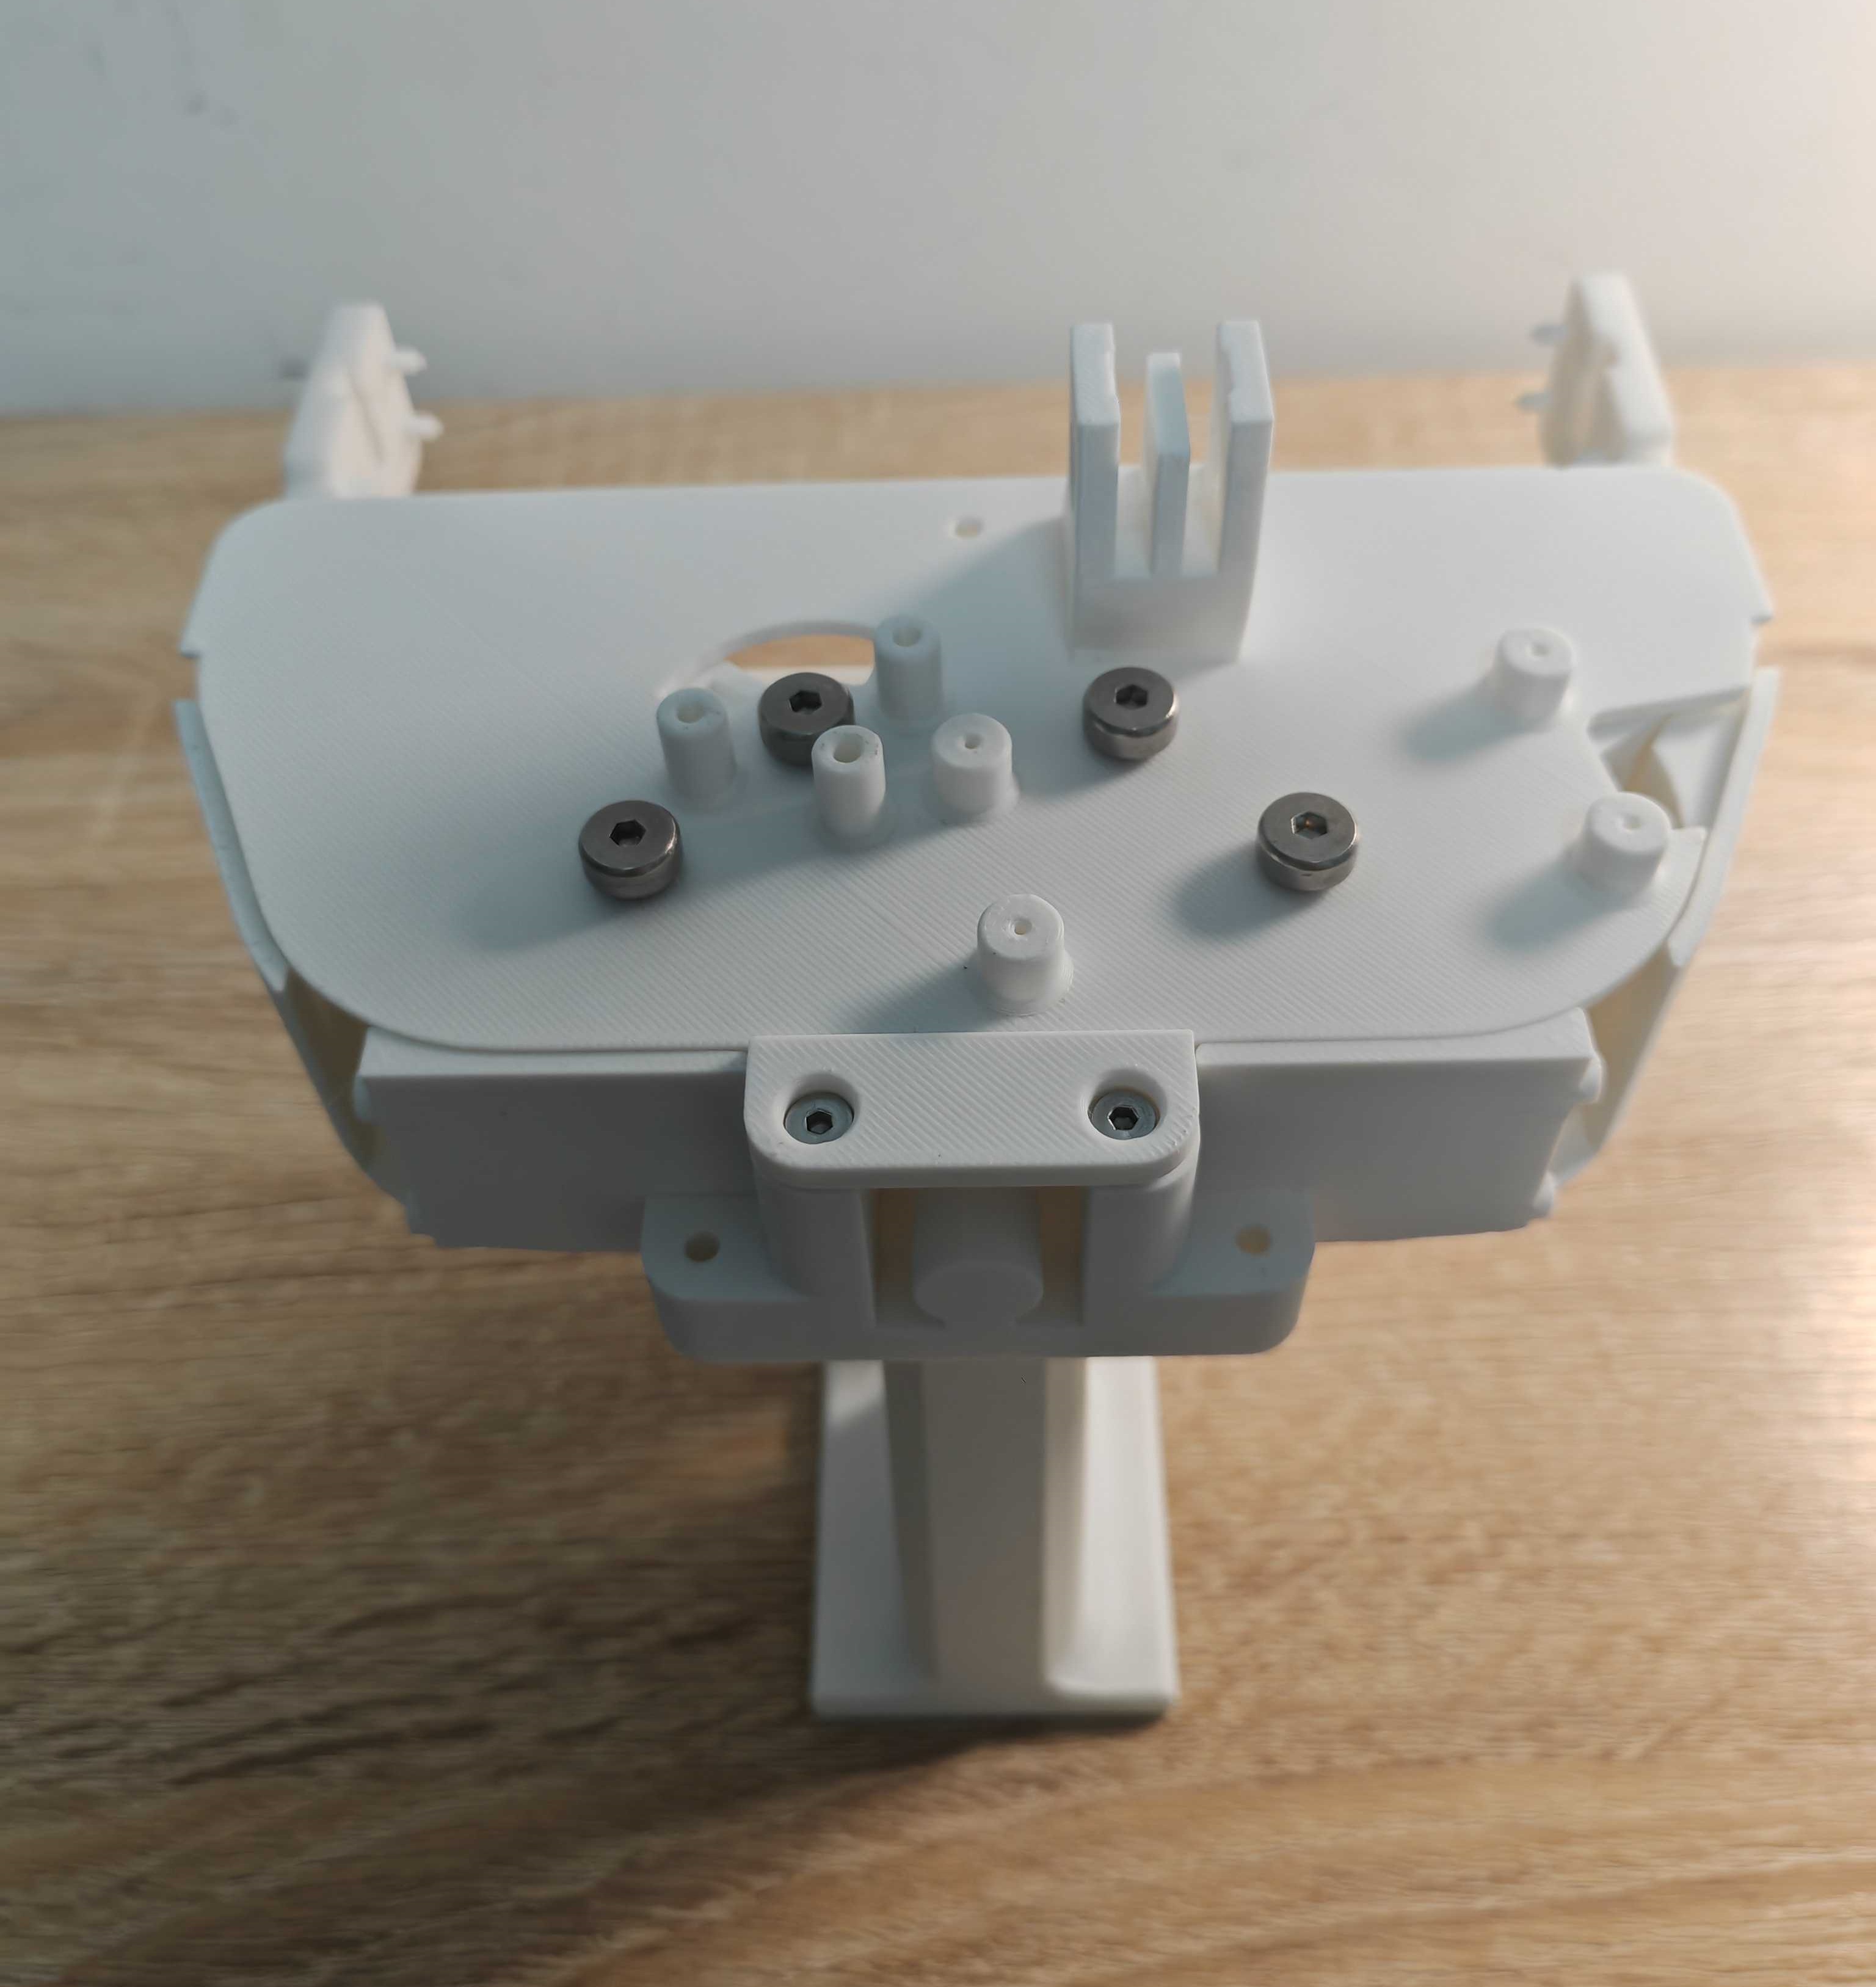
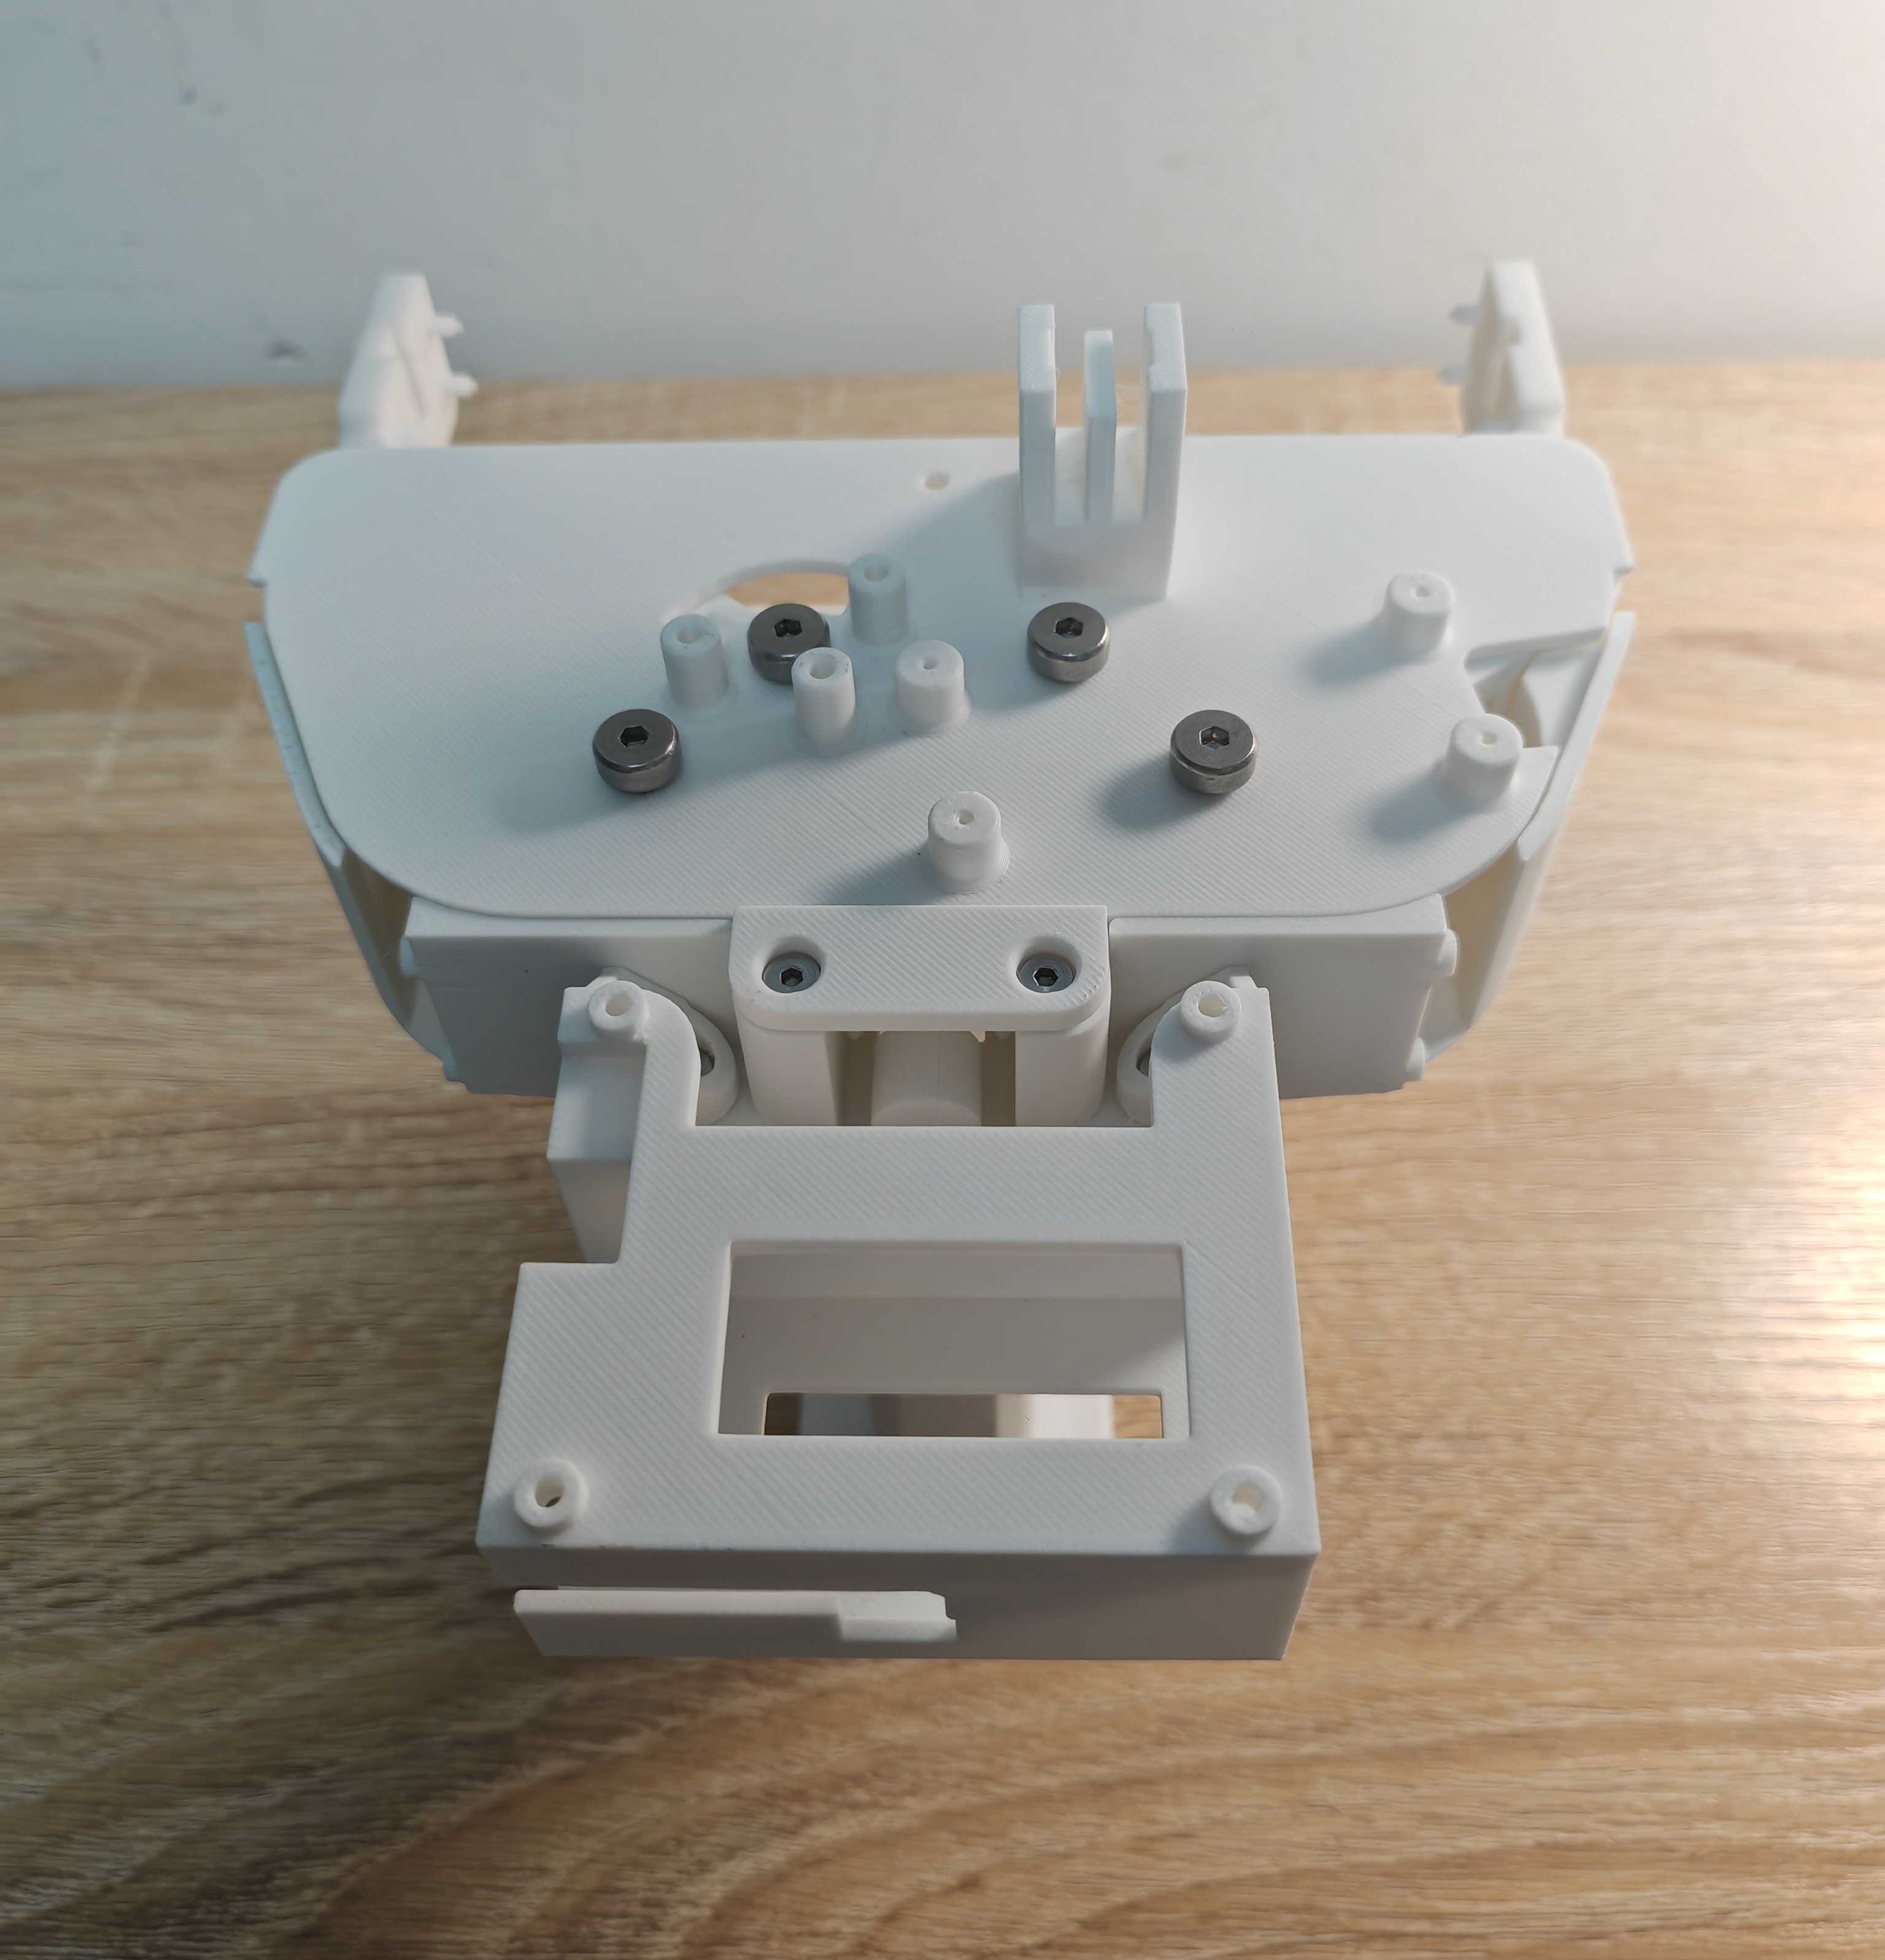
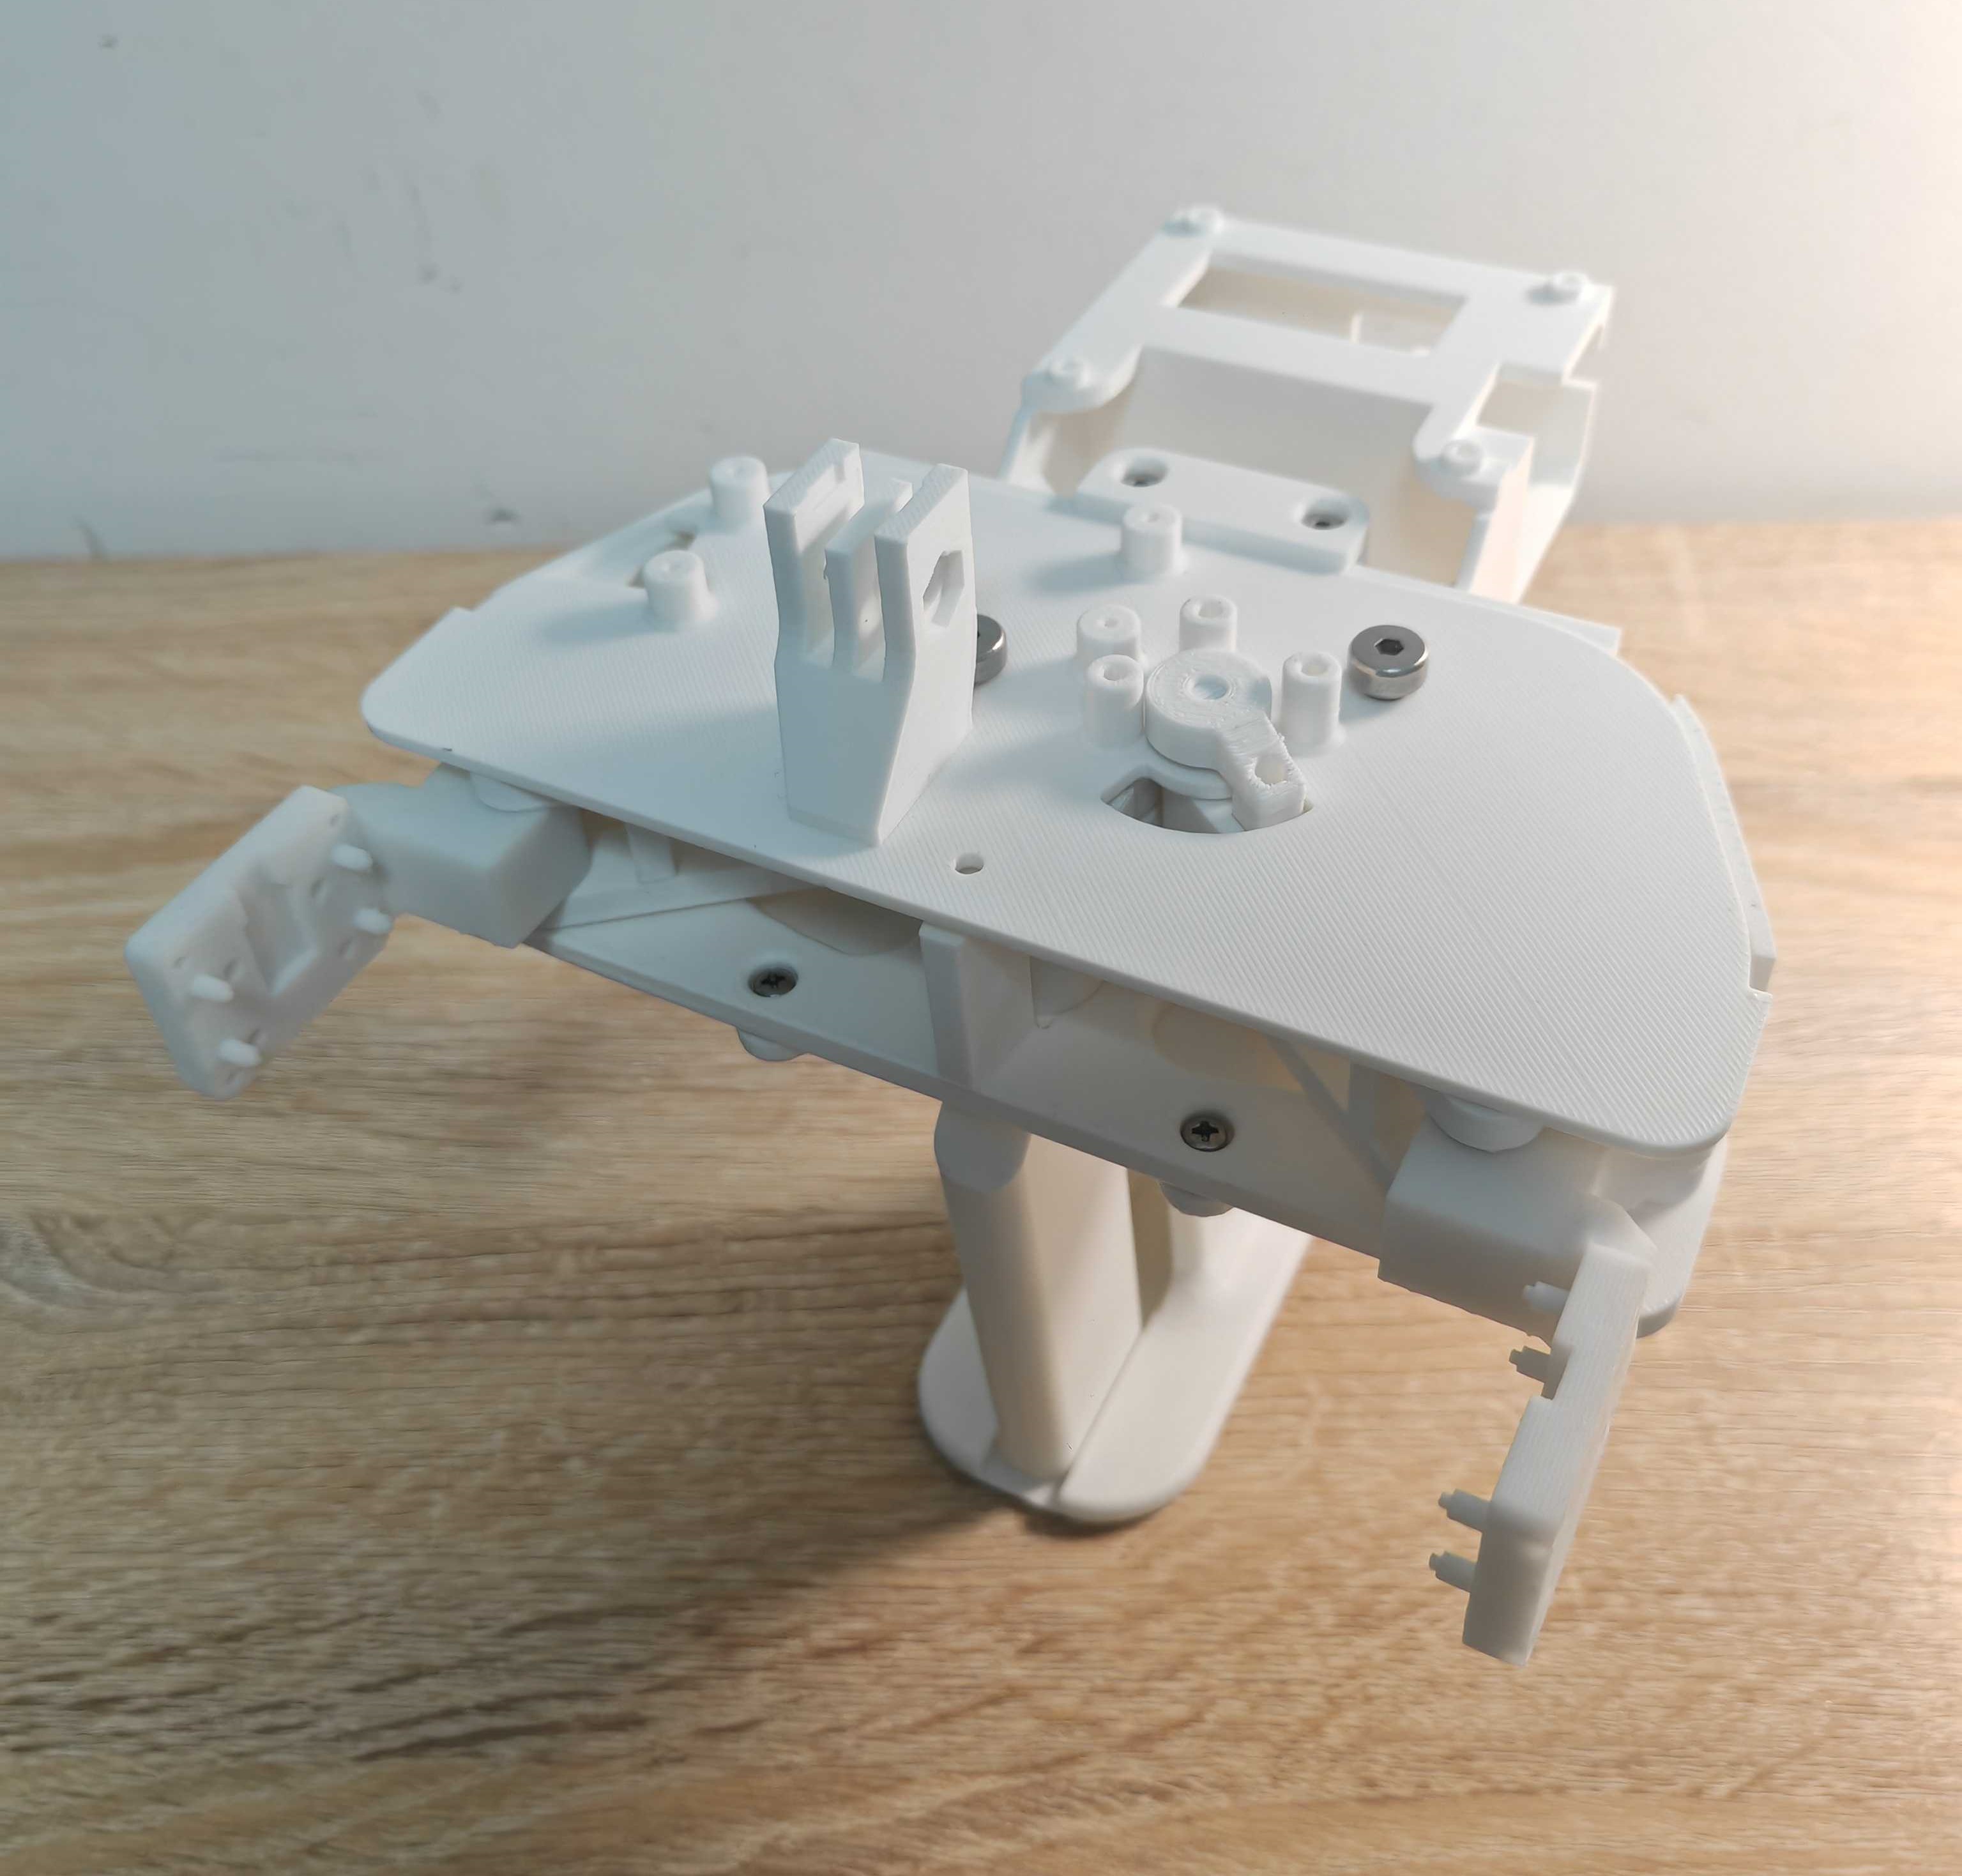
All the 3D printed models and tools required for assembling the skeleton of exUMI are as follows.
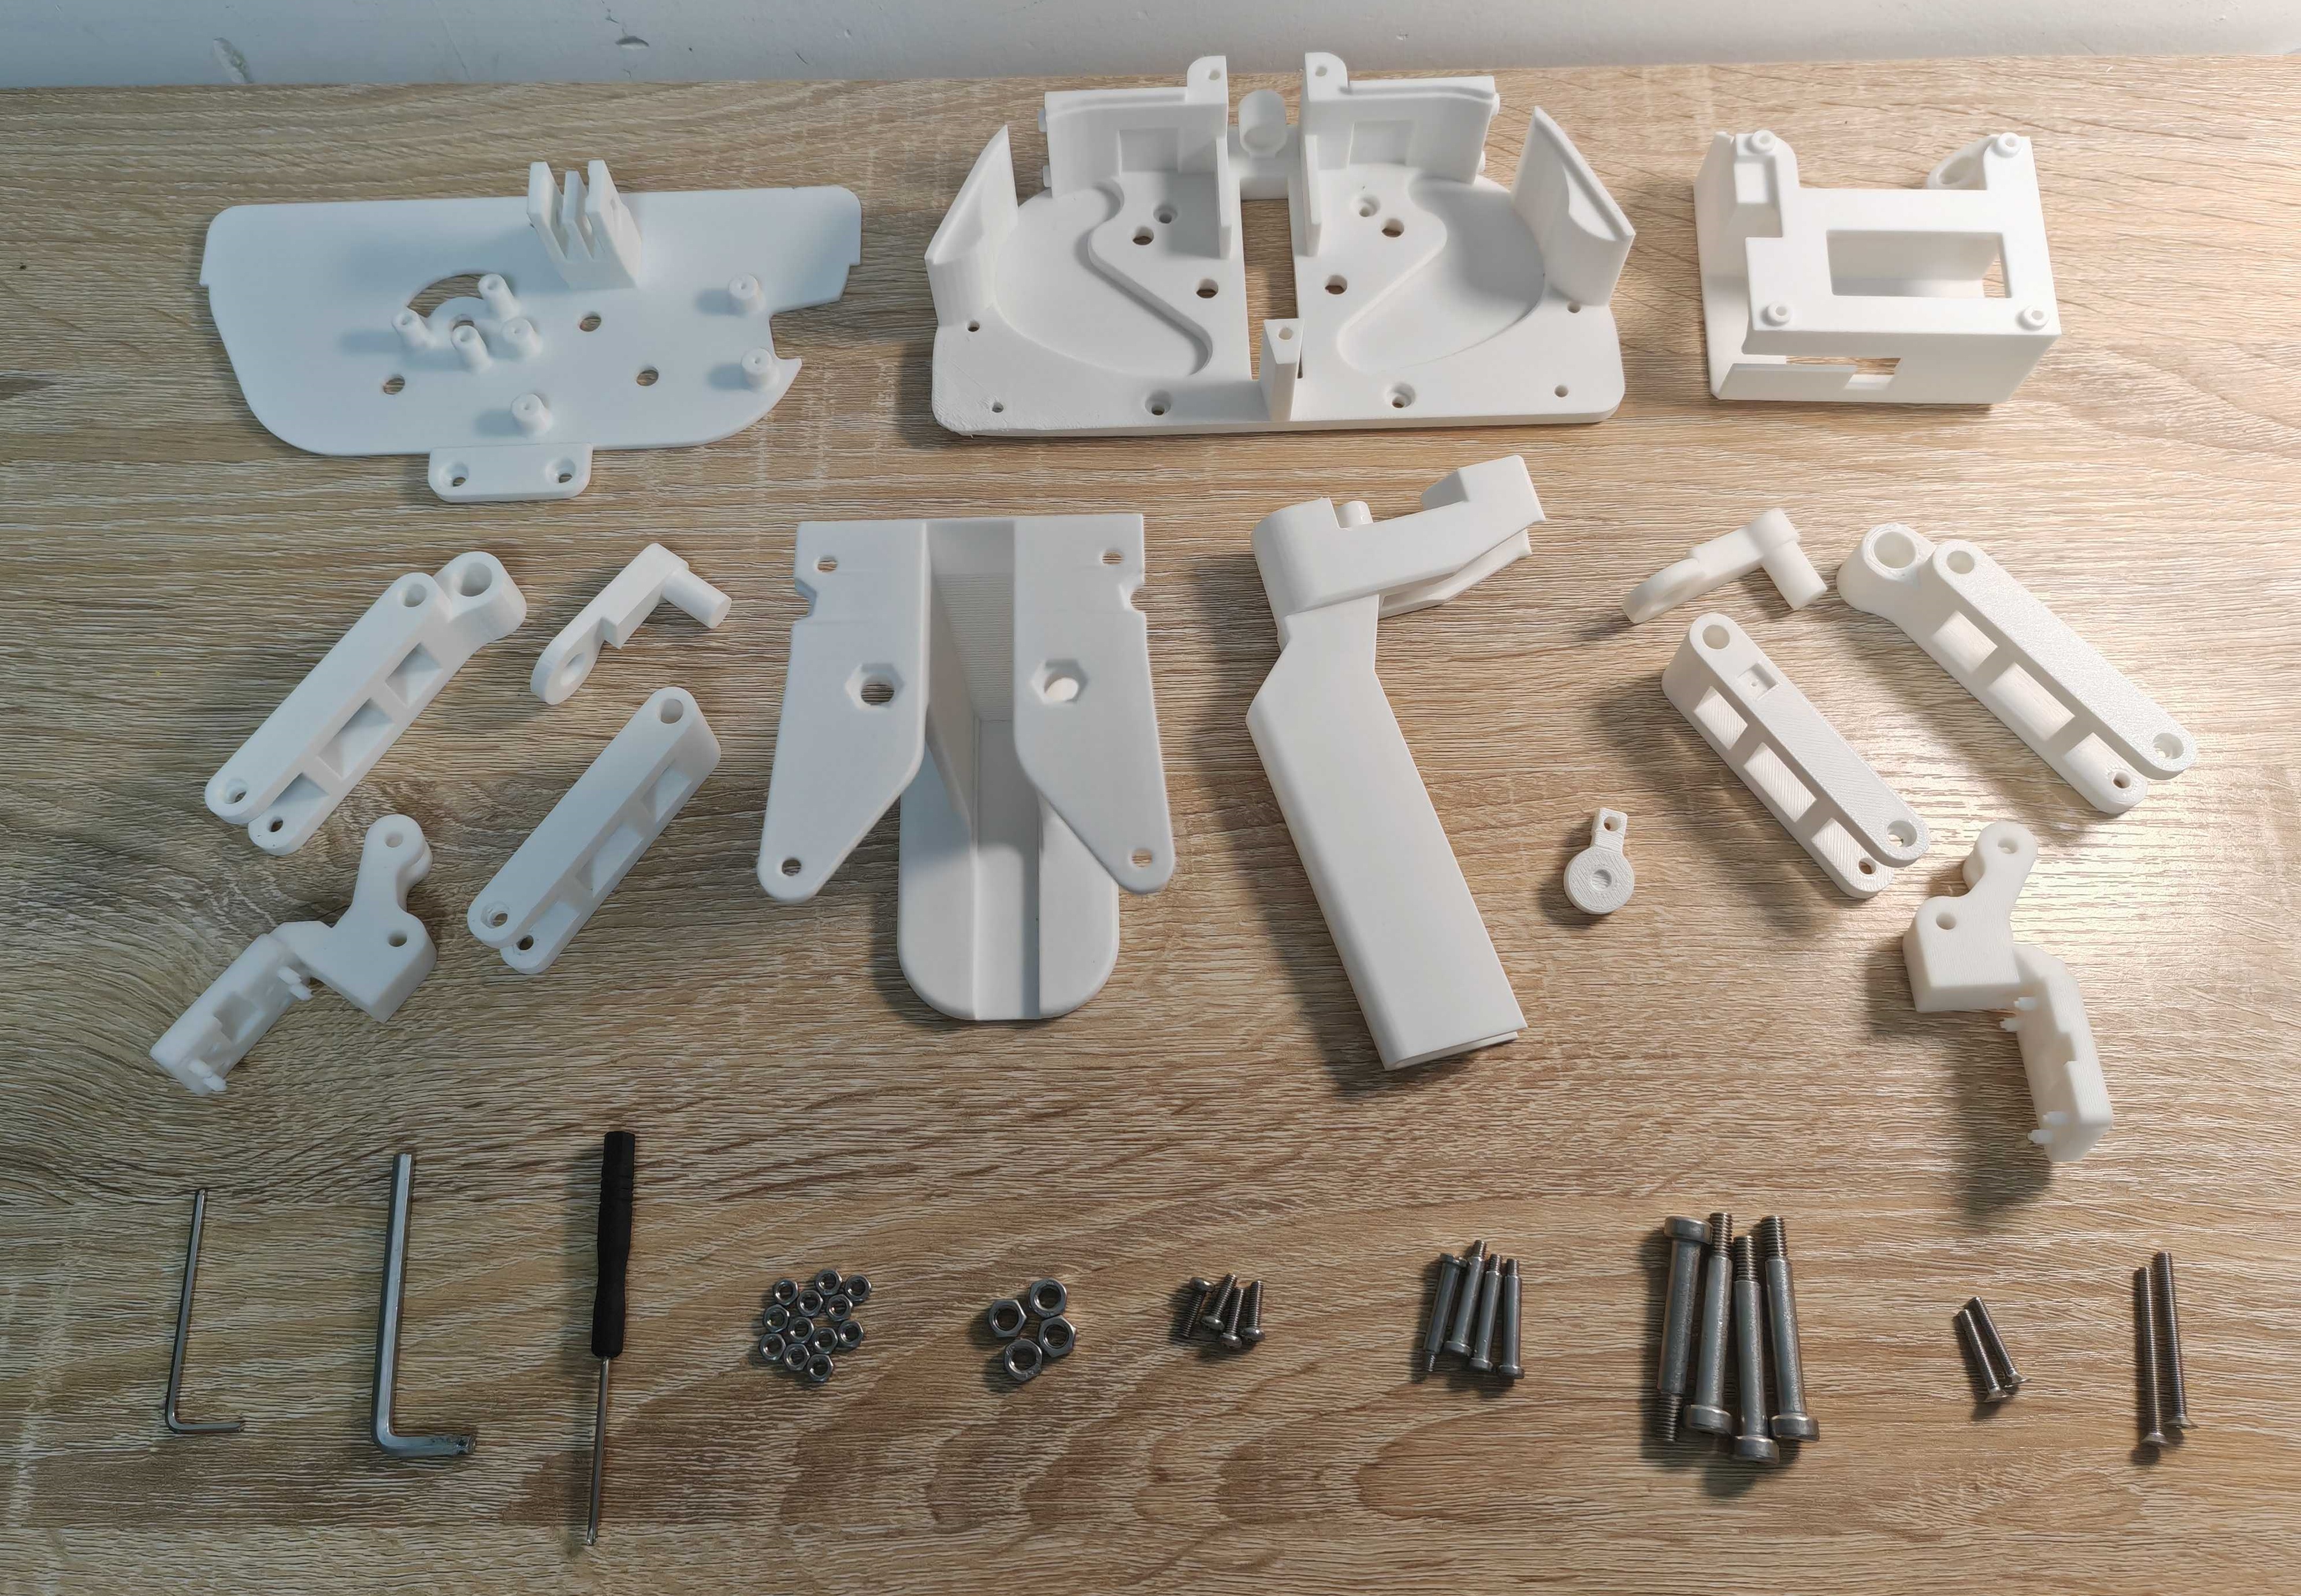
Specifically, the nuts and screws needed in the assembly process are as shown in the following table.
| Category | Part Name | Quantity | Purpose | Auxiliary Tools |
|---|---|---|---|---|
| Nut | M3 Hex Nut | 12 | ||
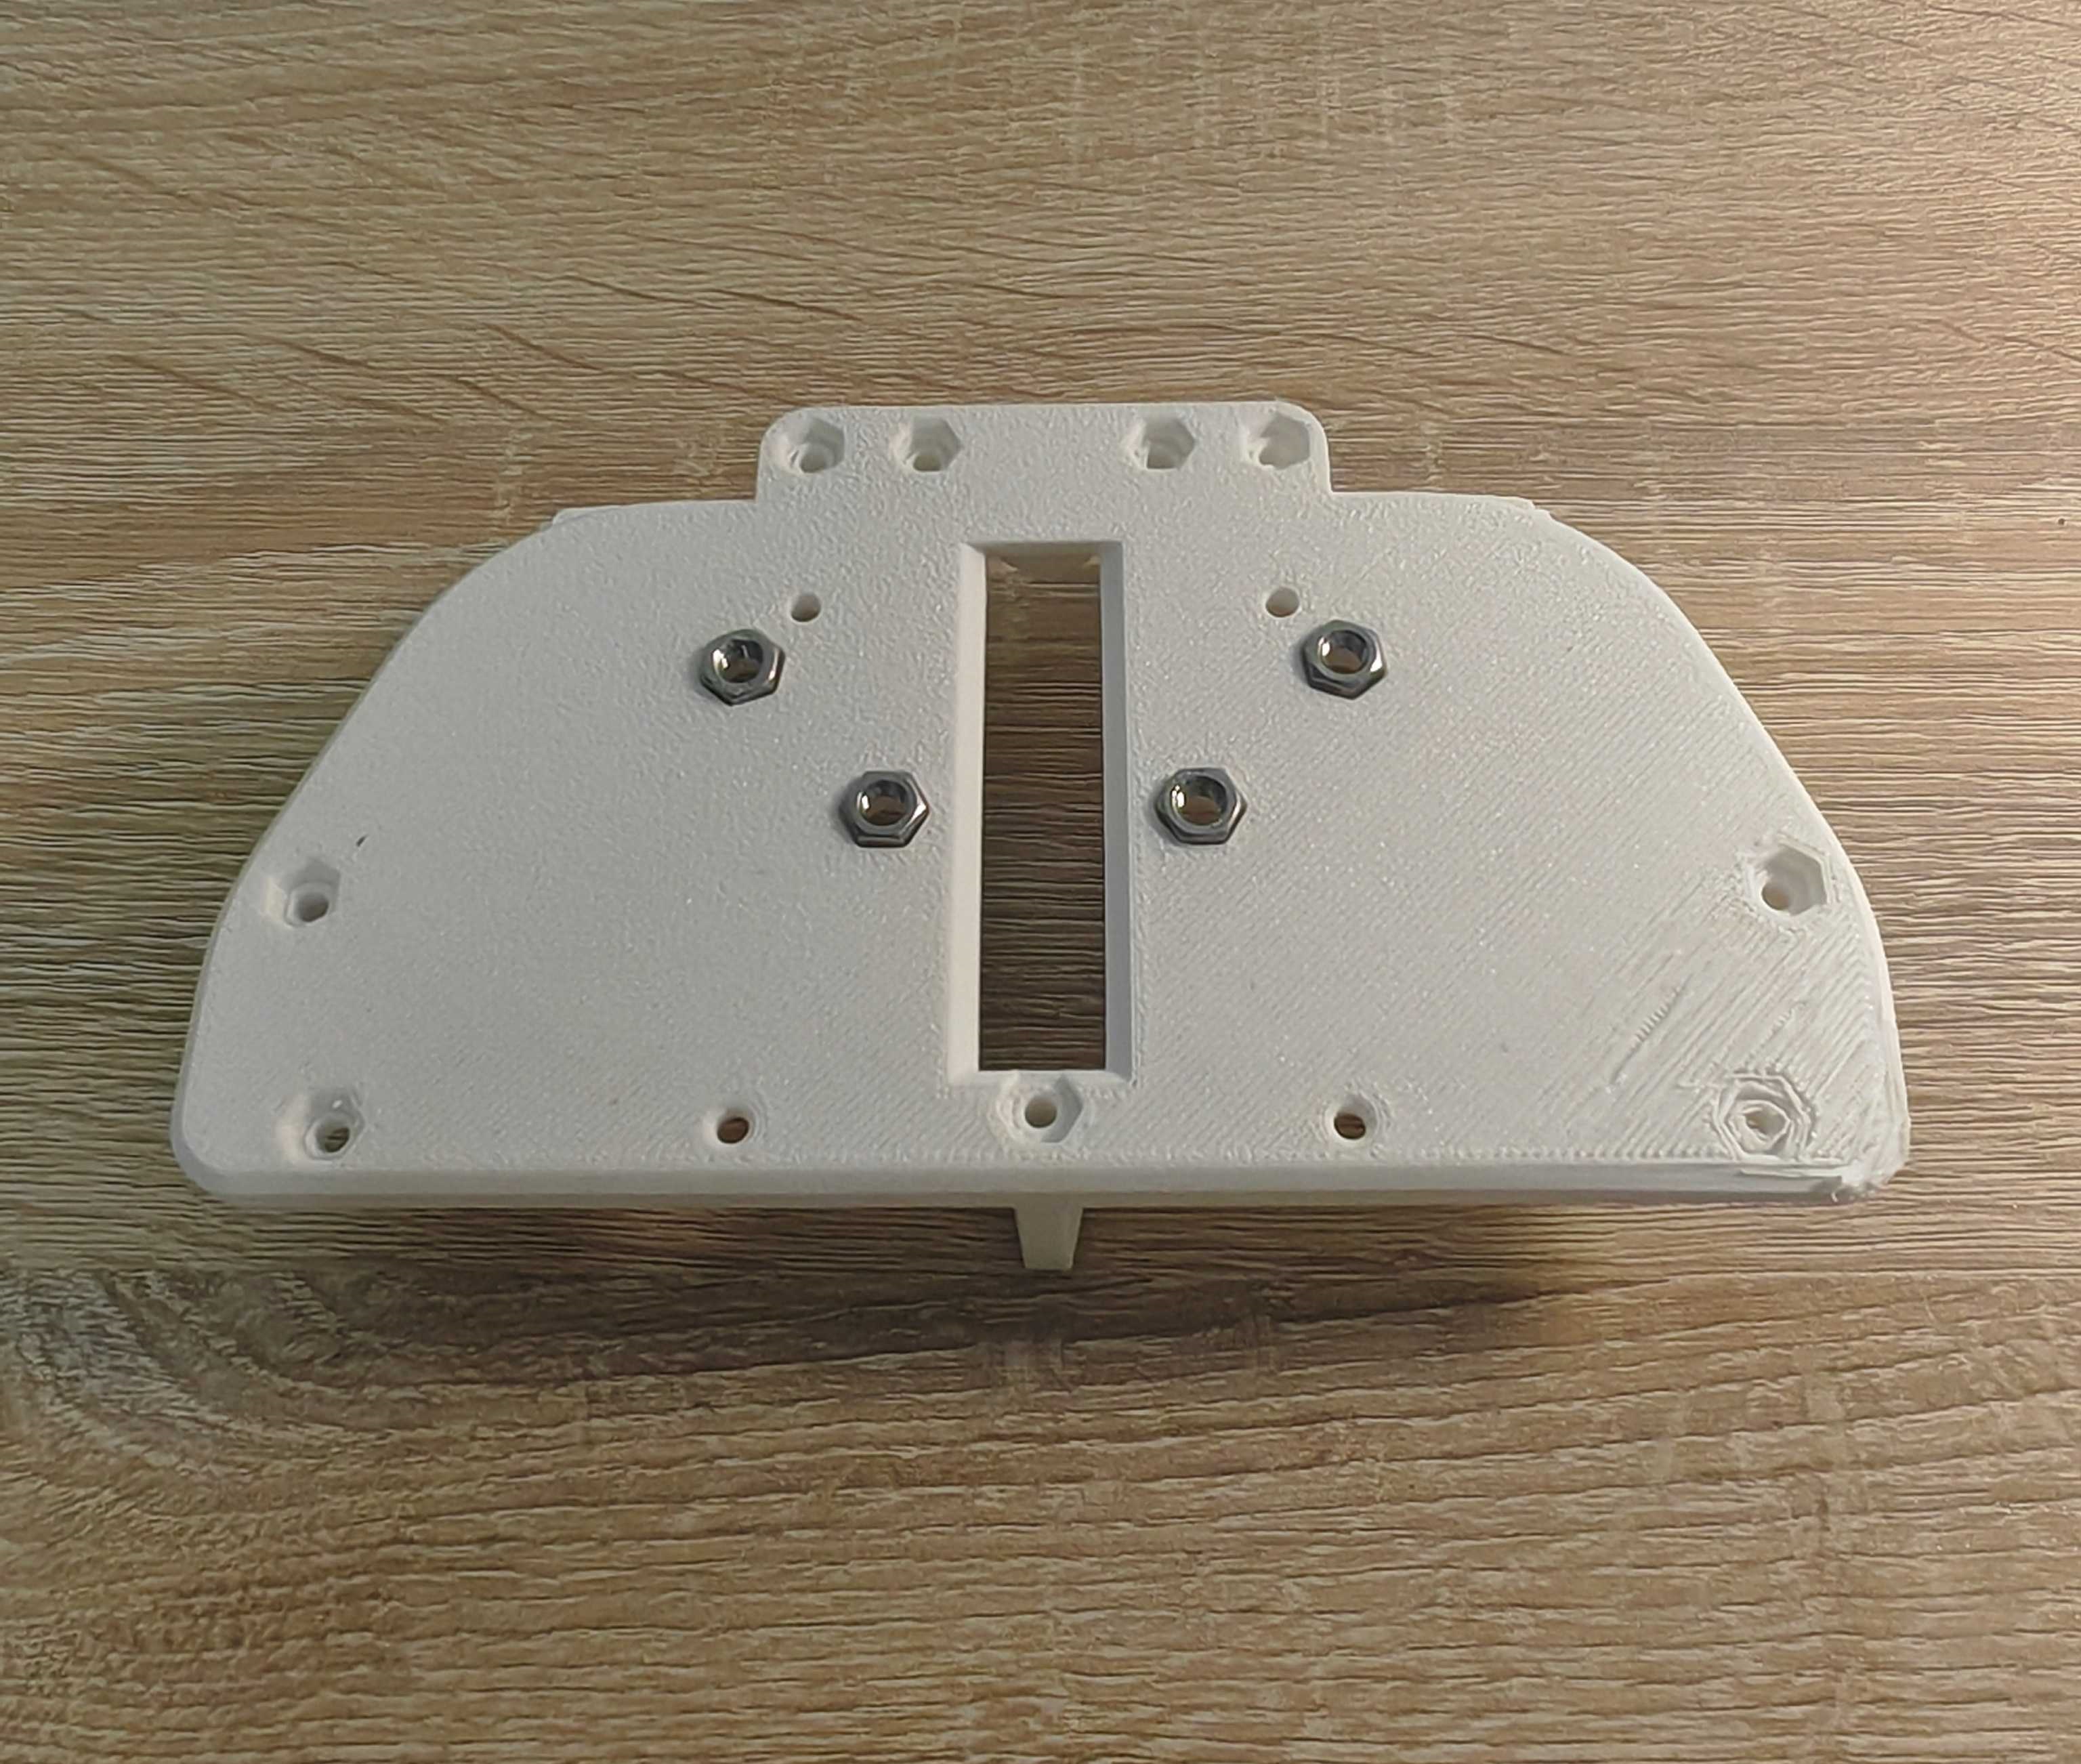
| Nut | M5 Hex Nut | 4 | ||
| Screw | M3*8 Flat Head Screw | 4 | Fixing handle and bottom plate | A small flat-head screwdriver |
| Screw | M3*18*M4 Socket Head Cap Screw | 4 | Fixing gripper arm | An H2 hex key |
| Screw | M5*30*Φ6 Hex Socket Cap Screw | 4 | Fixing top cover, bottom plate and the middle gripper arm | An H4 hex key |
| Screw | M3*35 Socket Head Cap Screw | 2 | Fixing top cover and bottom plate | |
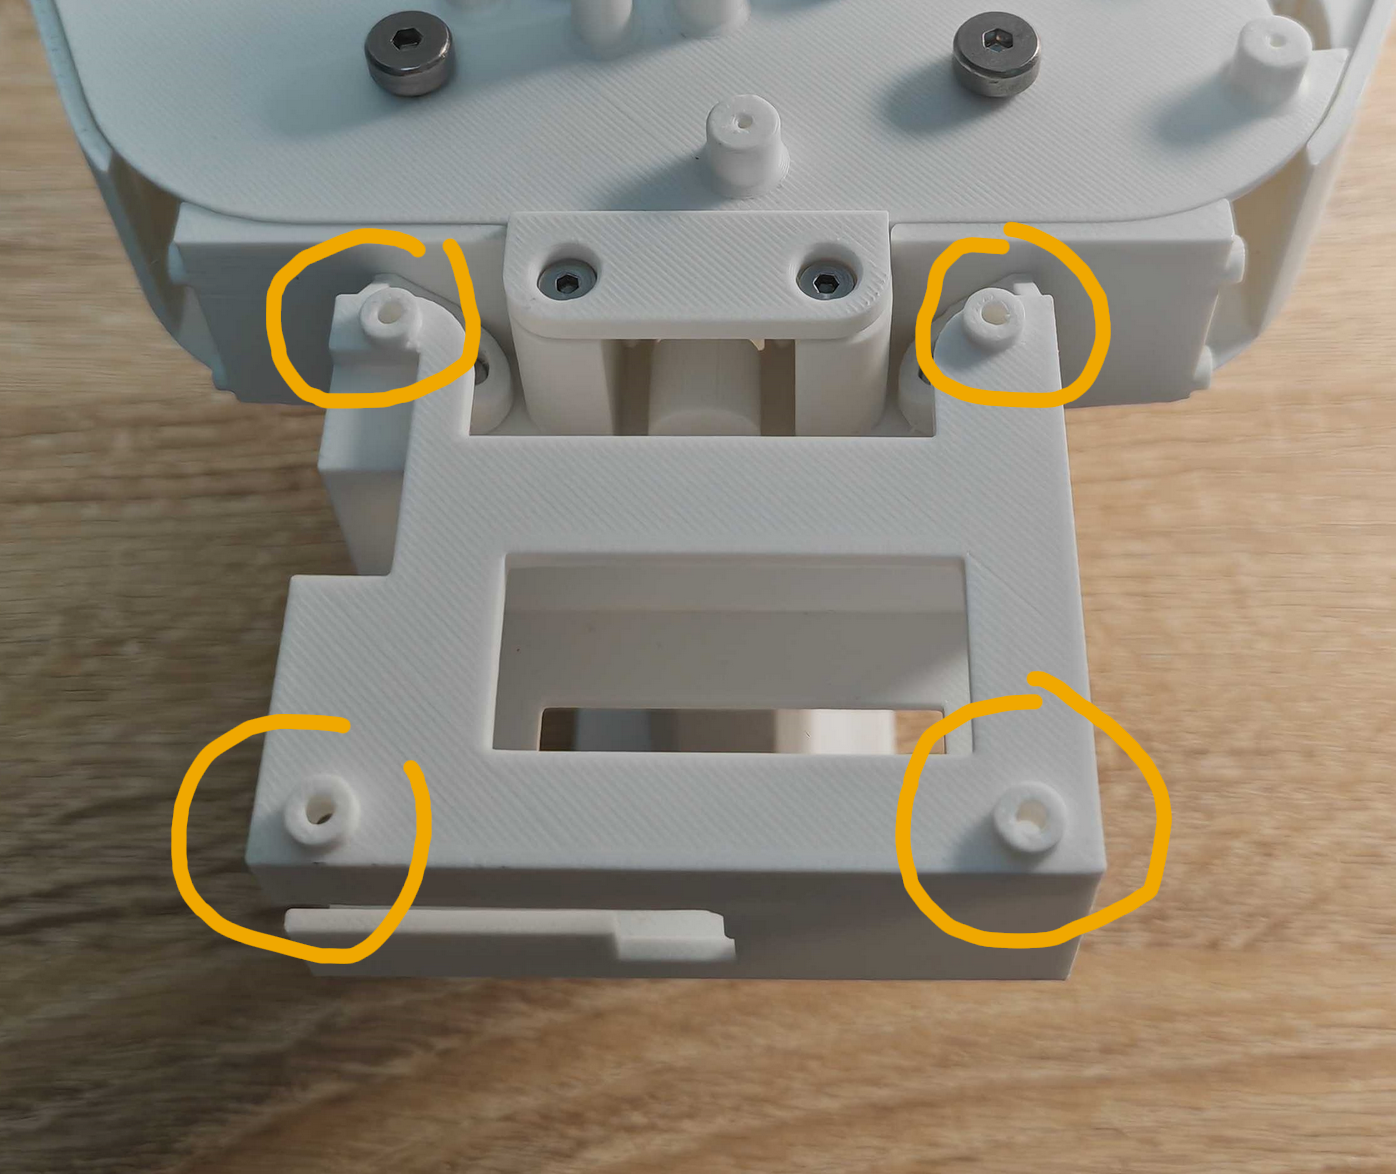
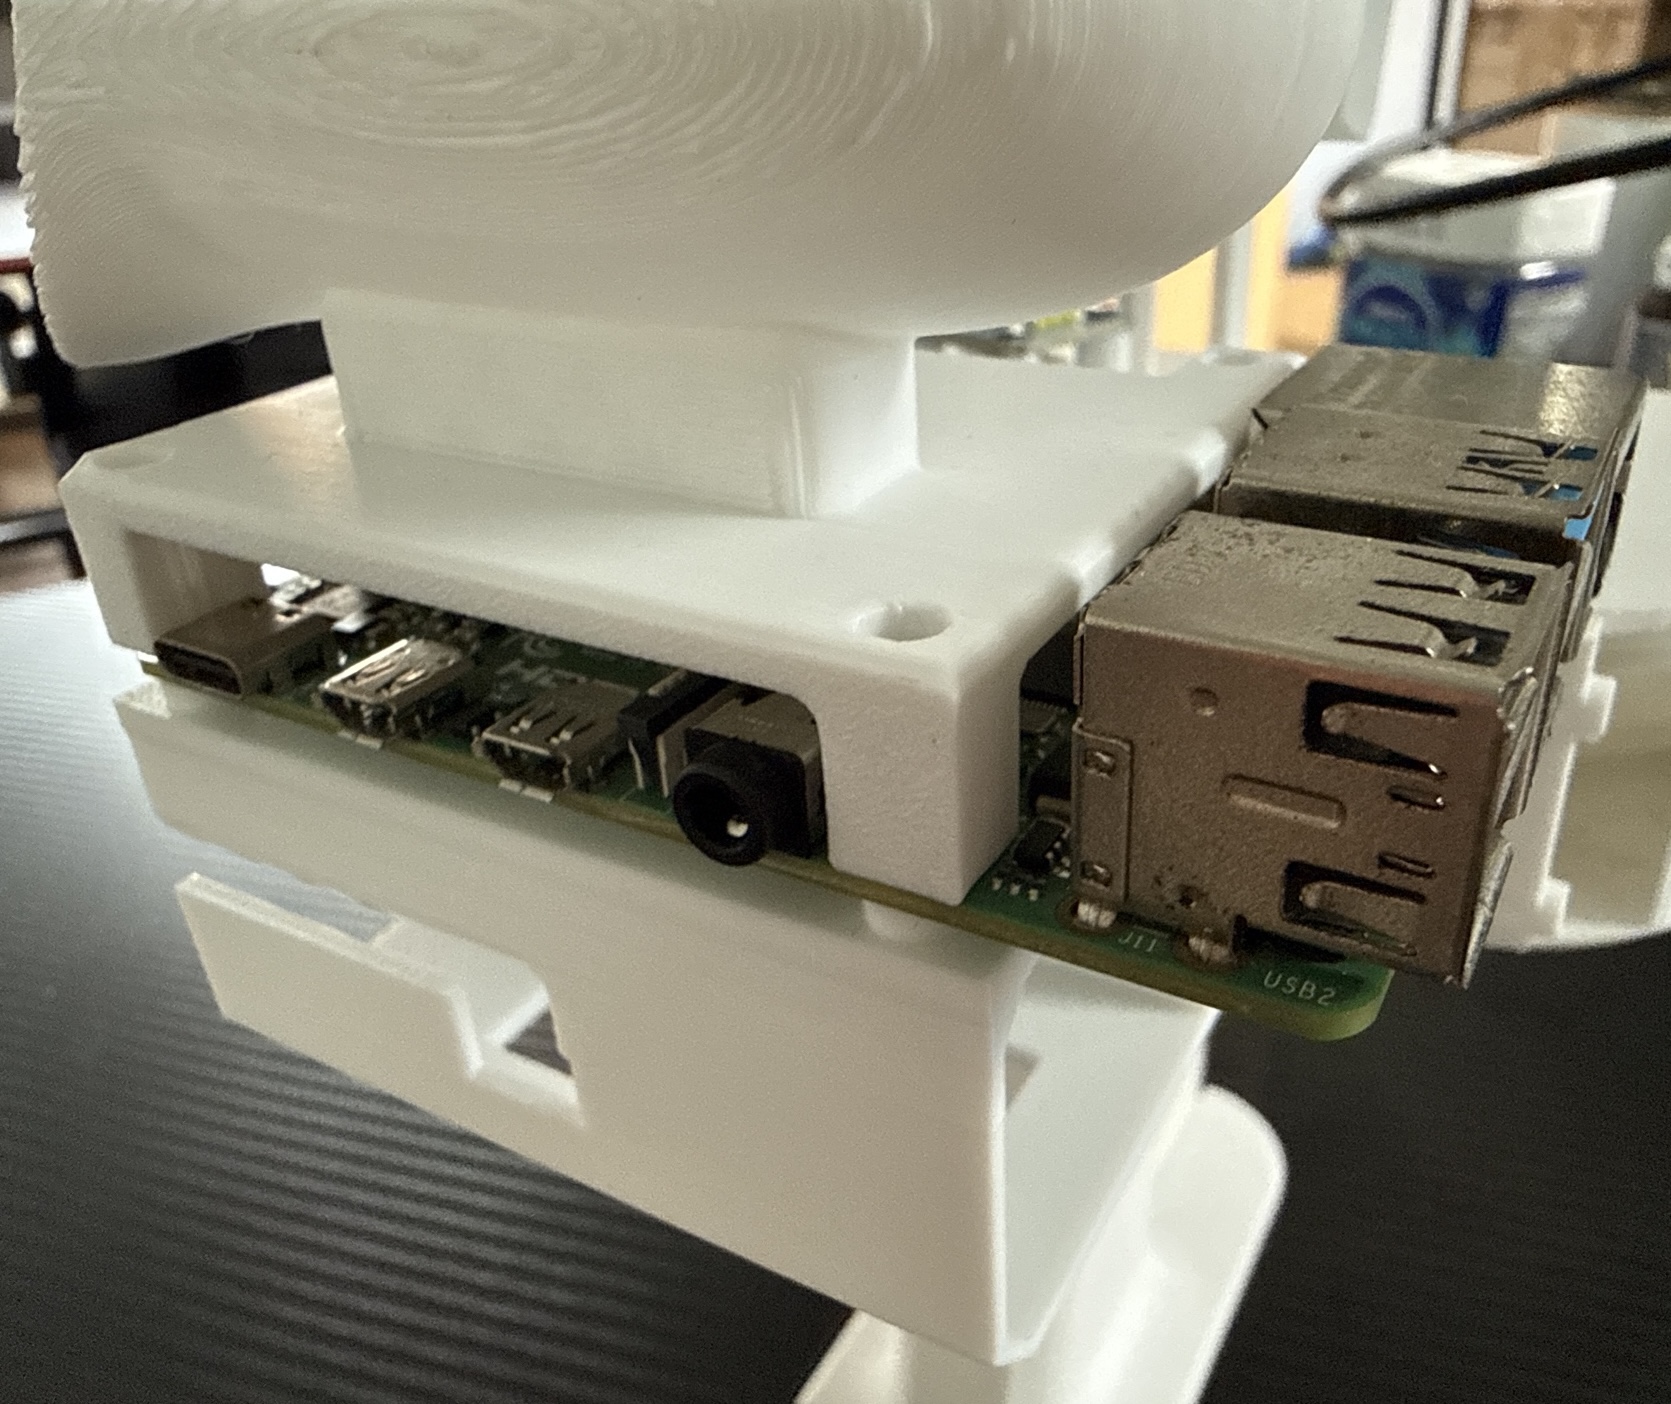
| Screw | M3*20 Socket Head Cap Screw | 2 | Fixing orangepi mount |